 Garden
Affiliate Disclosure
Some links on this page are affiliate links. As an Amazon Associate, we earn from qualifying purchases — at no extra cost to you. We do not buy, test, or physically handle the products we cover; our rankings come from aggregated owner reviews, ratings and expert consensus. Commissions never change our verdicts. How we rank · full disclosure.
Drilling into brick is a straightforward DIY job — easier than concrete because brick is softer. With a masonry bit (and ideally a hammer drill), a fixing hole takes a minute or two, and a small project costs only the price of a bit and a few anchors. There is no permit and nothing structural about hanging a shelf, a light, or a house number. The choices that matter are whether to drill the brick face or the mortar joint, keeping the hammer action gentle on old or soft brick so it doesn’t crack, and matching the anchor to a correctly sized hole.
Tools and materials
- A hammer drill (a regular drill can manage soft brick) — our best cordless drills guide flags hammer-mode models.
- A carbide-tipped masonry bit sized to your anchor, plus safety glasses and a dust mask.
- A vacuum to clear the hole — our shop vac picks help — and the appropriate anchors (sleeve anchor, masonry screw, or expansion plug).
Step 1: Decide — brick or mortar
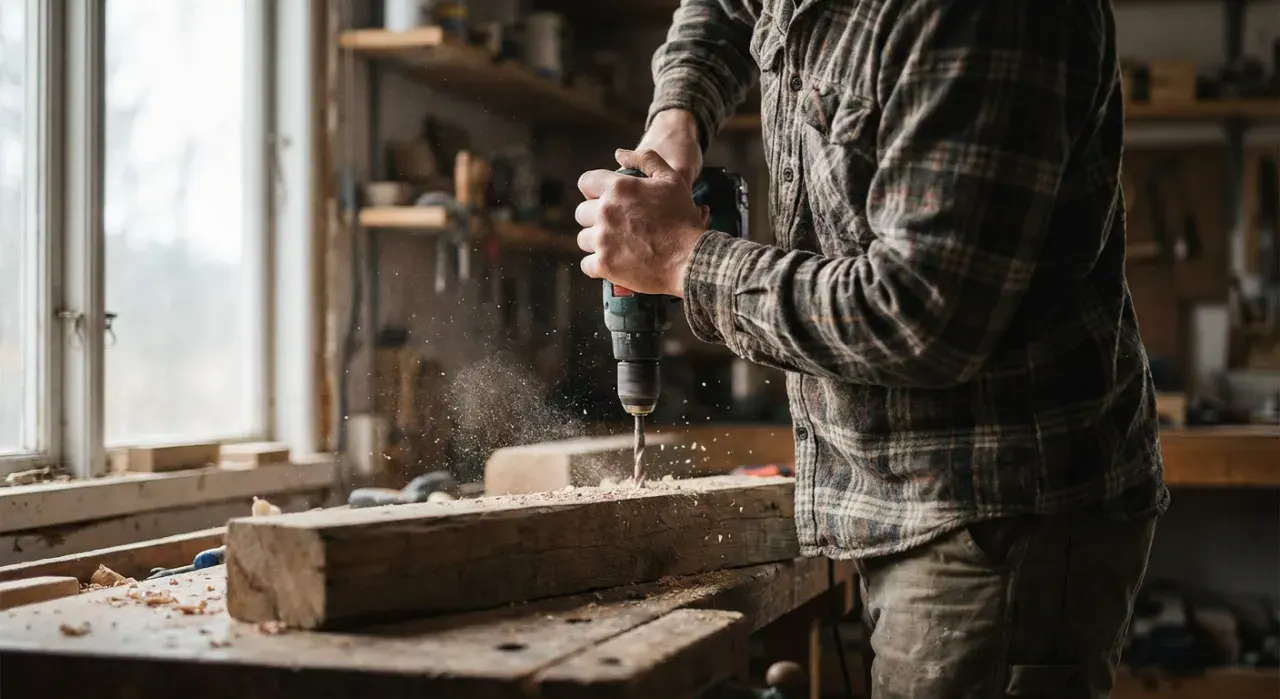
For light to medium loads, or on old and soft brick, drill the mortar joint: it’s easier, gentler, and patchable if you move the fixture. For heavy loads on sound modern brick, drill the brick face for a stronger grip. Either way, keep holes at least an inch from a brick’s edges and from each other so you don’t crack it.
Step 2: Mark and set depth
Mark the hole with a pencil and, for accuracy, tap a small starter dimple with a masonry nail so the bit doesn’t wander. Note the anchor’s required diameter and depth, and mark the depth on the bit with tape. Drilling to a controlled depth stops you punching through a hollow brick or too far into a cavity.
Step 3: Drill — start slow, hammer gently
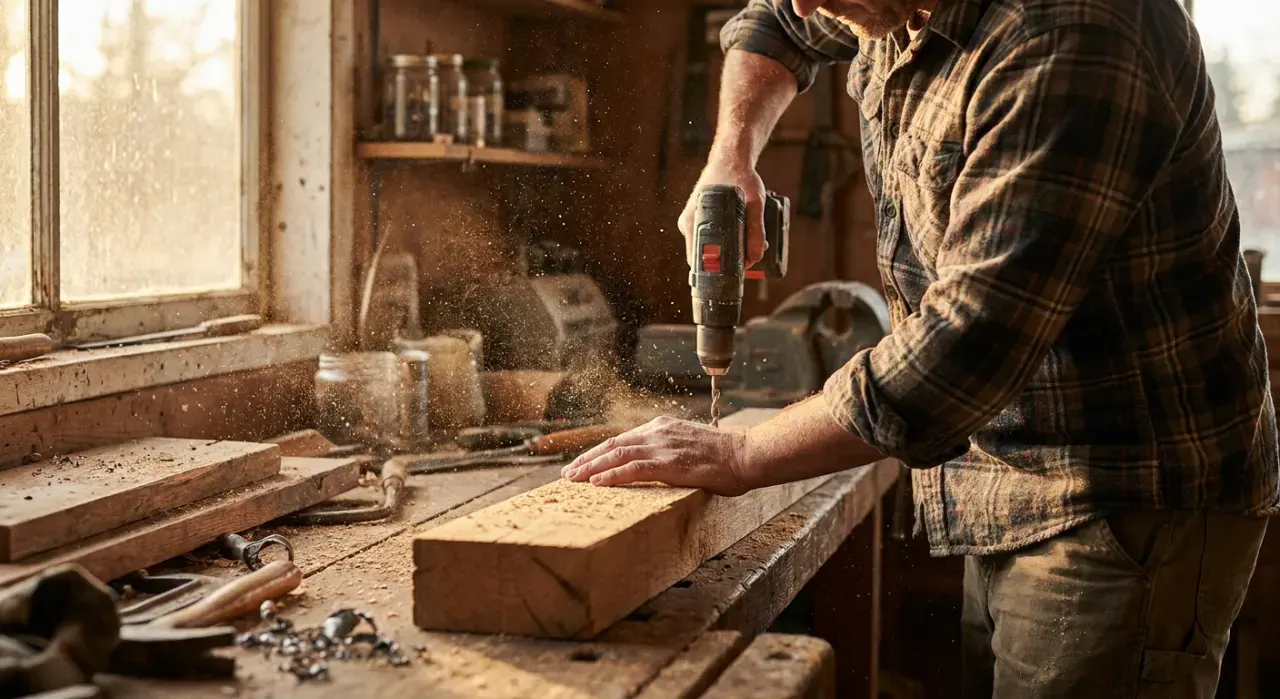
Eye and dust protection on. Hold the bit square to the wall and start at low speed to seat the hole on your mark. On hard modern brick, engage hammer mode and let it chip through. On old, soft, or historic brick, ease off the hammer or switch it off entirely — too much pounding cracks brittle brick. Back the bit out every few seconds to clear dust and keep it cool.
Step 4: Clean the hole
Vacuum or blow out the brick dust. Anchors grip on the walls of the hole; dust left behind acts like a lubricant and lets the anchor spin or pull out. This ten-second step is the difference between a fixing that holds and one that fails.
Step 5: Set the anchor
Insert your anchor: tap a sleeve anchor in and tighten to expand it, drive a masonry screw into a correctly sized hole, or push a plastic plug in and drive the screw. Use the anchor type matched to your material — solid brick, hollow brick, or mortar each has a best-fit fixing. For heavy items, step up to through-bolts or resin anchors rated for the load.
Where to go next
Drilling into concrete uses the same masonry approach on harder, denser material. Keep your regular bits cutting with drill-bit sharpening, and know your tools with drill vs impact driver. It all lives under the power tools and workshop hub.
We never buy or physically test the tools we rank — our picks come from aggregated owner reviews and expert consensus, explained on how we rank. For structural masonry or load-bearing fixings, follow local code or consult a pro.