 Garden


Affiliate Disclosure
Some links on this page are affiliate links. As an Amazon Associate, we earn from qualifying purchases — at no extra cost to you. We do not buy, test, or physically handle the products we cover; our rankings come from aggregated owner reviews, ratings and expert consensus. Commissions never change our verdicts. How we rank · full disclosure.
Short answer: run a taut string line between two stakes at your finished height and cut the top to it. Cut the sides first, working bottom to top, then the top last. Taper the sides so the hedge is wider at the base than the crown — about 2 to 3 inches of setback per foot of height on each side. Keep the blade flat against the face and sweep in long arcs rather than stabbing.
A hedge that looks professionally kept is not the product of a better trimmer. It is the product of a reference line, the right taper and the right frequency.
Batter: Why Hedges Must Be Wider at the Bottom
Almost every thin, bare-legged hedge in America has the same cause: it was cut with vertical sides, or worse, sides that lean outward at the top.
A hedge is a wall of leaves competing for light. If the top overhangs the bottom even slightly, it shades the lower growth all day, and shaded evergreen growth dies back and does not return. Over three or four seasons the hedge becomes a green cap on bare woody legs. Once that has happened, the fix ranges from a multi-year renovation to a replacement, depending entirely on the species — see renovating an overgrown hedge.
Batter is the deliberate taper that prevents it. Aim for the base to be wider than the top by roughly 2 to 3 inches per vertical foot on each side. On a 6-foot hedge that means the top is about 2 to 3 feet narrower overall than the base — a taper that looks pronounced on paper and reads as perfectly normal once cut.
| Hedge height | Setback per side | Total narrowing at the top |
|---|---|---|
| 3 ft | ~6–9 in. | ~12–18 in. |
| 4 ft | ~8–12 in. | ~16–24 in. |
| 6 ft | ~12–18 in. | ~24–36 in. |
| 8 ft | ~16–24 in. | ~32–48 in. |
Batter does a second job in snow country. A tapered hedge sheds snow load down the sides; a flat-topped, straight-sided one collects it, and the weight splays arborvitae and Leyland cypress open from the middle — damage that often never closes back up.
One refinement: in the far North, a slightly rounded or pointed top sheds snow better than a flat one and is more forgiving of a cut that is not perfectly level. Formal flat tops look best where snow load is not a factor.
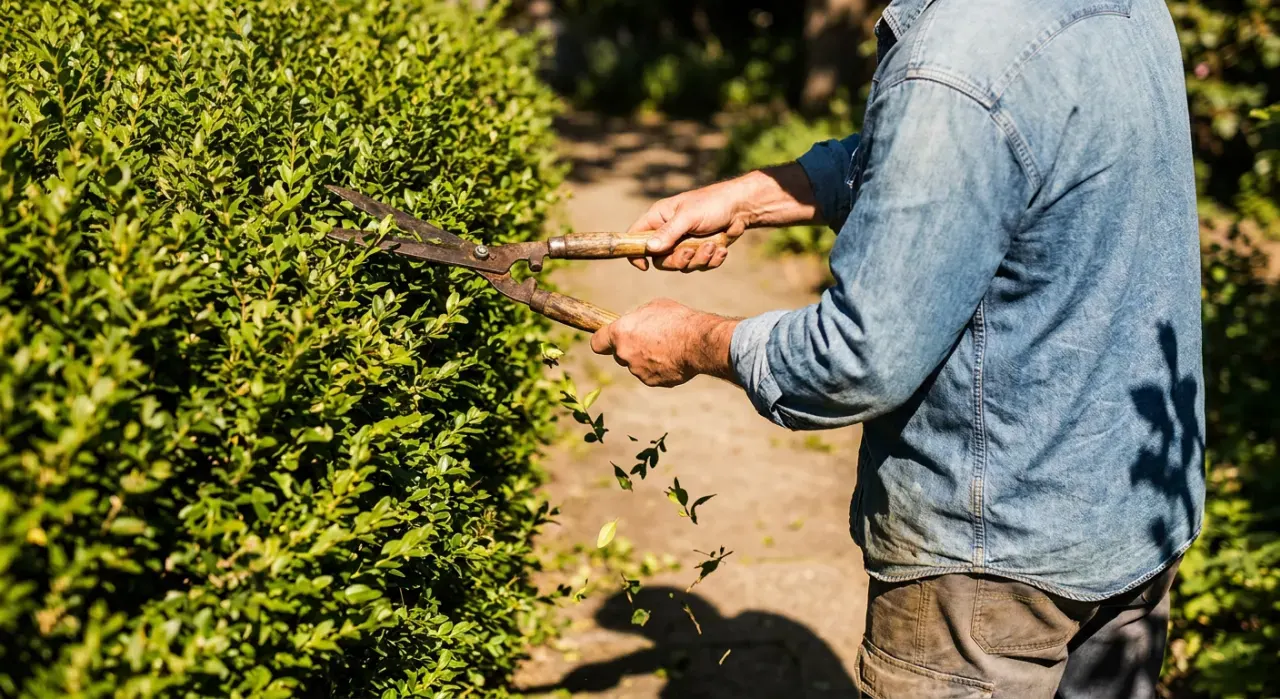
Setting the Line
- Clear the base. Rake out leaf litter and prunings from previous years so you can see where the hedge actually starts and so clippings are easy to collect afterward.
- Drive a stake at each end, just outside the finished line of the hedge. Bamboo canes or rebar work fine.
- Run a mason's line between them at your finished top height. Pull it genuinely taut — a sagging line puts a dip in the middle of the hedge that will be visible for a year.
- Check it with a line level or a long spirit level. On sloping ground, decide deliberately whether the top follows the slope or steps down in level sections; both look intentional, a wandering compromise does not.
- For long runs, add an intermediate stake every 20 to 25 feet to stop the line sagging.
- For the sides, either run a second line at the base or cut a plywood template of the finished profile and slide it along as a gauge. On a short hedge, eyeballing the taper is fine once you have cut a few feet correctly and can use that as your reference.
The Cutting Technique
Sides first, bottom to top. This matters for a practical reason: cuttings fall down the face as you work, and cutting upward means you are always looking at a clean surface below your blade rather than a shelf of debris sitting on uncut growth.
Hold the blade almost flat against the face of the hedge, angled just a few degrees into it, and sweep in long, smooth arcs — a scything motion from the shoulders rather than short jabs from the wrists. Long arcs produce a flat plane; short pushes produce scallops. Keep both hands on the tool at all times and keep the blade moving; pausing in one spot cuts a hollow.
Top last. Rest the blade level, work along the string line, and take the top in two or three passes rather than trying to remove everything in one. If the top is above your comfortable reach, this is where a pole hedge trimmer earns its money — not a ladder.
Take less than you think on the first pass. You can always cut again. On formal hedges the aim is to cut back to just above where you cut last time, leaving perhaps half an inch of the new growth. That is what makes a hedge thicken year on year instead of creeping outward.
Stand back every few minutes. Nobody sees the shape of a hedge from two feet away. Walk to the far end, look down the line, then come back and correct.
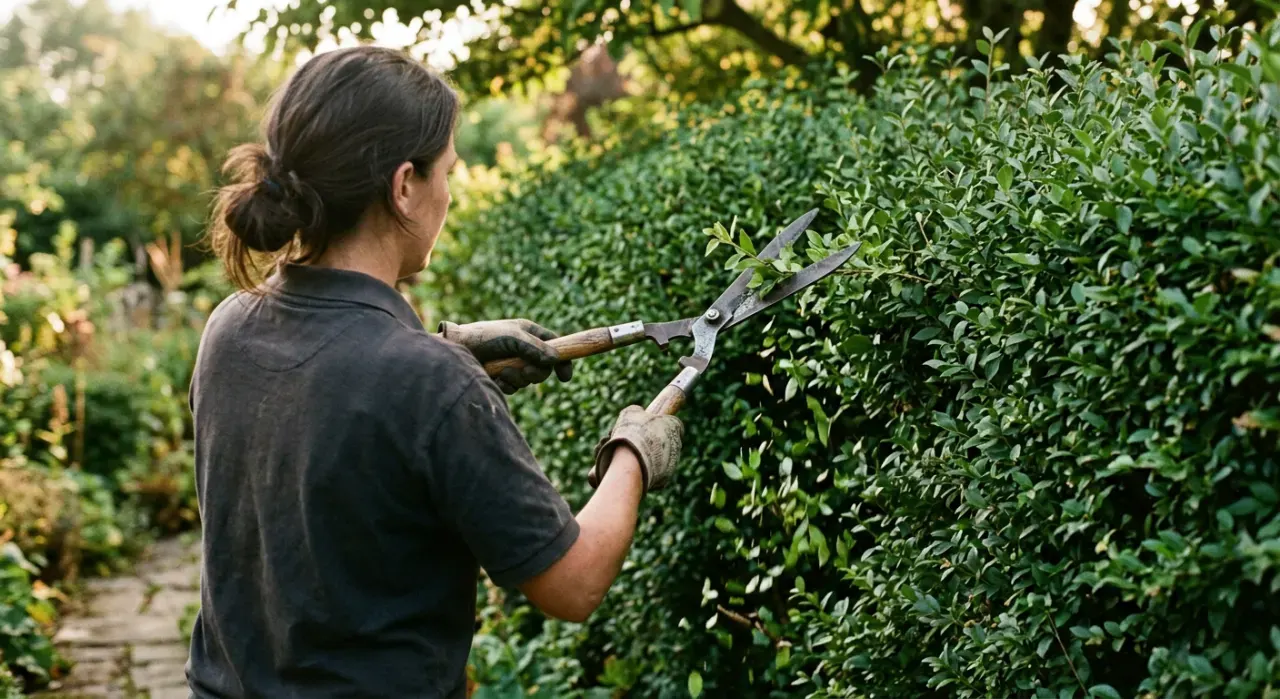
How Often, by Species
| Species | Cuts per year | When | Notes |
|---|---|---|---|
| Privet | 2–3 | Late spring, midsummer, light early fall | Very fast; skipping a cut shows immediately |
| Leyland cypress | 2–3 | Late spring, midsummer | Cut only into green growth — brown wood never regrows |
| Arborvitae / thuja | 1–2 | Late spring, light midsummer | Same warning; keep the taper to prevent snow splay |
| Boxwood | 1–2 | Late spring after the flush hardens | Thin some interior growth as well as shearing, so light reaches inside |
| Yew (Taxus) | 1–2 | Late spring, midsummer | The forgiving conifer — regrows from old wood |
| Holly | 1 | Late spring | Cut with pruners on large-leaved types to avoid brown scarring |
| Beech & hornbeam | 1 | Midsummer | A single well-timed cut keeps the winter leaf retention |
| Cherry laurel | 1–2 | Late spring | Use loppers, not shears — sheared leaves brown at the cut |
| Photinia (Red Robin) | 2 | After the red flush hardens, then midsummer | Each cut triggers a fresh red flush |
| Flowering / informal hedges | 1 | Immediately after flowering | Timing follows the shrub, not the hedge calendar |
Two constraints sit on top of that table. Stop shaping by late summer — roughly the end of August in most zones — so the new growth hardens before frost. And check for active bird nests before any heavy cutting between about April and August; nests are protected under the Migratory Bird Treaty Act, and a thirty-second look is all it takes. Full timing for everything else is in our when to prune calendar.
Conditions and Tool Setup
- Cut dry. Wet foliage clogs blades, sticks to everything and, on some species, spreads disease between plants.
- Avoid full sun on a hot day. Freshly cut leaf edges scorch. An overcast day or the cooler end of the afternoon gives a better finish.
- Sharp, clean blades. A dull blade tears rather than slices, and torn edges brown within days. Ten minutes of blade care before the season changes the finish more than a more expensive tool would — see hedge trimmer blade care.
- Right tool for the stem. Home hedge trimmers are rated for green stems roughly 3/8 to 3/4 inch. Anything thicker goes to loppers up to about an inch and a half, and a pruning saw beyond that. Forcing thick wood through a trimmer is the leading cause of bent teeth and burnt gearboxes in owner reports.
- Blade length. An 18 to 22 inch blade suits most home hedges and stays manageable overhead; 24 inches and up is for long formal runs and gets heavy fast. The ranked field is in best hedge trimmers, and the power decision is covered in corded vs cordless.
- Lay a tarp. Dropping a tarp or old sheet along the base turns twenty minutes of raking into one minute of dragging.
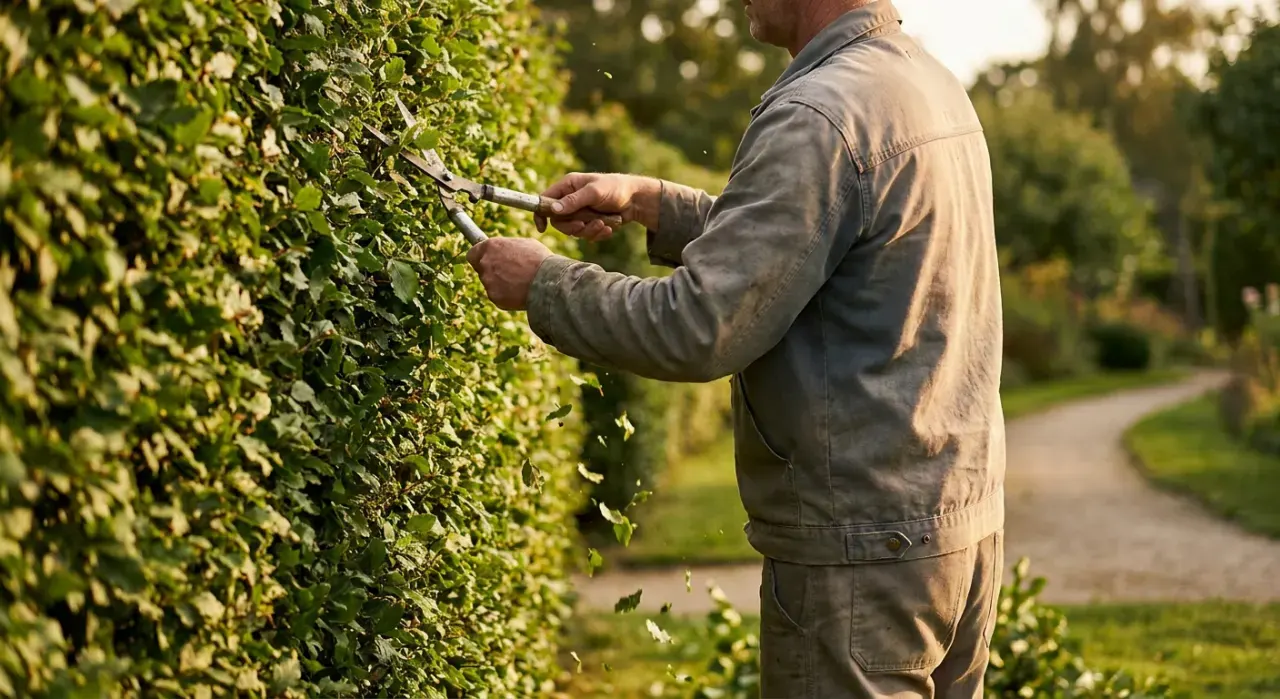
Safety, Briefly and Seriously
Hedge trimmers account for a meaningful share of yard injuries every year, and the pattern in the incident data is consistent: cutting above shoulder height, working from a ladder with a powered tool, and reaching sideways off balance.
Keep both hands on the tool. Keep the cut below shoulder height. Never operate a powered trimmer from a ladder — use a pole trimmer from the ground or a proper platform. Wear eye protection and gloves; flying twig fragments are the most commonly reported minor injury. With a corded trimmer, keep the cord over your shoulder and behind you, and use a GFCI outlet. With a cordless, remove the battery before you touch the blades for any reason, including clearing a jam.
Common Faults and How to Correct Them
| Problem | Cause | Fix |
|---|---|---|
| Wavy or dipping top | Cut by eye, or a sagging string line | Re-run a taut line with an intermediate stake; correct over two seasons rather than cutting a dip deeper |
| Bare, twiggy base | Vertical or top-heavy sides shading the bottom | Introduce batter now; on species that regenerate, cut the top back to let light in |
| Brown, scorched-looking leaves | Dull blade, or shearing a large-leaved plant | Sharpen; switch to loppers on laurel, holly and rhododendron |
| Hedge creeping wider each year | Cutting outside the previous year's line | Cut back to just above last year's cut; on tolerant species, reduce one side hard and let it regrow |
| Splayed, open top after snow | Flat top with no taper on a conifer | Taper the sides, round the top, and tie multi-stemmed arborvitae together with soft ties |
If the hedge has already run away entirely, do not start with a hard cut until you have identified the species — yew, privet, beech, hornbeam and hawthorn regenerate from old wood, and Leyland cypress, thuja and juniper do not. That distinction is the whole subject of renovating an overgrown hedge, and the broader habits worth unlearning are in pruning mistakes that kill plants. More at pruning, trimming and hedges; our research method is on how we rank.