 Garden
Affiliate Disclosure
Some links on this page are affiliate links. As an Amazon Associate, we earn from qualifying purchases — at no extra cost to you. We do not buy, test, or physically handle the products we cover; our rankings come from aggregated owner reviews, ratings and expert consensus. Commissions never change our verdicts. How we rank · full disclosure.
Installing a wireless doorbell is a 15-minute, no-tools-required job that anyone can do. There is no wiring at all: the button runs on a battery and the chime plugs into an outlet or takes batteries. Cost is $15 to $50. Because nothing touches your electrical system, there is no shock risk, no permit and no pro. It is the perfect fix for a dead wired doorbell, a rental, or a home that never had doorbell wiring. The only things to get right are pairing, range, and keeping the button off bare metal.
Before you mount: test the range
Unbox both pieces, put batteries in the button, and plug in the chime where you plan to keep it. Stand at the front door and press the button. If the chime rings clearly, that spot works. If it is faint or silent, move the chime more central or closer before you commit to a mounting location. Doing this test first saves you re-drilling.
Step-by-step installation
- Install the button battery. Open the button, insert the coin cell or AAA it uses, and close it. Confirm it presses cleanly.
- Pair the button and chime. Most pair automatically. If not, hold the pairing button on the chime until it flashes, then press the doorbell once so the chime learns it.
- Set tone and volume. Use the buttons on the chime to pick a ringtone and volume you can hear from anywhere in the house.
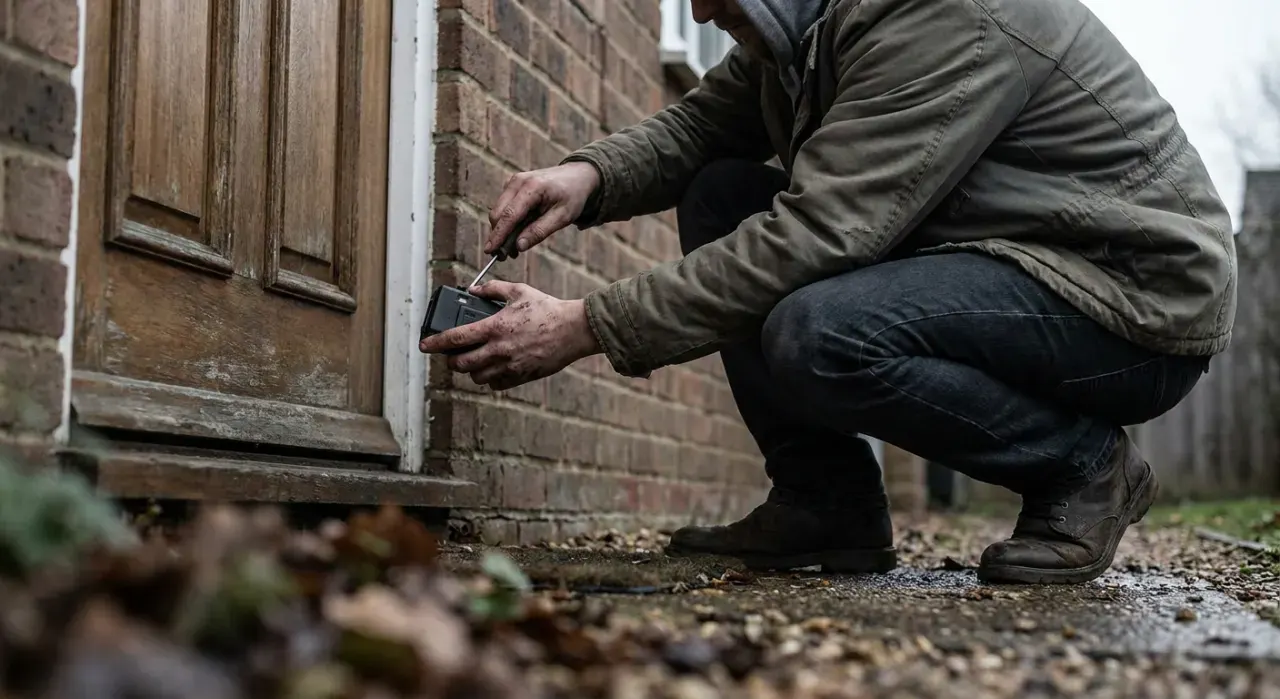
- Mount the button at 48 inches. Hold it about 4 feet up beside the door. Keep it off bare metal — use the included spacer or shift to a wood or vinyl surface if the frame is metal.
- Secure the button. Use the two screws (drill 1/16-inch pilots on hardwood trim) or the adhesive pad for a no-drill mount. Adhesive works best on clean, dry, above-freezing surfaces.
- Position the chime. Plug the chime into a central outlet, or mount a battery chime on a wall. For large homes, add a second receiver on another floor.
- Final test. Press the button from the porch and confirm a clear ring. Walk the house to check you can hear it from the kitchen and bedrooms.
Tools and materials
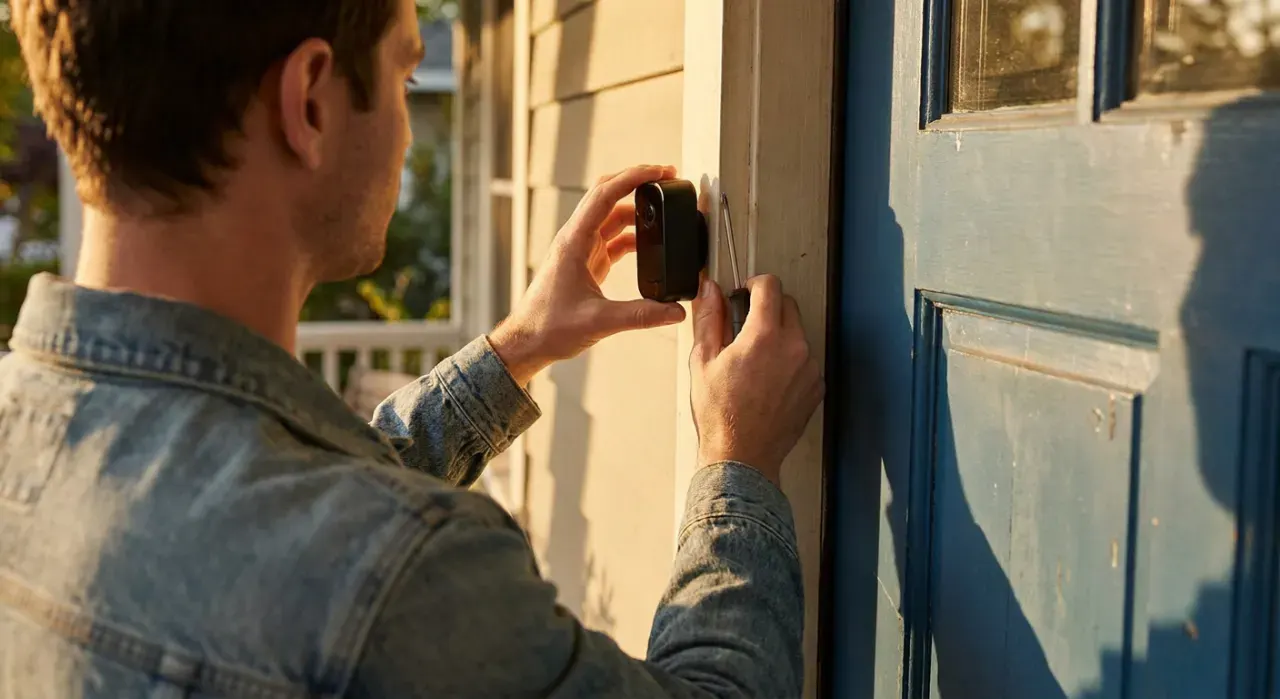
You need almost nothing: a small screwdriver, and a drill only if you are pilot-drilling hardwood trim. Batteries are usually included. A wireless doorbell is the simplest front-door upgrade, but if you want to see who is there and get phone alerts, a camera doorbell is the next step up — compare them in our video doorbell picks, and our video doorbell install guide walks that path. To fold door alerts into a broader system with sensors and cameras, see our DIY security system guide.
Mistakes that cause missed rings
- Skipping the range test. Mounting first, testing later, means re-drilling. Test the chime location before you commit.
- Button on bare metal. Metal kills range. Use a spacer or move to wood or vinyl.
- Chime too far or too walled-off. Real-world range is a fraction of the rating. Keep the chime central or add a second one.
- Ignoring phantom rings. If it rings by itself, change the pairing code — it is interference, not a ghost.
Do you need a pro?
No, never. A wireless doorbell involves zero electrical work and no connection to house wiring, so there is nothing that could require a licensed electrician. It is one of the few home projects with essentially no safety or code considerations at all. If you later decide you want a hardwired camera doorbell that ties into an existing transformer, that is a different, still-DIY-friendly job covered in our video doorbell guide.
We never buy, test or physically handle the products we rank. Recommendations come from aggregated owner reviews, star ratings, review volume and expert consensus — see how we rank.
More from this hub: Smart Home & Security · Installing a video doorbell · Installing a smart lock · Setting up smart plugs · Best video doorbells · How we rank