 Garden
Affiliate Disclosure
Some links on this page are affiliate links. As an Amazon Associate, we earn from qualifying purchases — at no extra cost to you. We do not buy, test, or physically handle the products we cover; our rankings come from aggregated owner reviews, ratings and expert consensus. Commissions never change our verdicts. How we rank · full disclosure.
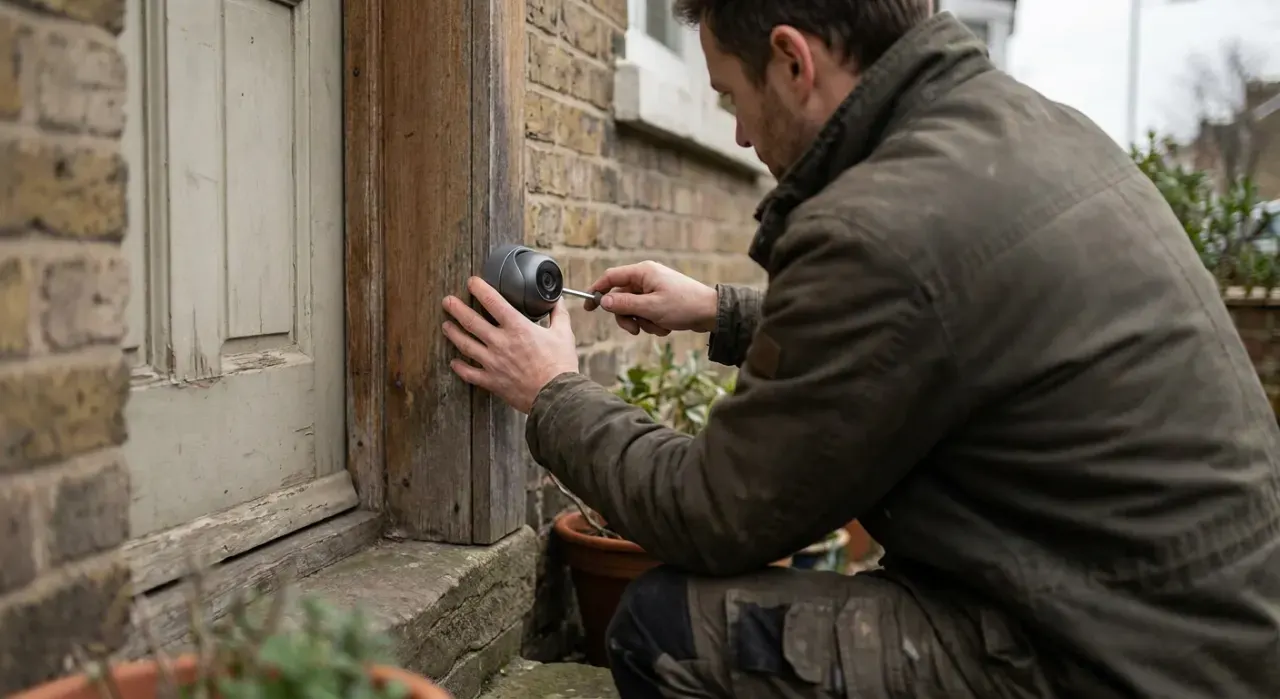
Installing a video doorbell is an easy job that takes 20 to 45 minutes and no special skills. A battery model needs only two screws and a screwdriver; a wired model taps your existing low-voltage doorbell wires. Cost is just the doorbell ($60 to $250). The wiring runs on a 16 to 24-volt transformer, not household 120 volts, so it is safe to DIY. The only judgment calls are transformer voltage and the chime diode. There is no permit and no electrician needed unless you are running brand-new wiring from scratch.
Wired or battery: pick your path
If you have existing doorbell buttons and wires, a wired install gives you continuous power and rings your indoor chime. If you rent, have no wiring, or want the simplest job, a battery model mounts anywhere. Before a wired install, find your transformer (near the panel or furnace) and confirm it reads 16V or higher — a 10V transformer will not run a camera doorbell.
Step-by-step: wired installation
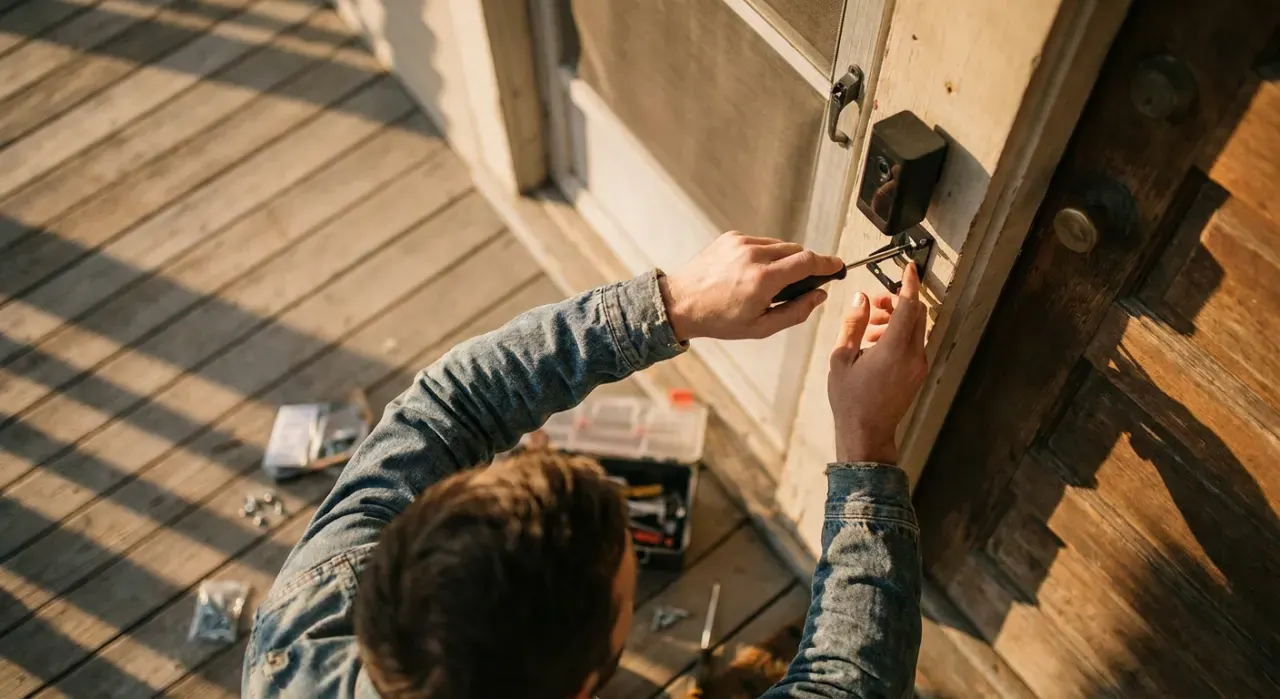
- Turn off power at the breaker. Switch off the circuit feeding the doorbell transformer. Ring the old button to confirm it is dead.
- Remove the old button. Unscrew it, pull it off the wall, and note the two wires. They carry low voltage but disconnect them one at a time so they do not touch.
- Install the chime kit or diode if included. If your doorbell shipped with a power module or diode for the indoor chime, install it at the chime terminals now, following the wiring card. This prevents the weak-ring buzz.
- Mount the bracket. Hold the mounting plate at about 48 inches, level it, and mark the holes. On brick or stucco, drill 1/4-inch holes and set the masonry anchors provided. Use the angled wedge if the walkway is off to one side.
- Connect the wires. Loop each doorbell wire under the two screw terminals on the doorbell and tighten. Polarity does not matter on AC doorbell wiring.
- Attach the doorbell and restore power. Seat the unit on the bracket, secure the security screw at the bottom, and flip the breaker back on.
- Finish in the app. Connect to 2.4 GHz Wi-Fi, set the chime type (mechanical or digital), and test a press. Adjust motion zones so the sidewalk, not the street, triggers alerts.
Battery version: charge it fully, mount the bracket at 48 inches, snap the unit on, and complete the same in-app Wi-Fi and motion setup. No wires, no transformer.
Tools and materials
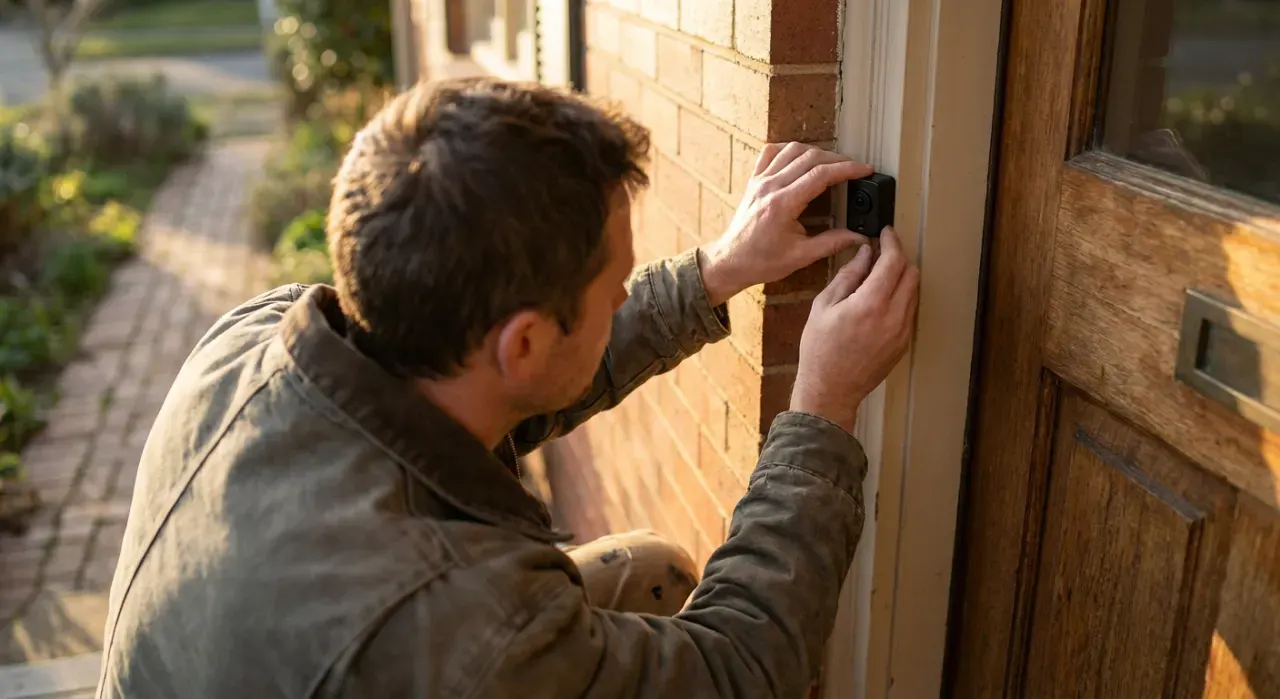
You need a Phillips screwdriver, the tiny security bit that ships in the box, a drill with a 1/4-inch masonry bit for brick or stucco, and a level. If your indoor chime is old or you want a plug-in chime instead, that is worth sorting before you mount. A doorbell is the front-door layer of a wider system — pair it with cameras and sensors from our video doorbell picks and home security camera roundup, and if you are building out coverage, our DIY security system guide covers hubs that unify the alerts.
Mistakes that cause dropouts and buzzing
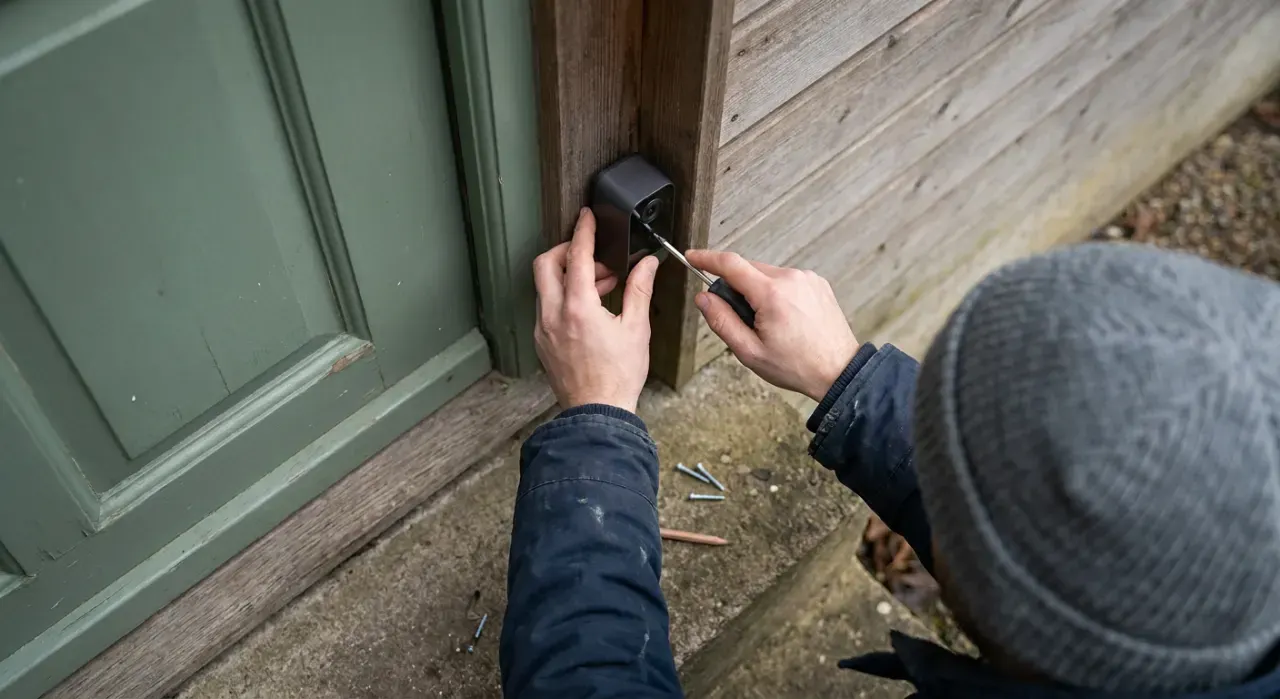
- Undersized transformer. A 10V transformer starves the camera. Confirm 16V or higher, or upgrade it.
- Skipping the chime kit. A digital chime buzzes without its jumper; a mechanical chime hums without its power module. Install the included part.
- Mounting too high. Above shoulder height you capture the tops of heads. Aim for 48 inches and use a wedge if needed.
- Joining 5 GHz Wi-Fi. Most doorbells only use 2.4 GHz. If setup fails at the network step, switch bands.
When to call a pro
The doorbell wiring itself is low-voltage and safe to DIY. Call a licensed electrician only if you need a new transformer installed at the panel, if the existing transformer is scorched, or if there is no doorbell wiring and you want a hardwired run through finished walls. Anything on the 120-volt side of the transformer is electrician territory. A battery doorbell sidesteps all of it.
We never buy, test or physically handle the products we rank. Recommendations come from aggregated owner reviews, star ratings, review volume and expert consensus — see how we rank.
More from this hub: Smart Home & Security · Installing a wireless doorbell · Installing a smart lock · Mounting outdoor cameras · Best video doorbells · How we rank