 Garden
Affiliate Disclosure
Some links on this page are affiliate links. As an Amazon Associate, we earn from qualifying purchases — at no extra cost to you. We do not buy, test, or physically handle the products we cover; our rankings come from aggregated owner reviews, ratings and expert consensus. Commissions never change our verdicts. How we rank · full disclosure.
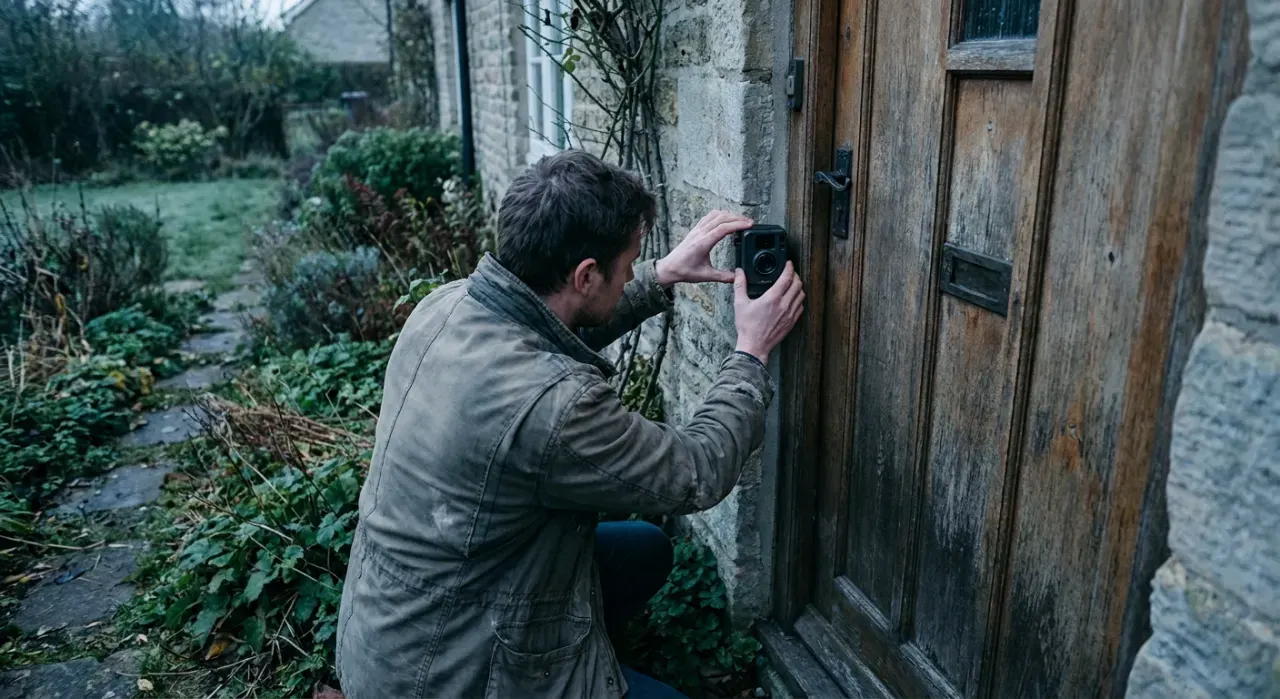
Mounting outdoor security cameras is a half-day DIY project needing a drill, a ladder, and a phone. Battery and Wi-Fi cameras mount in minutes with two screws; wired cameras add cable-routing time. Cost is the cameras themselves ($40 to $200 each). The work is low-risk unless a wired camera needs a new outlet, which is electrician territory. The skill is in placement: right height, right angles, overlapping coverage, and staying clear of a neighbor's privacy. Get the angles right and a modest camera outperforms a pricier one aimed poorly.
Plan placement before you drill
Walk your property and mark the entries: front door, back door, driveway, side yard, basement access. Decide a camera position for each that sees the approach and can also glimpse the base of the next camera, so there are no blind spots. Aim across your own property; use privacy masking to black out any neighbor's windows that fall in frame. Confirm each spot has power or Wi-Fi reach before committing.
Step-by-step mounting
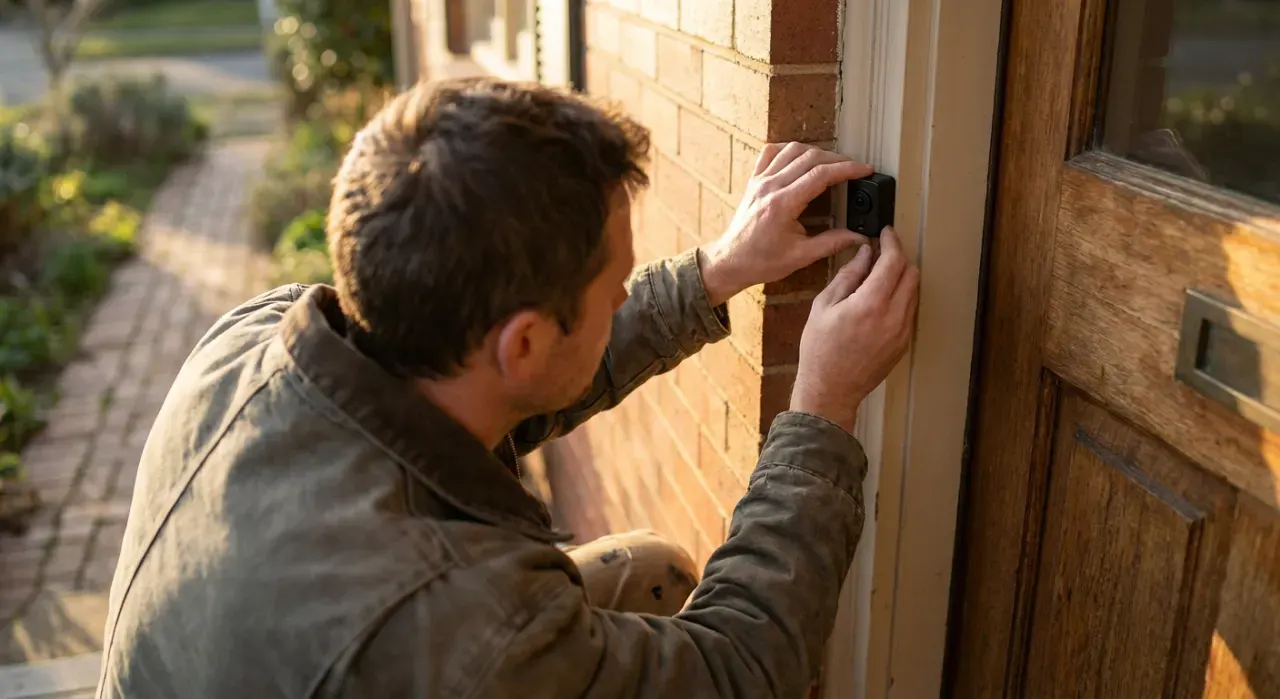
- Set the height and angle. Choose a spot 8 to 10 feet up, ideally under an eave or soffit, angled down toward the target.
- Test the view first. Hold the camera at the spot and check the live app view. Adjust before you drill — this is far easier than re-mounting.
- Mark and pilot-drill. Mark the mounting holes, then drill 1/4-inch pilots. Use masonry anchors for brick, stucco or concrete; wood screws bite directly into soffit and fascia.
- Route the cable (wired only). Drill a downward-sloping cable hole behind the mount into the attic. Leave a drip loop and seal the penetration with exterior silicone.
- Secure the mount. Fasten the base, then attach the camera. Add the angled wedge if a wall mount needs more downward tilt.
- Power and connect. Power the camera (battery, PoE, or plug), then add it in the app over 2.4 GHz Wi-Fi or to your recorder.
- Aim and set zones. Fine-tune the angle on the live view, set motion zones to cover your walkway and ignore the street, and enable privacy masking over any neighbor windows.
- Weatherproof and tidy. Confirm connectors are sealed, cables are secured, and the lens is clear of glare. Recheck the view after dark for infrared coverage.
Tools and materials
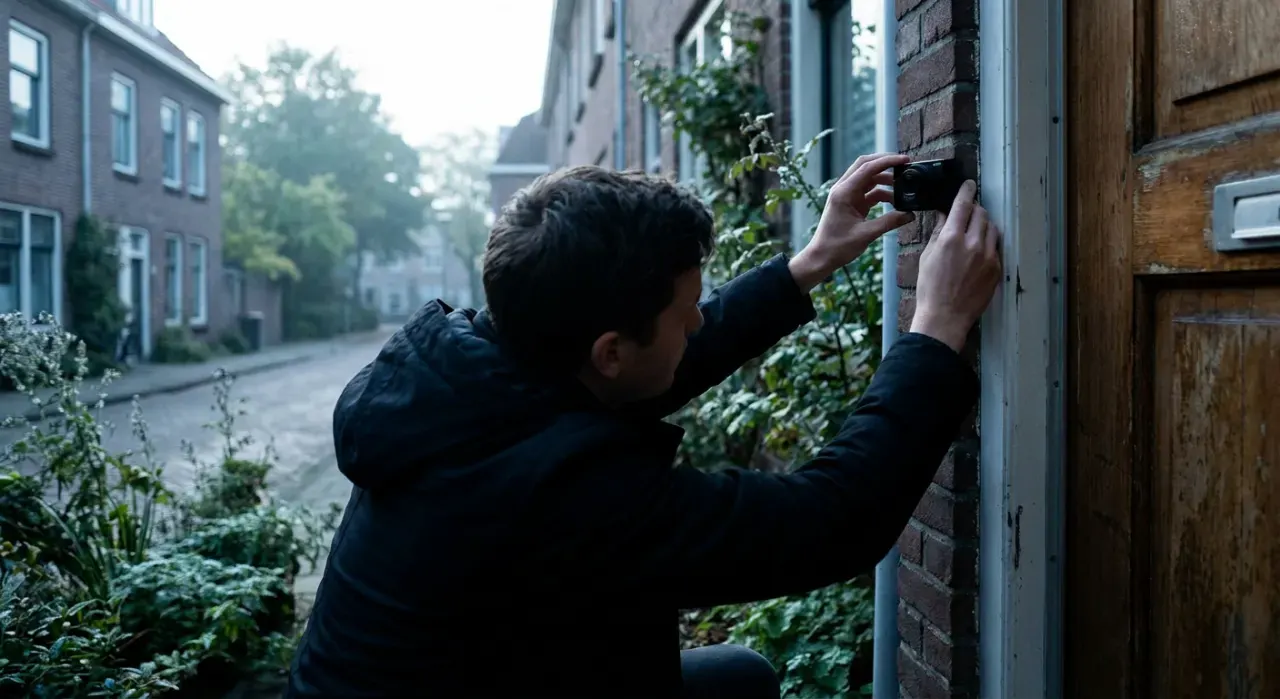
You need a drill with masonry and wood bits, a ladder, exterior silicone, and masonry anchors for brick or stucco. For wired cameras, add a fish tape and weatherproof connectors. Choosing the right camera matters as much as the mount — our security camera picks compare battery, Wi-Fi and PoE models on owner-reported reliability. If you are going fully wired, our wired camera install guide covers cable runs and NVR setup, and a strong network from our Wi-Fi extender guide keeps wireless cameras from dropping. Fold it all into the DIY security system.
Mistakes that ruin coverage
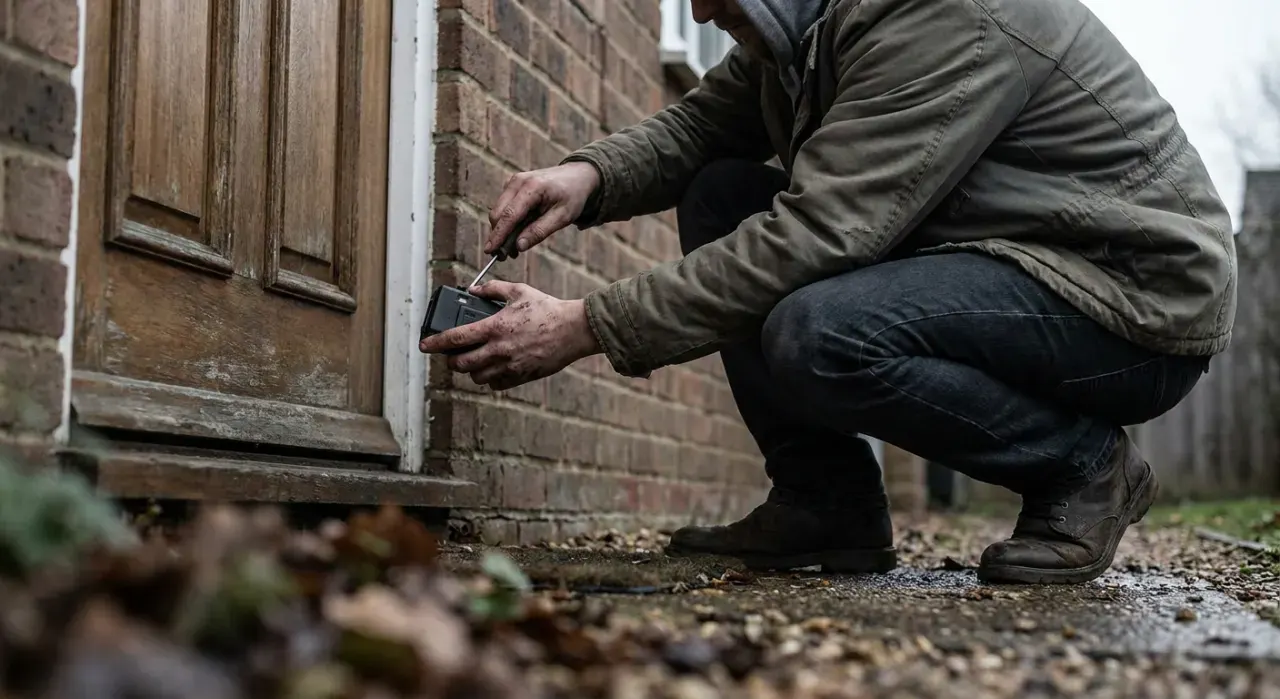
- Mounting too low. Reachable cameras get tampered with and capture foreheads. Aim for 8 to 10 feet.
- Aiming into the sun. Direct sun washes the image out. Face away from sunrise and sunset lines, or use a visor.
- No drip loop. Water tracks into wired connectors and corrodes them. Loop down and seal.
- Filming a neighbor. Beyond being rude, it can break privacy law. Aim at your own property and mask neighbor windows.
When to call a pro
Mounting and aiming cameras is DIY. Call a licensed electrician only if a wired camera or PoE injector needs a new 120-volt outlet where none exists, or if you must route power through walls in ways local code restricts. Two-story eave work also warrants a stable setup and a helper — if you are not comfortable on a tall ladder, hire that part out. Privacy and recording laws differ by state and city, so confirm your local rules before pointing a camera anywhere near shared or public space.
We never buy, test or physically handle the products we rank. Recommendations come from aggregated owner reviews, star ratings, review volume and expert consensus — see how we rank.
More from this hub: Smart Home & Security · Installing a wired camera · Installing a video doorbell · Setting up a DIY security system · Best security cameras · How we rank