 Garden
Affiliate Disclosure
Some links on this page are affiliate links. As an Amazon Associate, we earn from qualifying purchases — at no extra cost to you. We do not buy, test, or physically handle the products we cover; our rankings come from aggregated owner reviews, ratings and expert consensus. Commissions never change our verdicts. How we rank · full disclosure.
Installing a wired PoE security camera system is an intermediate DIY project most handy homeowners finish in a weekend. A single Ethernet cable per camera carries both video and low-voltage power, so there is no separate wiring at each camera. A 4-to-8 camera kit runs $250 to $700. The camera side is low-voltage and DIY-legal, but the NVR still plugs into a 120-volt outlet; adding a new outlet where none exists is the one part that can need a licensed electrician. Budget most of your time for pulling cable cleanly through the attic and walls.
Plan the runs first
Sketch your camera positions and the cable path from each back to a central spot for the NVR (a closet, garage, or utility area near an outlet). Count the runs, add 15 percent to each length for slack and routing, and confirm no single run exceeds 328 feet. Prioritize entries: front door, back door, driveway, and any dark side yard. Overlap fields of view so cameras cover each other's blind spots.
Step-by-step installation
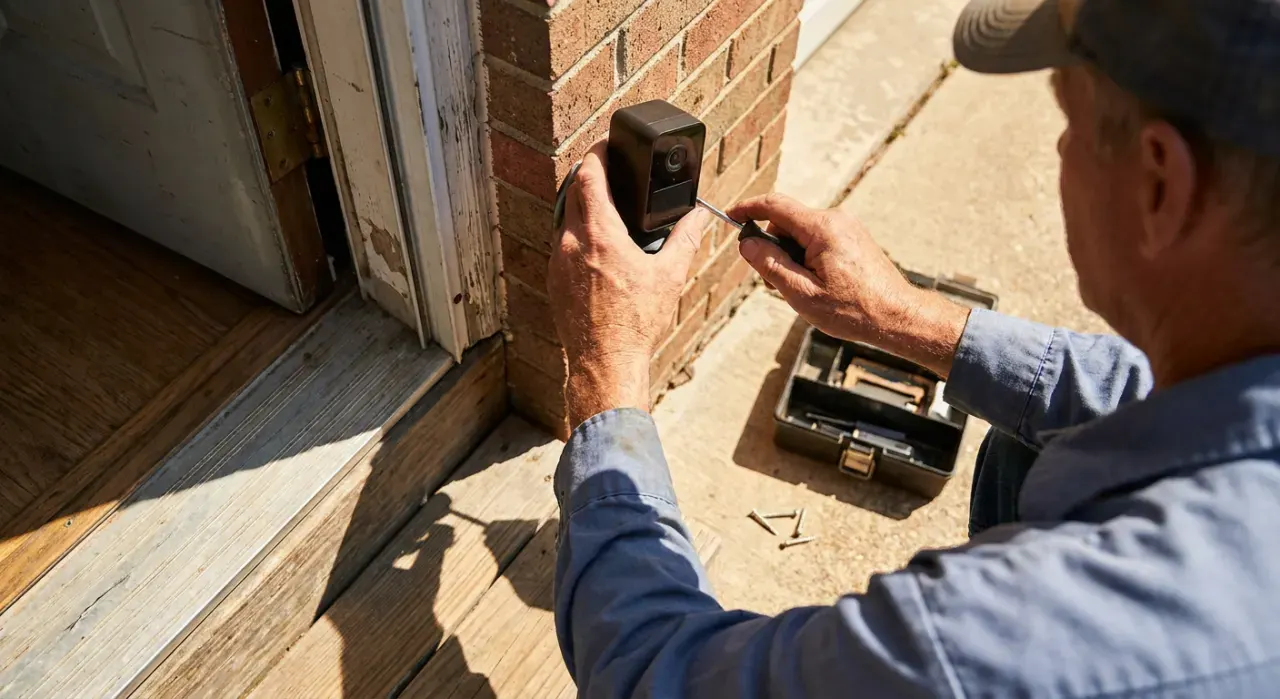
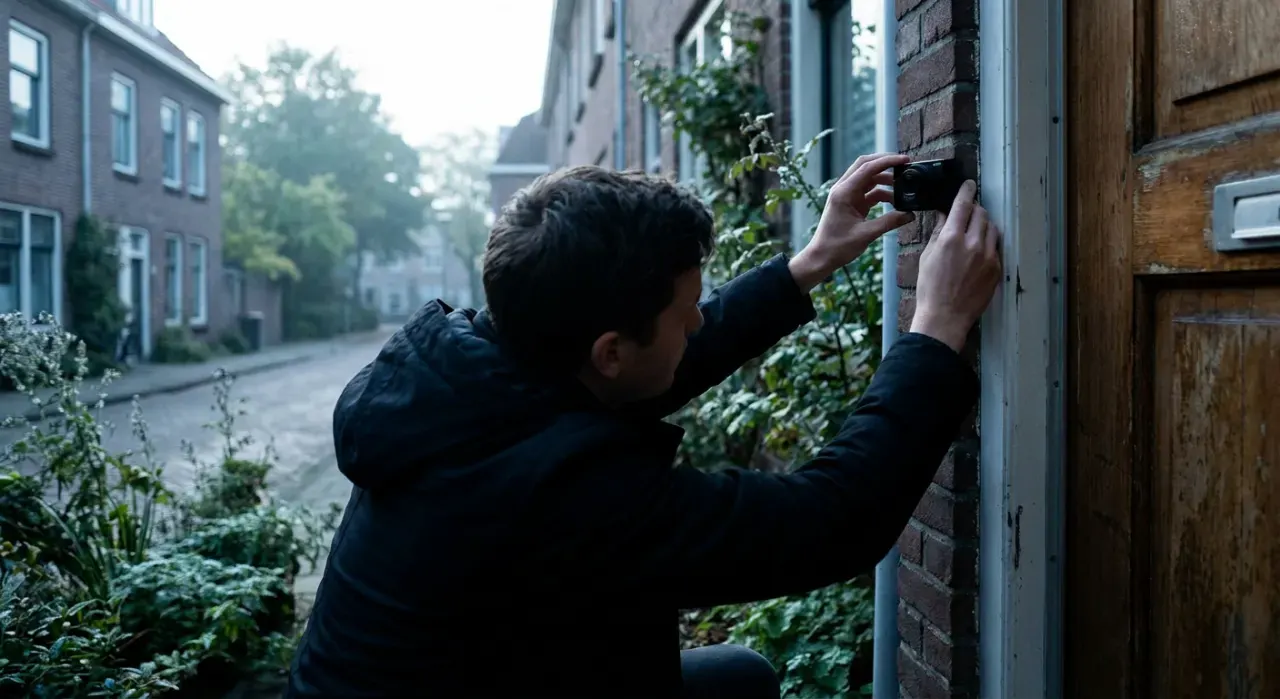
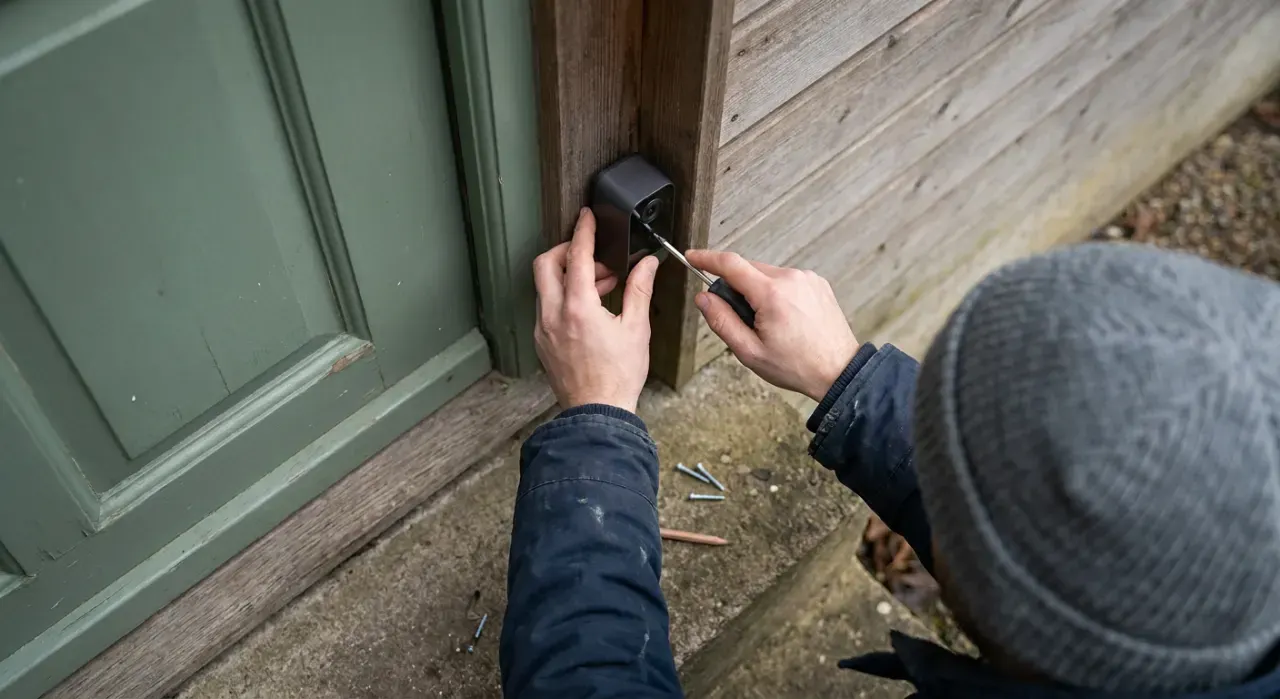
- Mount the cameras. Position each 8 to 10 feet high, angled down toward the target. Mark the holes, drill 1/4-inch pilots, and set the anchors. On brick or stucco use masonry anchors.
- Drill the cable penetration. Bore a downward-sloping hole to the interior or attic. The slope plus a drip loop keeps water out.
- Pull the Ethernet cable. Run Cat6 from each camera to the NVR location through the attic or wall cavities. Keep it at least a few inches from parallel household electrical lines; never share a hole with 120-volt wiring.
- Leave a drip loop. At each outdoor termination, form a downward loop so rain drips off the low point rather than tracking into the connector. Use weatherproof connectors or a junction box, and seal the wall hole with exterior silicone.
- Terminate the cables. If cutting your own ends, crimp RJ45 plugs to the T568B standard and test each with a cable tester before trusting it. Pre-made cables skip this step.
- Connect to the NVR. Plug each camera cable into a numbered PoE port on the recorder. The camera powers up over the same cable.
- Power the NVR and configure. Plug the NVR into a 120-volt outlet, connect a monitor, set the date, time zone and admin password, and format the hard drive for continuous recording.
- Tune each camera. Adjust angle and zoom on the live view, set motion zones to ignore the street, and enable remote access in the app if you want to view away from home.
Tools and materials
You need a drill with masonry and spade bits, a fish tape or glow rod for pulling cable, a cable tester, exterior silicone, and either pre-made outdoor Cat6 cables or a crimper and RJ45 ends. A ladder and a helper make the attic runs far easier. A wired system is the backbone of serious coverage; compare recorders and camera specs in our home security camera picks, and if you want a mixed setup, our DIY security system guide covers systems that combine wired cameras with sensors and a hub. A solid router or Wi-Fi extender keeps remote viewing smooth.
Mistakes that cause camera failures
- No drip loop. Water tracks into the connector and corrodes it within a season. Always loop down before the termination.
- Cable run beside electrical wiring. Parallel 120-volt lines induce noise and, worse, create a hazard. Keep low-voltage separate.
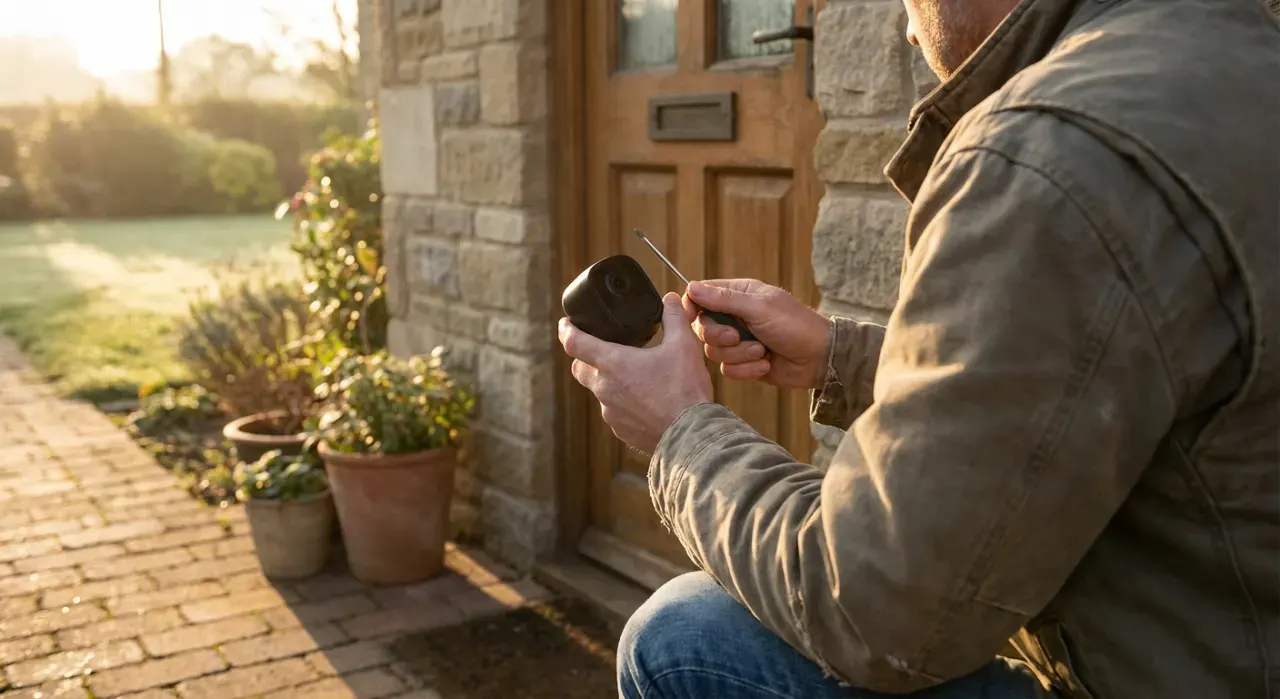
- Mounting too low. A reachable camera gets tampered with and captures foreheads. Aim for 8 to 10 feet, angled down.
- Not testing terminations. A bad crimp shows as a dead or flickering camera. Test every cable before you close up the wall.
When to call a pro
The camera and its low-voltage cable are DIY. Call a licensed electrician if you need a new 120-volt outlet installed for the NVR or a PoE injector, if a fixture-replacement power source is involved, or if runs must pass through a firewall or conduit that local code restricts. Any splice into household 120-volt wiring is electrician work. If a camera must be fed from a mains circuit rather than PoE, that portion is not a DIY task. Codes for exterior penetrations and low-voltage runs vary by jurisdiction, so check your local rules.
We never buy, test or physically handle the products we rank. Recommendations come from aggregated owner reviews, star ratings, review volume and expert consensus — see how we rank.
More from this hub: Smart Home & Security · Mounting outdoor cameras · Installing a Wi-Fi extender · Setting up a DIY security system · Best security cameras · How we rank