 Garden
Affiliate Disclosure
Some links on this page are affiliate links. As an Amazon Associate, we earn from qualifying purchases — at no extra cost to you. We do not buy, test, or physically handle the products we cover; our rankings come from aggregated owner reviews, ratings and expert consensus. Commissions never change our verdicts. How we rank · full disclosure.
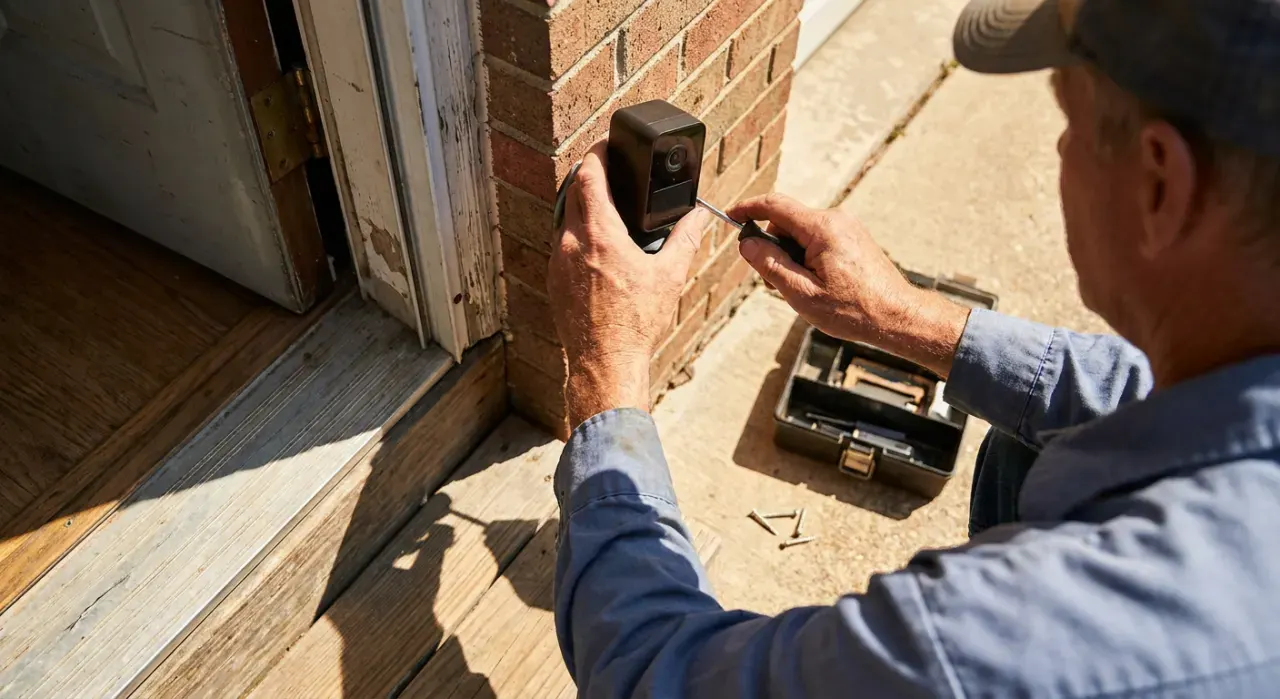
Setting up a DIY home security system takes an afternoon, needs no more than a screwdriver, and requires no professional installer. A starter kit runs $150 to $400, with optional monitoring at $10 to $30 a month you can skip entirely. Everything is wireless and adhesive- or screw-mounted, with nothing touching your 120-volt wiring, so there is no permit and no electrician. The real work is planning: deciding what to cover, placing the base station where it has signal, and testing the arm-disarm cycle so you never fight false alarms.
Plan coverage before you unbox
Sketch your floor plan and mark every exterior door, the accessible ground-floor windows, and the main rooms an intruder would cross. Prioritize: doors first, then a motion sensor covering the largest common space and the path to the bedrooms, then windows out of street view. A camera at the front and back adds visual verification. Buy the essentials first and expand rather than over-buying sensors you will not mount.
Step-by-step setup
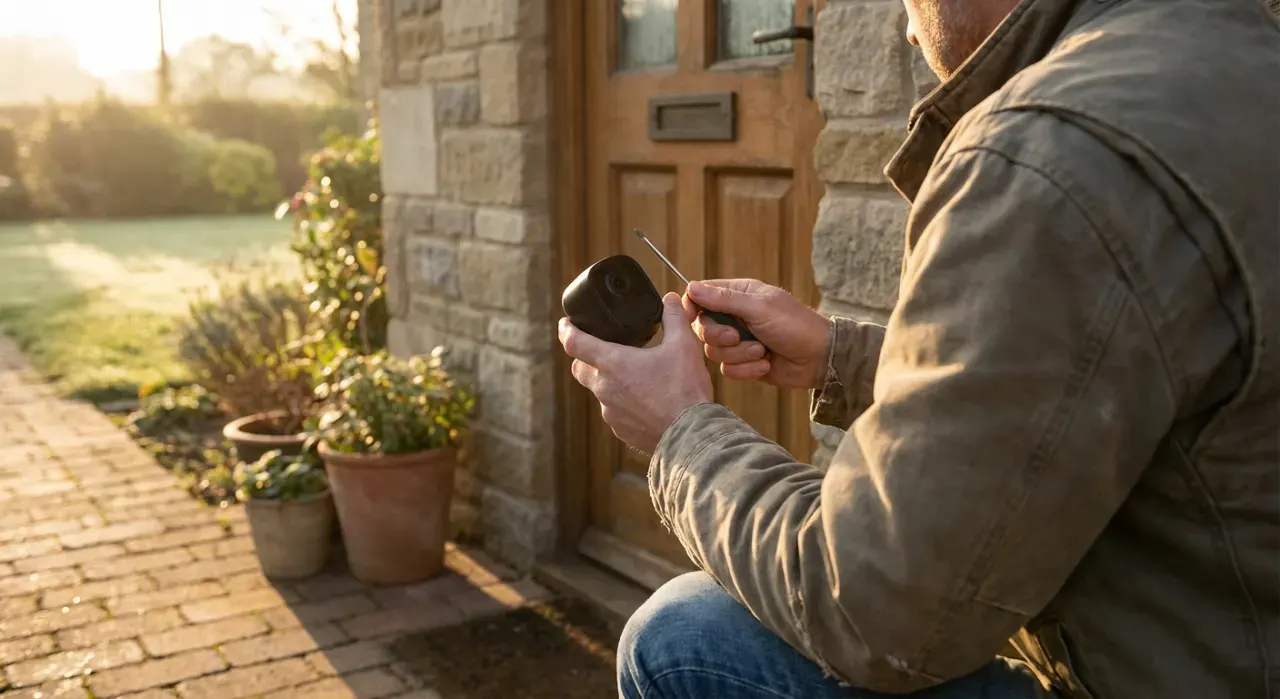
- Place and power the base station. Set it central, off the floor, near the router but not jammed against it. Plug it in and let it charge its backup battery and update firmware.
- Install the app and create an account. Set up two-factor authentication and add the base station by scanning its code.
- Add and mount the keypad. Mount it by the door you use most, at a comfortable height, so you can arm on the way out and disarm on the way in.
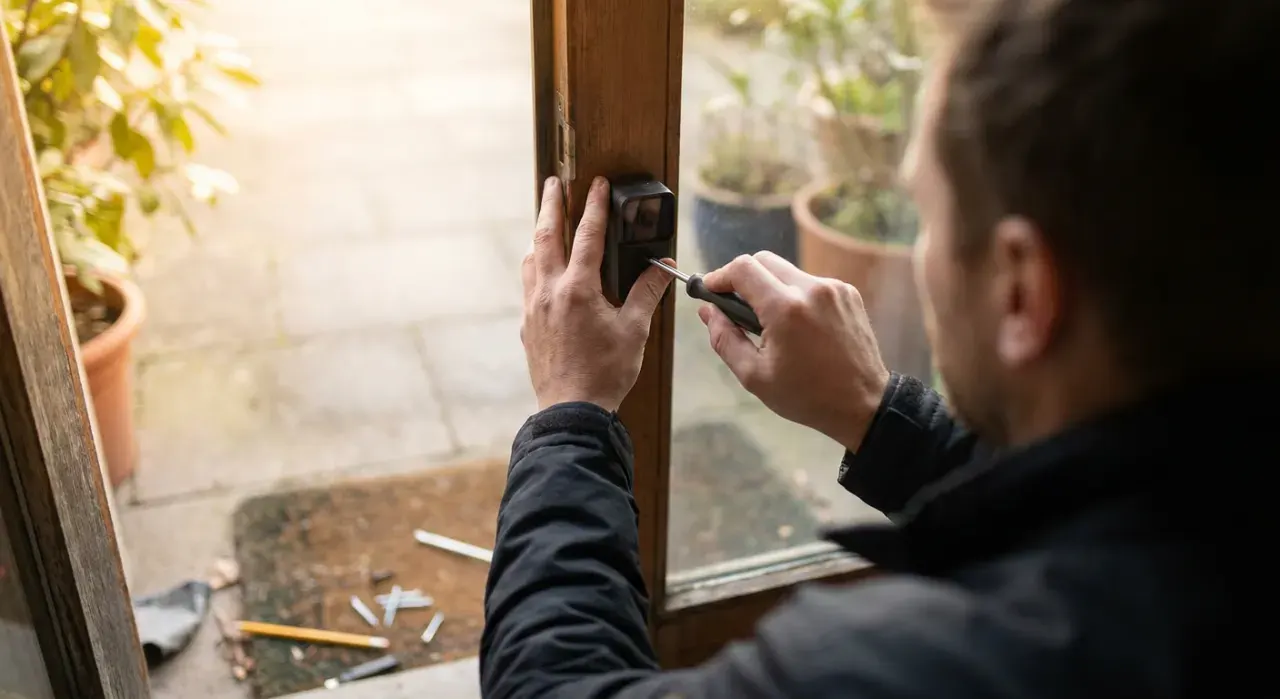
- Mount entry sensors. Put a contact sensor on each exterior door, body on the frame and magnet on the door, aligned within a quarter inch. Add sensors to accessible windows.
- Place motion sensors. Mount in a corner 6 to 8 feet high, angled to cover the room's traffic path. Use pet-immune sensors and keep them above pet height to avoid false trips.
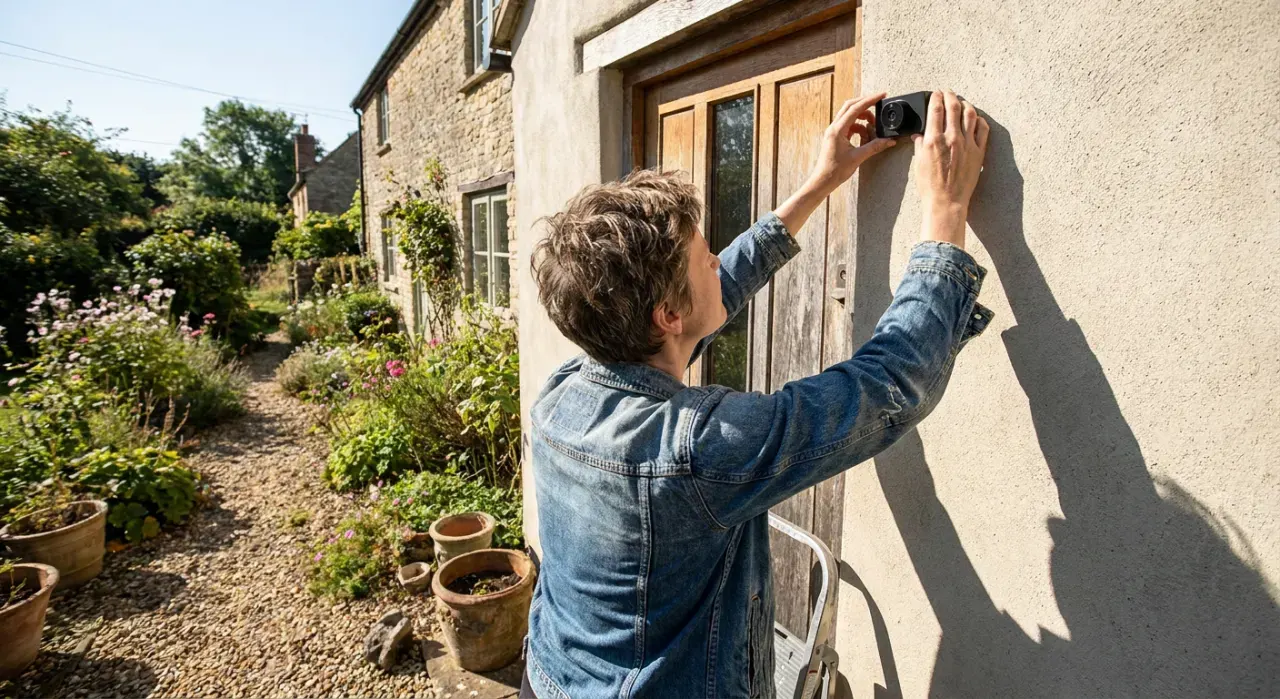
- Add cameras and extras. Position a camera at the front and back entries, and add glass-break or smoke sensors if your kit includes them.
- Set entry and exit delays. Give yourself enough seconds to leave after arming and to disarm after entering. This single setting prevents most self-inflicted false alarms.
- Test the full cycle. Arm the system, trip a door and a motion sensor, confirm the alert and siren, then disarm. Re-test after adding any device or changing settings.
Choose your monitoring
Self-monitoring sends alerts to your phone for free; you respond. Professional monitoring adds a center that can dispatch responders, valuable if you travel or want cellular backup and verified response. Start self-monitored, and add pro monitoring later if your needs grow — most systems let you switch without new hardware.
Tools and components
You need only a screwdriver, rubbing alcohol for adhesive prep, and a drill for screw mounts on rough surfaces. The pieces come from a few core categories: compare full kits in our DIY security system picks, cameras in our security camera roundup, and door hardware in our smart lock guide. For the mounting details, our contact sensor install guide and outdoor camera mounting guide cover the fiddly parts.
Mistakes that undermine a system
- Base station buried. Poor signal drops sensors. Keep it central and open.
- Motion sensors at pet height. False alarms follow. Use pet-immune models mounted high.
- No entry/exit delay. You trip your own alarm daily. Set sensible delays.
- Skipping the test cycle. An untested system is a guess. Arm, trip, disarm before you trust it.
Do you need a pro?
No for the setup itself — DIY systems are designed to be homeowner-installed with no electrical work. Consider a professional only for a very large property, for hardwired integration with existing alarm wiring, or if you want a monitoring company to design the coverage. Note that some municipalities require an alarm permit to register a monitored system for police response; that is a local paperwork step, not an installation requirement, and rules vary by jurisdiction, so check your city's ordinance.
We never buy, test or physically handle the products we rank. Recommendations come from aggregated owner reviews, star ratings, review volume and expert consensus — see how we rank.
More from this hub: Smart Home & Security · Installing door and window sensors · Mounting outdoor cameras · Installing a wired camera · Best DIY security systems · How we rank