 Garden
Affiliate Disclosure
Some links on this page are affiliate links. As an Amazon Associate, we earn from qualifying purchases — at no extra cost to you. We do not buy, test, or physically handle the products we cover; our rankings come from aggregated owner reviews, ratings and expert consensus. Commissions never change our verdicts. How we rank · full disclosure.
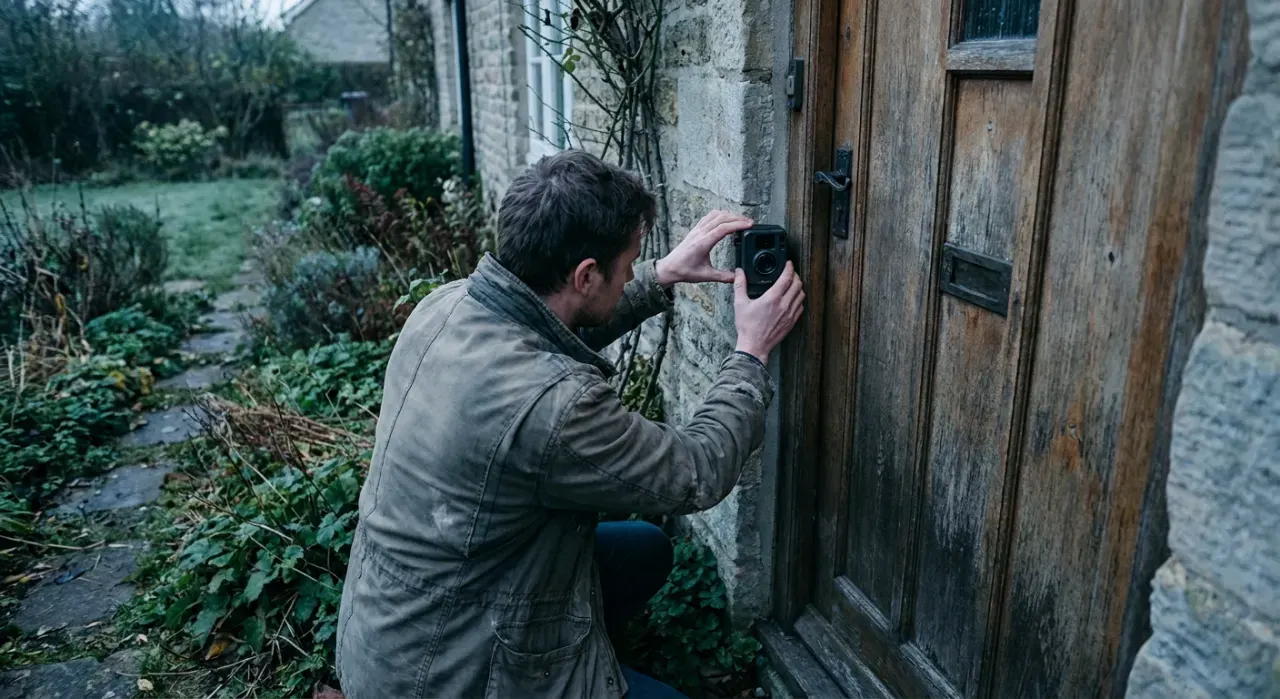
Installing a door or window contact sensor is a 10-minute, no-tools job using the included adhesive. Each sensor is two pieces: a body on the fixed frame and a magnet on the moving door or sash. Cost is $15 to $30 per sensor. There is no wiring and no electrical risk, so no permit and no pro. The whole trick is keeping the two pieces aligned and within a quarter inch when closed, and choosing which openings actually need coverage. Most sensors report to a hub or security base station that turns an open into an alert.
Plan your coverage first
Walk the house and list every ground-floor exterior door, then accessible ground-floor and basement windows, then any upper window reachable from a roof or tree. Cover the doors an intruder would use and the windows out of street view before spending on rarely used openings. This priority order gives you real protection without a sensor on all forty windows.
Step-by-step installation
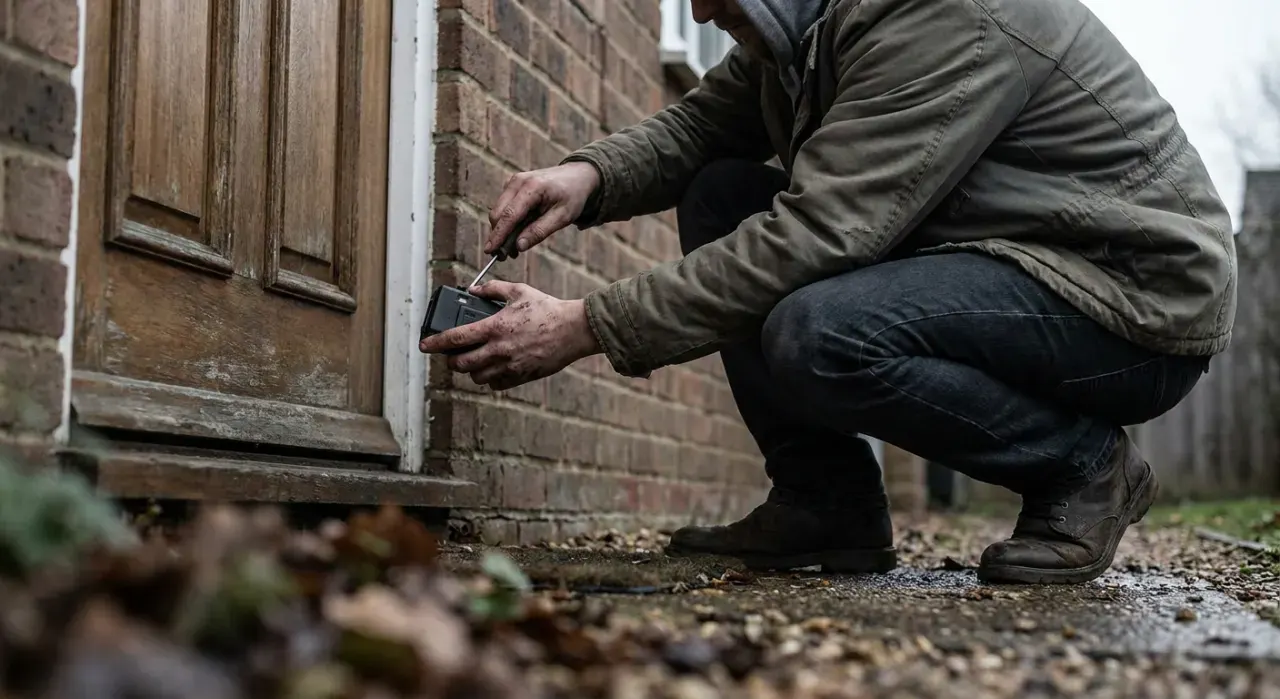
- Add the sensor to your system. In the hub or security app, put the sensor in pairing mode (usually by inserting the battery or pressing a tab) and add it near the hub before mounting.
- Identify the two pieces. The larger body holds the battery and radio; it mounts on the stationary frame. The smaller magnet mounts on the moving door or window.
- Clean the surfaces. Wipe both mounting spots with rubbing alcohol and let them dry. Adhesive fails on dust and grease.
- Position for alignment. With the door or window closed, hold both pieces so the alignment marks line up and the gap between them is a quarter inch or less. Mark or note the spots.
- Mount the body on the frame. Peel the adhesive and press it firmly for 30 seconds. On rough or exterior surfaces, use the screws instead.
- Mount the magnet on the door. Press it opposite the body, marks aligned. Use spacers if the door and frame are not flush so the two pieces sit close.
- Test open and closed. Open the door and confirm the app or panel shows open; close it and confirm it shows closed. Adjust if it stays open when shut (gap too big).
- Set the automation or alert. Decide what an open triggers: a phone notification, a chime, a light, or an alarm when armed. Test the full chain.
Tools and materials
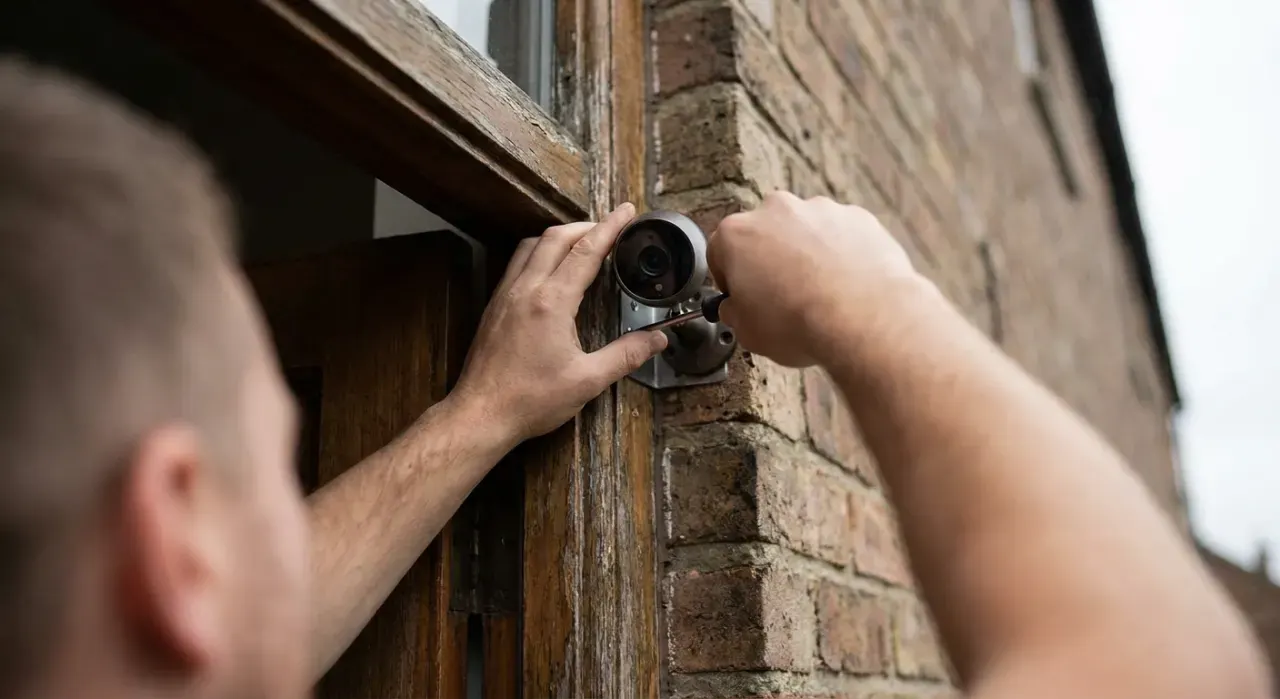
Usually nothing but rubbing alcohol and a cloth; a screwdriver only if you screw sensors down. Contact sensors are the low-cost backbone of a layered system — they pair with the hub in our smart home hub guide and slot into the base stations covered in our DIY security system picks. Combine an open-door trigger with a smart plug to switch on a lamp, or a camera to start recording. That layering is what turns a sensor from a chime into real security.
Mistakes that cause false alerts
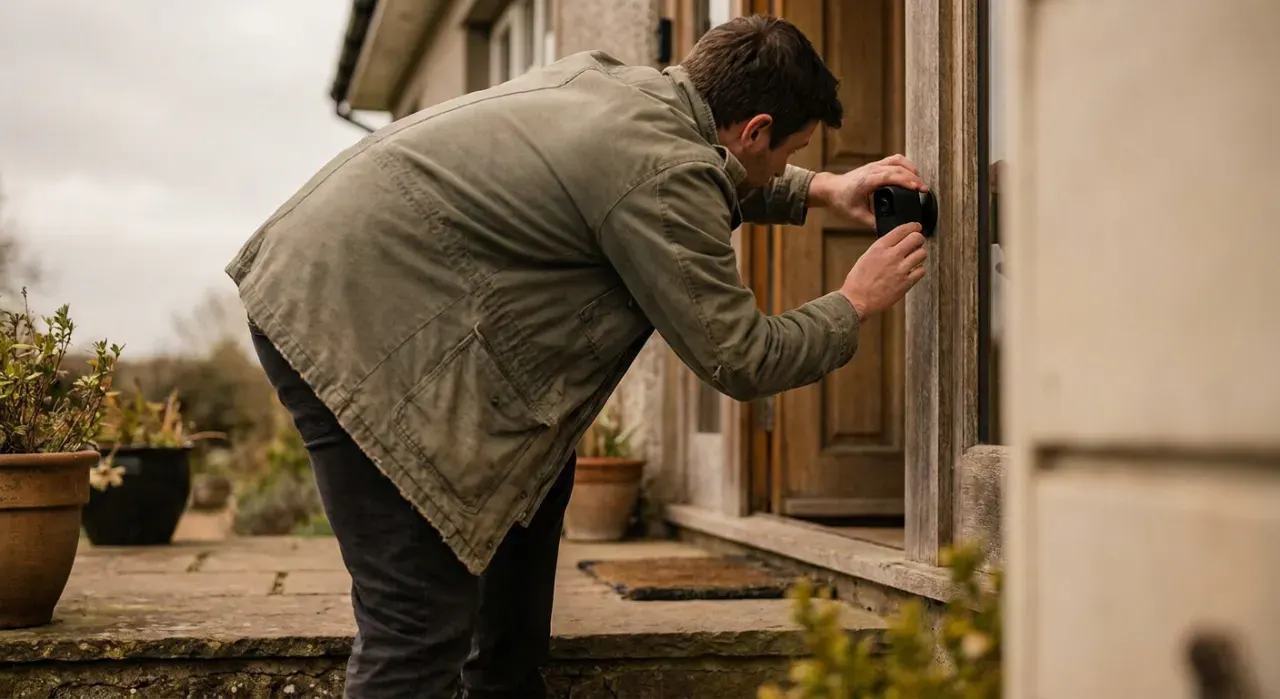
- Gap too wide. More than a quarter inch and the sensor reads open when closed. Use spacers to close it.
- Pieces reversed. The body goes on the frame, the magnet on the moving part — not the other way.
- Dirty surface. Adhesive lets go on dust and grease. Clean with alcohol first.
- Mounting before pairing. Pair near the hub first; a sensor that will not pair once mounted is a frustrating fix.
Do you need a pro?
No. Contact sensors are entirely adhesive-and-battery with no electrical connection, so a licensed trade is never required. This is among the safest DIY jobs in the home. Professional monitoring is a separate, optional service you can subscribe to for many DIY systems, but installing the sensors themselves is always a homeowner task with no code or permit implications.
We never buy, test or physically handle the products we rank. Recommendations come from aggregated owner reviews, star ratings, review volume and expert consensus — see how we rank.
More from this hub: Smart Home & Security · Setting up a DIY security system · Setting up a smart home hub · Installing a smart lock · Best DIY security systems · How we rank