 Garden

Affiliate Disclosure
Some links on this page are affiliate links. As an Amazon Associate, we earn from qualifying purchases — at no extra cost to you. We do not buy, test, or physically handle the products we cover; our rankings come from aggregated owner reviews, ratings and expert consensus. Commissions never change our verdicts. How we rank · full disclosure.
Setting up a smart home hub is a no-tools, 30-minute job: plug it in, download the app, and add devices one at a time. There is nothing to wire and no cost beyond the hub ($40 to $130). A hub is worth it when you want low-power Zigbee, Z-Wave or Thread devices, a single app across brands, or automations that keep running if the internet drops. If every device you own is Wi-Fi and lives happily in one app already, you may not need a hub at all. No permit, no pro, no risk.
What a hub does and where to put it
A hub is a translator and traffic controller: it speaks the low-power protocols phones cannot, and it becomes the center of a wireless mesh. Place it central to your home, out in the open, off the floor, and a few feet from your Wi-Fi router to avoid 2.4 GHz interference. A closet-buried hub is the number-one reason edge devices drop off.
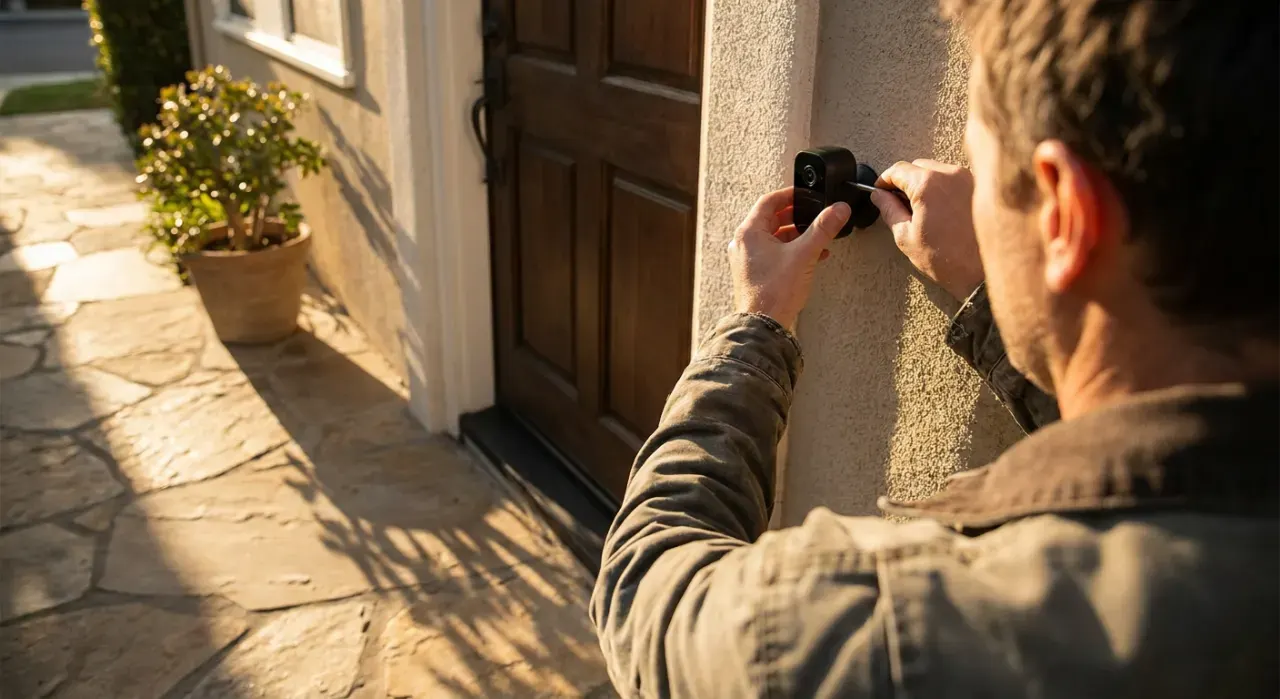
Step-by-step setup
- Position and power the hub. Set it in a central spot and connect it. Many hubs prefer a wired Ethernet link to the router for reliability; use it if you can.
- Install the app and create an account. Download the hub maker's app, create an account, and enable two-factor authentication. Grant local network and Bluetooth permissions so the app can discover the hub.
- Add the hub to the app. Follow the guided flow: scan the QR code on the hub or enter its code, connect it to your 2.4 GHz Wi-Fi (or confirm the Ethernet link), and let it update firmware. Wait out the firmware update fully before adding devices.
- Add devices one at a time. Put each device into pairing mode near the hub, then add it in the app. Adding devices close, then moving them to their final spot, gives the strongest initial pairing.
- Build the mesh outward. Add mains-powered devices (smart plugs, bulbs) first — they act as repeaters that extend the mesh — before adding battery sensors at the edges.
- Name and group devices. Give each a clear name and assign it to a room. Consistent naming makes voice control and automations far easier to manage later.
- Create your first automations. Start simple: lights on at sunset, a notification if a door sensor opens while you are away. Test each before adding complexity.
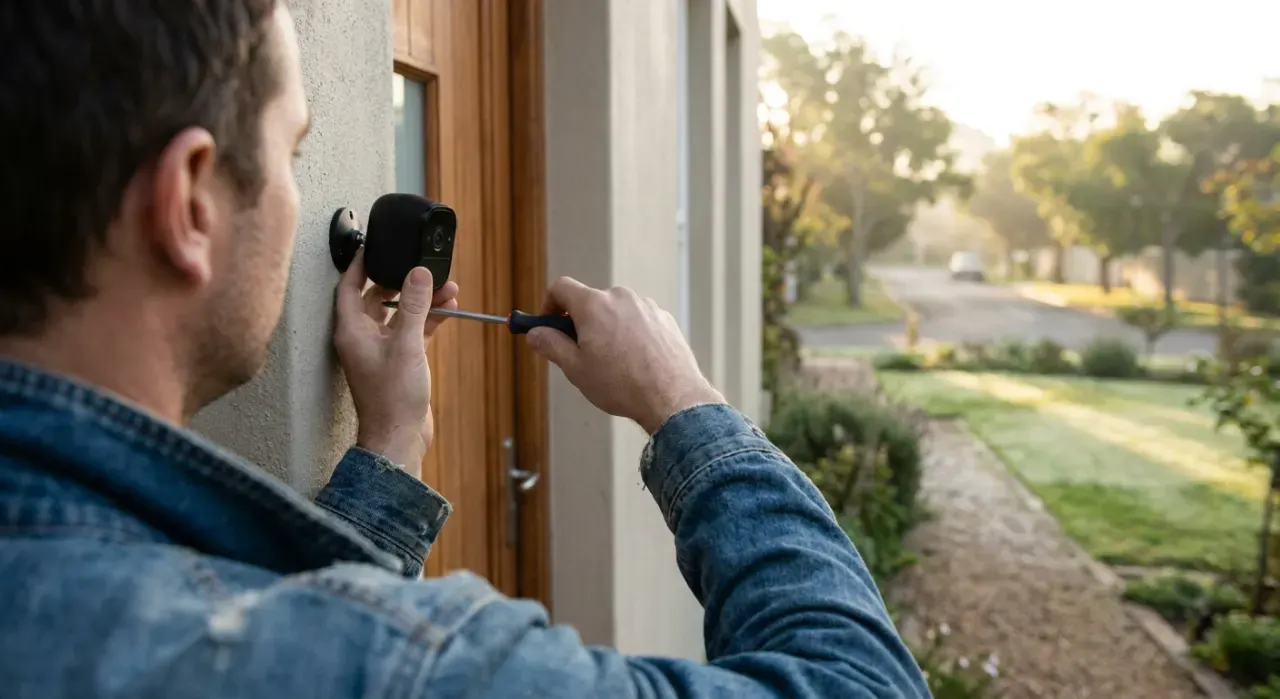
Matter and Thread, briefly
Thread is the low-power mesh network; Matter is the shared language that lets brands interoperate. Choose a hub that acts as a Thread border router and supports Matter, so a Thread lock and a Wi-Fi camera can coexist in one app. This future-proofs your setup as more devices ship Matter-native.
Devices worth adding
No tools are needed for the hub itself, but the devices you connect are the point. Smart plugs are the cheapest entry and double as mesh repeaters — see our smart plug picks. To fold in security, our DIY security system guide covers hubs that also handle sensors and sirens, and a smart lock is a natural first automation target. If devices at the edges of the house struggle, a stronger network from our Wi-Fi extender guide helps the Wi-Fi devices while repeaters help the mesh ones.
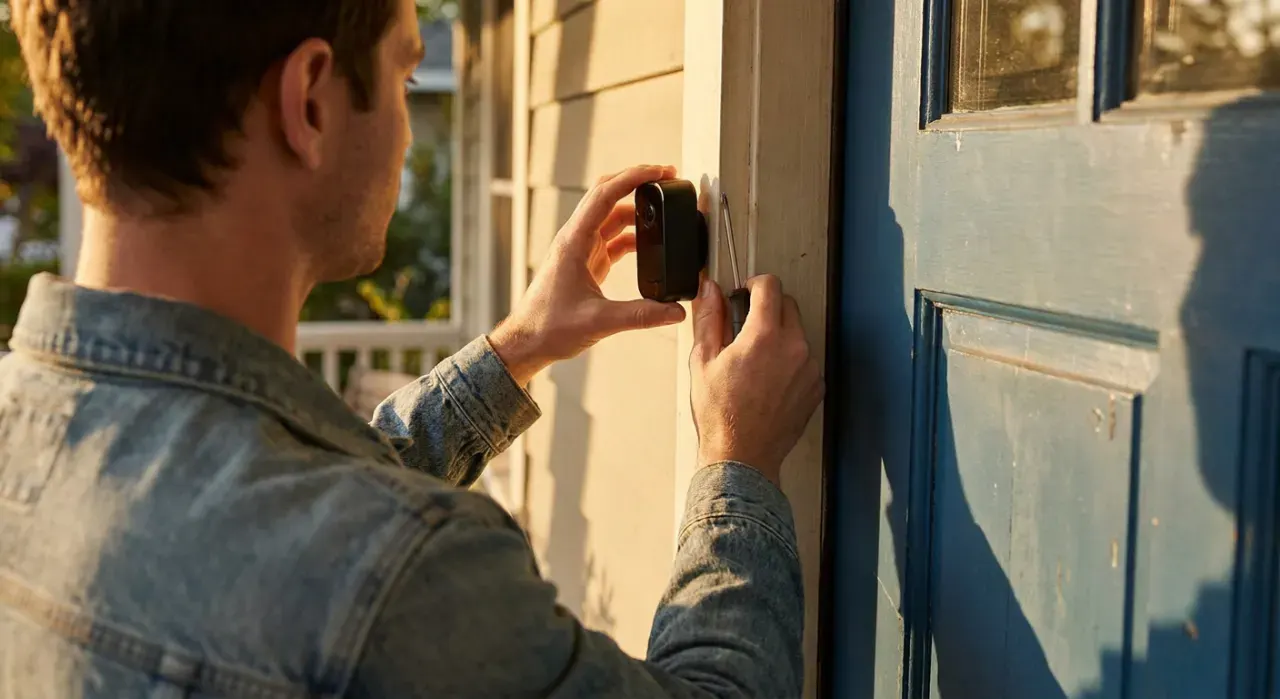
Mistakes that cause dropouts
- Hub in a closet. Walls and metal shrink the mesh. Central and open is the rule.
- Adding battery devices before repeaters. Build the mesh with mains-powered devices first, then the edges reach.
- Skipping the firmware update. Pairing before the hub finishes updating causes half-added, flaky devices.
- Hub jammed against the router. 2.4 GHz Wi-Fi interferes with Zigbee and Thread. Give them a few feet of separation.
Do you need a pro?
No. Hub setup is entirely plug-and-app with no electrical or structural work, so there is nothing here that requires a licensed trade. The only time you would bring in help is if you are also hardwiring devices that touch 120-volt circuits, such as an in-wall smart switch, in which case that specific wiring is the electrician's job, not the hub setup.
We never buy, test or physically handle the products we rank. Recommendations come from aggregated owner reviews, star ratings, review volume and expert consensus — see how we rank.
More from this hub: Smart Home & Security · Setting up smart plugs · Installing door and window sensors · Setting up a DIY security system · Best smart plugs · How we rank