 Garden

Affiliate Disclosure
Some links on this page are affiliate links. As an Amazon Associate, we earn from qualifying purchases — at no extra cost to you. We do not buy, test, or physically handle the products we cover; our rankings come from aggregated owner reviews, ratings and expert consensus. Commissions never change our verdicts. How we rank · full disclosure.
Fix a deep pantry by putting everything past 14 inches on something that pulls out or spins, and by pairing the back row with the same item as the front row. Depth is not extra storage on a static shelf — it is a hiding place. Convert two or three shelves to slide-out bins or drawers, use lazy susans in corners and for bottles, and reserve genuinely static deep space for seasonal equipment you only need twice a year. Budget three to four hours and $60 to $250 depending on whether you use bins or retrofit drawer hardware.
We never buy, test or physically handle the products we rank; recommendations come from aggregated owner reviews and expert consensus, described in how we rank. More at the storage and organization hub.
The 14-inch rule
Stand at your pantry door and look at a shelf at chest height. Everything within about 14 inches of the front edge is visible and reachable without moving anything. Everything beyond it requires you to remove the front row first, which means in practice you do not — you buy another jar instead.
Closet pantries built from standard wire or wood closet shelving are usually 16, 20 or 24 inches deep. That last 6 to 10 inches is where the expired food lives. The whole strategy below is about converting that dead zone into something you can access in one motion.
Step 1: Measure and map (20 minutes)
Measure shelf depth, width and the clear height between shelves before buying anything. Bins that are two inches too deep will not clear the door frame, and bins two inches too shallow leave a permanent gap at the back that fills with loose packets.
| Shelf depth | Best approach | Typical container |
|---|---|---|
| 12–14 in | Static shelf, single row | Open-front bins, can risers |
| 16–18 in | Front row static, back row paired backstock | Two-deep bins, tiered risers |
| 20–24 in | Convert to pull-out | Slide-out drawers, handled bins 18–22 in deep |
| Corner or L-shape | Rotate | Lazy susan, 12–18 in diameter |
Leave about 1 to 2 inches of clearance behind a pull-out bin and half an inch each side. Also check the door swing — a bin that clears the shelf but hits the door frame on the way out is a bin you will stop using.
Step 2: Convert the deep shelves to pull-out
Two routes, and the cheap one works fine.
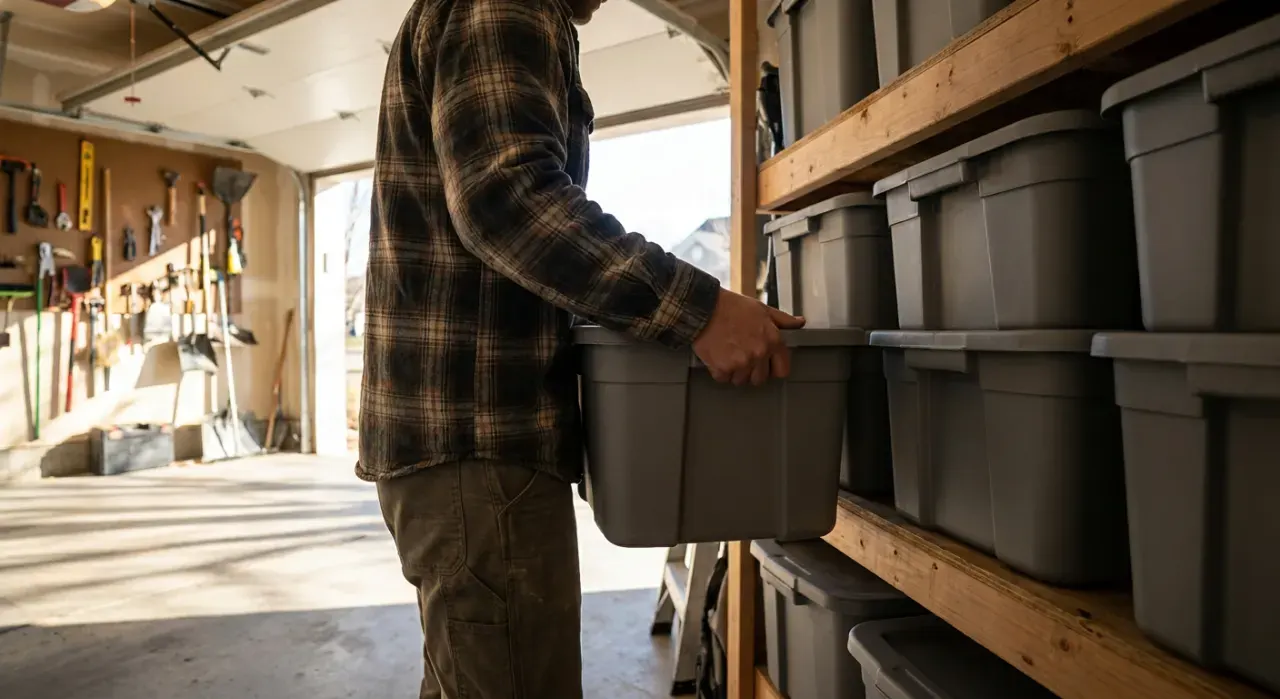
Handled bins ($8 to $25 each). A rigid bin with a front handle, sized to the shelf depth, holding one category. You pull it out, take the item, push it back. No installation, no hardware, works on wire shelving. This is the highest-return move in a deep pantry and it is what most households should do first.
Retrofit slide-out shelves ($25 to $150 each). Wire or plastic units on drawer glides, screwed to the shelf below. Roughly 20 to 40 minutes each to install: measure, mark, drill pilot holes, mount the glide rails level, attach the tray. Wood units with soft-close hardware sit at the top of that price band. They give smoother access than bins and hold more weight, at the cost of about an inch of shelf width.
Either way, follow the one-category rule. A bin holding pasta, snacks and cleaning supplies together will be searched instead of pulled, which defeats the point. Ranked options are in best pantry organizers and best storage bins.
Step 3: Pair front and back rows
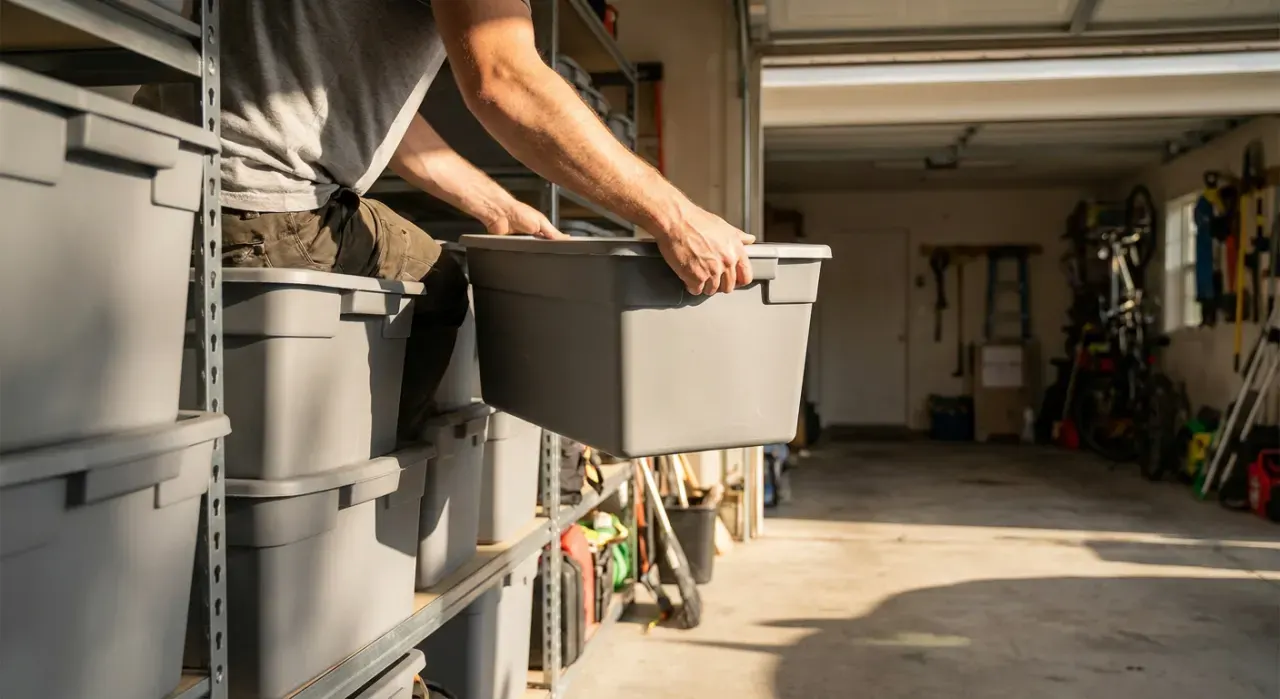
For any shelf that stays static, the discipline is simple: the back row must be the same item as the front row. Front row of chicken stock, back row of chicken stock. When a front gap appears, you slide one forward without needing to see anything.
Mixed front-to-back is the state that generates duplicates, because you genuinely cannot know what is behind the beans. Tiered can risers help on shallower shelves by lifting the back row into view, but they only work up to about 16 inches of depth — beyond that the third tier is still hidden.
Step 4: Rotate the awkward stuff
Lazy susans solve two specific deep-pantry problems that bins do not. Corners, where a bin can only access the front face and the corner volume is unreachable. And bottles — oils, vinegars, sauces, syrups — which are tall, narrow, easy to knock over and impossible to read from the side.
Choose 12 to 18-inch diameter to suit the shelf, with a raised lip if you are spinning bottles. Two smaller susans usually beat one large one on a wide shelf, because a large one wastes the corners of the shelf rectangle.
Step 5: Assign the depth deliberately
Once access is solved, assign by frequency the same way you would in any pantry:
- Prime band, 30 to 60 inches high, front 14 inches: daily and weekly food.
- Pull-out bins, any height: categories you rummage through — snacks, baking, packets.
- Deep static back, above eye level: paper goods, party supplies. Light only, and nothing heavy overhead.
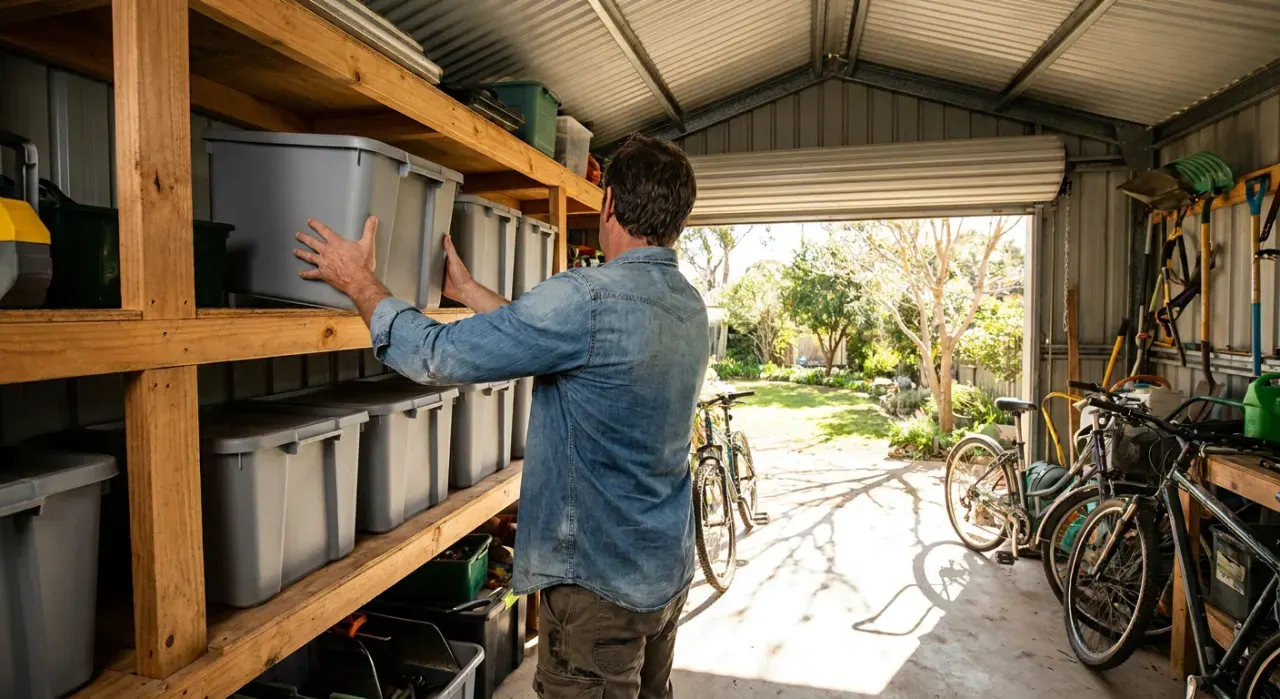
- Deep static back, floor level: bulk buys, cases of drinks, pet food. Heavy goes low.
- The genuine dead corner: seasonal bakeware, canning kit, the turkey roaster.
Leave about 20 percent slack on each shelf. A deep pantry filled wall to wall reverts to chaos on the first big grocery run.
Step 6: Label the front face of everything
In a deep pantry the label is doing more work than in a shallow one, because the label is often all you can see. Put it on the handle end of every pull-out bin, in text large enough to read from the doorway. Methods and adhesives that survive a wipe-down are in how to label storage bins.
If your pantry is built on wire shelving, add shelf liner before the bins go in — small items fall through the gaps and bins rock on the wires. That and the other wire-specific fixes are in organizing a pantry with wire shelves.
Related reading: how to organize a pantry, how to organize a small pantry, standard pantry shelf depth, how to add shelves to a closet.