 Garden

Affiliate Disclosure
Some links on this page are affiliate links. As an Amazon Associate, we earn from qualifying purchases — at no extra cost to you. We do not buy, test, or physically handle the products we cover; our rankings come from aggregated owner reviews, ratings and expert consensus. Commissions never change our verdicts. How we rank · full disclosure.
Wire shelving works fine in a pantry once you fix three specific faults: add rigid liner so containers sit flat, use flat-bottomed bins instead of loose items, and re-set the bracket heights to match what you actually store. The wires are not the problem — the ridged, front-sloped surface and the gaps are. A liner plus a set of bins costs $60 to $120 and takes an afternoon, which is a fraction of what replacing the shelving would cost and gets you most of the same result.
We never buy, test or physically handle the products we rank; recommendations come from aggregated owner reviews and expert consensus, described in how we rank. More at the storage and organization hub.
The three faults, and what each one costs to fix
| Fault | Symptom | Fix | Cost per shelf |
|---|---|---|---|
| Ridged, front-sloped surface | Containers rock and tip; jars slide | Rigid shelf liner | $8–$40 |
| Gaps between wires | Packets, spice jars and lids fall through | Bins and liner | $10–$25 |
| Fixed, badly spaced brackets | Dead air above short items | Re-mount clips and brackets | $0–$20 |
Step 1: Line every shelf (60 minutes for a whole pantry)
This is the highest-return change and it is what most people should do first. Measure each shelf front to back and side to side, then cut a rigid sheet to sit inside the front lip — not overhanging it, because an overhanging liner slides forward every time you pull something off.
- Clear acrylic or polypropylene liner, $10 to $25 per shelf. The purpose-made option, cuts with a utility knife and a straightedge, wipes clean, and lets the wire show through so the pantry does not look boxed in.
- Bamboo or melamine shelf boards, $15 to $40. Rigid, warmer looking, no flex over a wide span. Come pre-sized for common shelf widths.
- 1/4-inch hardboard, under $10. Cut to size at the home center for free or for a nominal charge. Not pretty, entirely functional, and the cheapest way to do six shelves at once.
Avoid soft rolled shelf liner and adhesive contact paper. They conform to the wires instead of bridging them, so containers still rock, and the adhesive kind is a genuine nuisance to remove later.
One thing you lose: airflow. Ventilated shelving exists partly to move air, which matters in a humid closet. If your pantry runs damp, line the shelves that carry containers and leave one or two bare.
Step 2: Bin everything loose
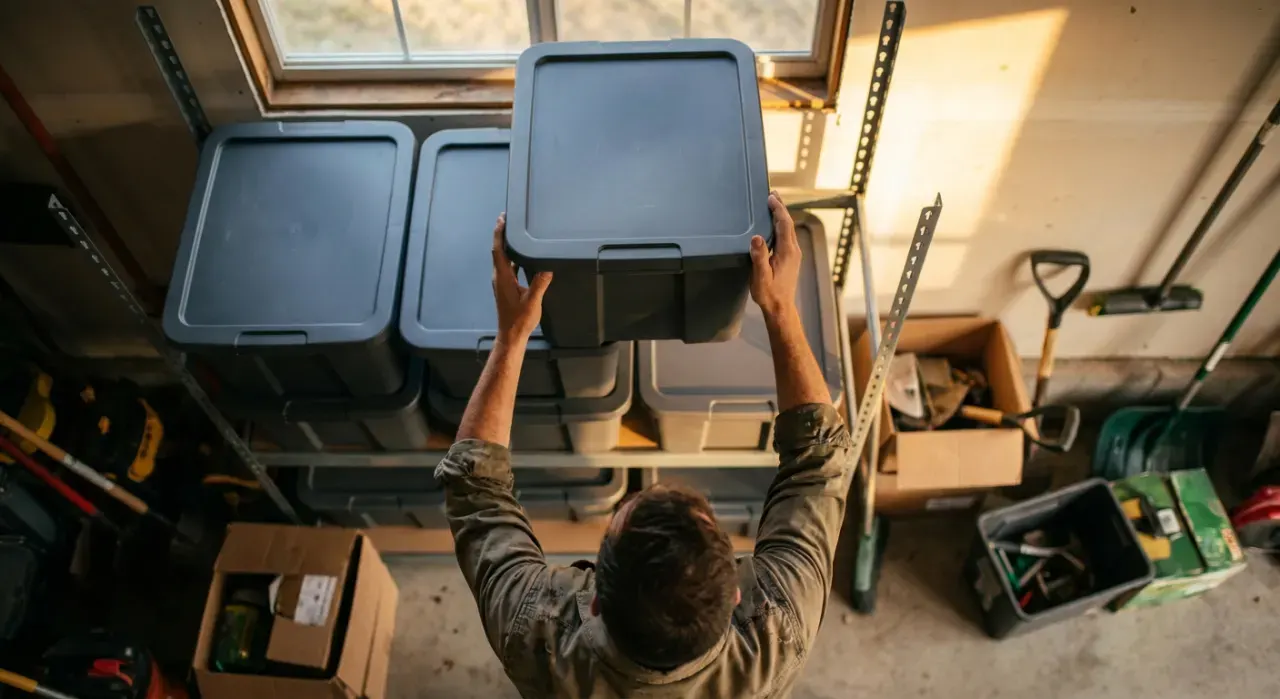
Wire shelving punishes loose items — spice jars fall between wires, packets slump, small boxes tip. The rule is that anything smaller than a cereal box lives in a bin.
Choose bins with a flat, continuous bottom and a wide base. Bins with molded feet or a recessed base rock on wires even over a liner. Clear or open-front bins beat opaque lidded ones in a pantry, because you want to see the contents from the doorway. Ranked options are in best pantry organizers and best storage bins.
One category per bin. A bin that holds three unrelated things gets searched rather than pulled out, which defeats the purpose.
Step 3: Re-set the shelf heights
Most wire pantries are installed with even spacing, which wastes four to six inches of air above every shelf of cans. Reset to what you actually store:
- Cans and jars: 8 to 10 inches clear.
- Boxed goods: 12 to 14 inches.
- Cereal and tall bottles: 14 to 16 inches.
- Small appliances and bulk bins: 16 to 24 inches, at the bottom.
How you move a shelf depends on the system. Shelving on slotted vertical standards adjusts in one-inch increments by lifting the bracket out and re-seating it — no drilling, ten minutes a shelf. Shelving on individual back clips and diagonal support braces requires removing screws and re-drilling, so mark the new line with a 4-foot level first and plan all the shelves before you make a single hole.
Critical: the back clips and the end brackets must land in studs or in properly rated anchors. Vinyl-coated ventilated shelving is commonly rated in the region of 40 to 80 pounds per linear foot when correctly installed, and almost none of that rating survives clips set in bare drywall. Verify the figure for your specific product, and see how much weight a drywall anchor holds for anchor selection. Fill the old holes with spackle while you are at it.
Step 4: Exploit what wire does better than wood
Wire shelving has two genuine advantages worth using:
- Under-shelf baskets clip straight onto the wires. No hardware, no drilling. A row of them under a shelf of cans reclaims the dead band beneath for wraps, foil and packet mixes.
- S-hooks and clip-on hooks hang anywhere along the front lip for reusable bags, aprons, measuring cups and oven mitts.
Both are things a solid wood shelf cannot do without screws, and together they add meaningful capacity for under $30.
Step 5: Zone and label
Once the shelves are flat and the bins are in, apply the same zoning as any pantry: daily items between 30 and 60 inches, light backstock above, heavy and bulk below, and about 20 percent of each shelf left empty as slack. Label the front face of every bin so items get returned to one obvious place — methods are in how to label storage bins.
Labels on wire shelving deserve a note: adhesive labels stuck directly to the wire fall off, and clip-on wire label holders that slide along the front lip are the fitting made for this and cost a few dollars for a pack.
Related reading: how to organize a pantry, how to organize a small pantry, how to organize a deep pantry, how to add shelves to a closet.