 Garden

Affiliate Disclosure
Some links on this page are affiliate links. As an Amazon Associate, we earn from qualifying purchases — at no extra cost to you. We do not buy, test, or physically handle the products we cover; our rankings come from aggregated owner reviews, ratings and expert consensus. Commissions never change our verdicts. How we rank · full disclosure.
The short version: sow at two to three times the seed's diameter into pre-moistened sterile seed-starting mix, hold the mix at 70°F to 80°F until sprouting, then move the tray under a light hung 2 to 4 inches above the leaves for 14 to 16 hours a day. Bottom water, pull the humidity dome off as soon as seedlings appear, run a small fan, and pot up at two sets of true leaves. Everything below is the detail behind those seven sentences.
What You Actually Need
The honest equipment list is short. A cell tray with drainage holes, a solid bottom tray to water into, a humidity dome, a bag of sterile seed-starting mix, a light, and — for warm-season crops only — a seedling heat mat. Labels and a permanent marker cost nothing and save an entire spring of guessing. That is the whole list; everything else sold in the seed-starting aisle is convenience.
Two of those items are worth being fussy about. Seed-starting mix is not potting soil and definitely not garden soil. It is a fine, sterile, fast-draining blend with little or no nutrition, and that combination is exactly right for a seed that carries its own food supply and has hair-fine roots. Garden soil brought indoors is dense, holds too much water and carries the fungal pathogens that cause damping off. The light is the other one. A windowsill in February delivers a small fraction of what a seedling wants, and the plant answers by stretching. If you are equipping a bench from scratch, our ranked best seed starting kits covers the tray-and-dome side, and the fixture options are in best grow lights for indoor plants.
Step 1 — Sow at the Right Depth
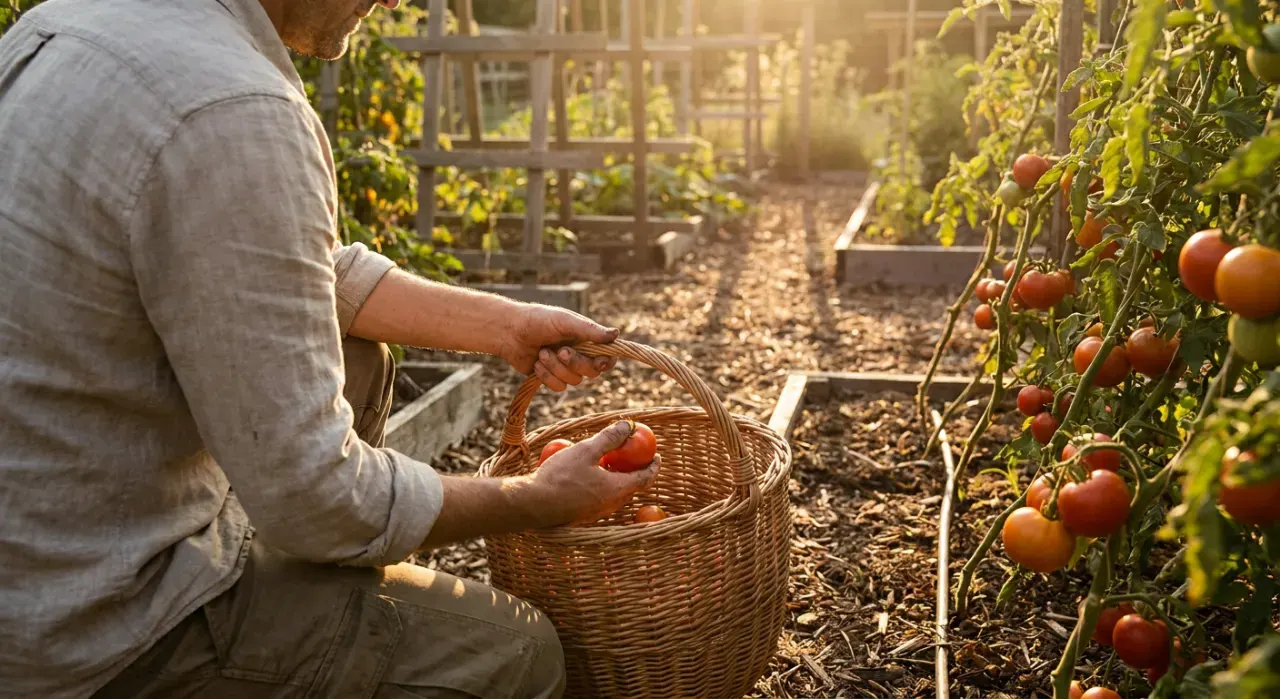
The rule is two to three times the seed's own diameter, which for most vegetable seed means far shallower than people expect. Here is what that translates to in practice.
| Crop | Sowing depth | Notes |
|---|---|---|
| Lettuce | Surface, uncovered | Needs light to germinate — press in, do not bury |
| Celery | Surface, uncovered | Needs light; slow, 14–21 days |
| Tomato | 1/4 in | Cover lightly with vermiculite |
| Pepper, eggplant | 1/4 in | Warmth matters more than depth |
| Broccoli, cabbage, kale | 1/4–1/2 in | Fast and forgiving |
| Onion, leek | 1/4 in | Sow thickly, thin later |
| Basil | 1/8–1/4 in | Barely cover; wants warmth |
| Cucumber | 1/2–1 in | Only 3–4 weeks indoors |
| Squash, melon | 1 in | Large seed, plenty of stored energy |
| Beans, peas, corn | 1–1 1/2 in | Better direct sown — see below |
Moisten the mix in a bucket before you fill the cells, to the consistency of a wrung-out sponge. Dry mix repels water and will float out of the cell when you try to wet it afterward. Fill, tamp lightly so there are no air pockets, and sow two seeds per cell — germination is never 100 percent, and thinning to the stronger seedling later costs you nothing.
Step 2 — Get the Soil Temperature Right
This is where most trays are won or lost, and it is about soil temperature at the seed, not room temperature. A 68°F house has a tray surface closer to 65°F, and several common vegetables barely function there.
| Crop | Optimum soil temp | Days to sprout at optimum |
|---|---|---|
| Pepper, eggplant | 80–85°F | 8–14 |
| Cucumber, squash, melon | 75–85°F | 3–5 |
| Tomato | 75–80°F | 5–7 |
| Basil | 75–80°F | 5–8 |
| Broccoli, cabbage, kale | 65–75°F | 4–7 |
| Onion, leek | 65–75°F | 7–10 |
| Lettuce | 60–70°F | 2–5 |
| Spinach | 45–65°F | 5–9 |
Two things follow from that table. First, a heat mat is not a luxury for peppers and eggplant — it is the difference between eight days and three weeks, and it is why mats appear in so many kits. Second, heat is actively unhelpful for cool-season crops: lettuce germination falls off a cliff above 80°F and spinach is worse. Sow your greens on the counter and save the mat for the nightshades.
Take the tray off the mat as soon as most cells have sprouted. Bottom heat after germination speeds up top growth without a matching increase in light, which is one of the quieter causes of leggy seedlings.
Step 3 — Light, the Moment Anything Sprouts
The day a seed leaf appears, that plant switches from living on stored energy to earning its own, and it needs far more light than a house provides. Aim for 14 to 16 hours a day on a timer, with the fixture 2 to 4 inches above the tallest leaves for a standard LED strip or T5 tube. Raise the light as the seedlings grow so that gap stays constant — a light left at a fixed height while plants grow is a light that stops working.
Do not run lights 24 hours. Plants use the dark period for respiration and root growth, and continuous light produces weaker plants than a proper day-night cycle. A $10 mechanical timer removes the decision entirely.
Step 4 — Water from the Bottom
Pour water into the solid tray underneath and let the mix wick it upward for 15 to 30 minutes, then tip out whatever has not been absorbed. Bottom watering keeps the surface drier, which discourages fungus gnats and algae, and it never washes tiny seeds out of position the way a watering can does.
The target is evenly damp, never saturated. Lift the tray — a cell tray that has just been watered is noticeably heavy, and learning that weight is more reliable than any schedule. If the surface has gone pale and the tray feels light, water. If the mix is still dark and the tray is heavy, wait.
Step 5 — Airflow and Temperature After Germination
Two changes the day seedlings appear: the dome comes off, and a small fan goes on. A clip fan on low for two to four hours a day does two useful things. It dries the surface between waterings, which is the single best defense against damping off, and the constant slight movement triggers the plant to build thicker, shorter stems. Seedlings raised with air movement transplant visibly better than still-air seedlings.
If you can, drop the night temperature to 60–65°F while keeping days at 70–75°F. That day-night difference shortens the gaps between leaves and is a free way to get stockier plants.
Step 6 — Thin, Then Start Feeding
When the first true leaves appear — the second set, which look like miniature versions of the adult leaf rather than the plain oval seed leaves — snip the weaker seedling in each cell off at soil level with scissors. Pulling it out tears the roots of the one you are keeping.
True leaves are also the signal to start feeding. Seed-starting mix contains almost no nutrition, and the seed's own reserves are gone by then. A balanced liquid fertilizer at half strength, once a week is plenty. Pale, yellowing lower leaves on a three-week-old seedling almost always means hunger, not disease.
Step 7 — Pot Up Before Roots Circle
Small cells are a starting point, not a home. Once roots reach the bottom and begin circling, growth slows and the plant never entirely forgives it. Move seedlings into 3 to 4 inch pots with regular potting mix at two to three sets of true leaves. Tomatoes are the happy exception to the usual rule about planting depth: they grow roots along any buried stem, so bury them up to the lowest leaves and you get a stronger root system for free. Peppers, eggplant and squash do not do this — plant those at the same depth they were growing.
Step 8 — Harden Off Before Planting Out
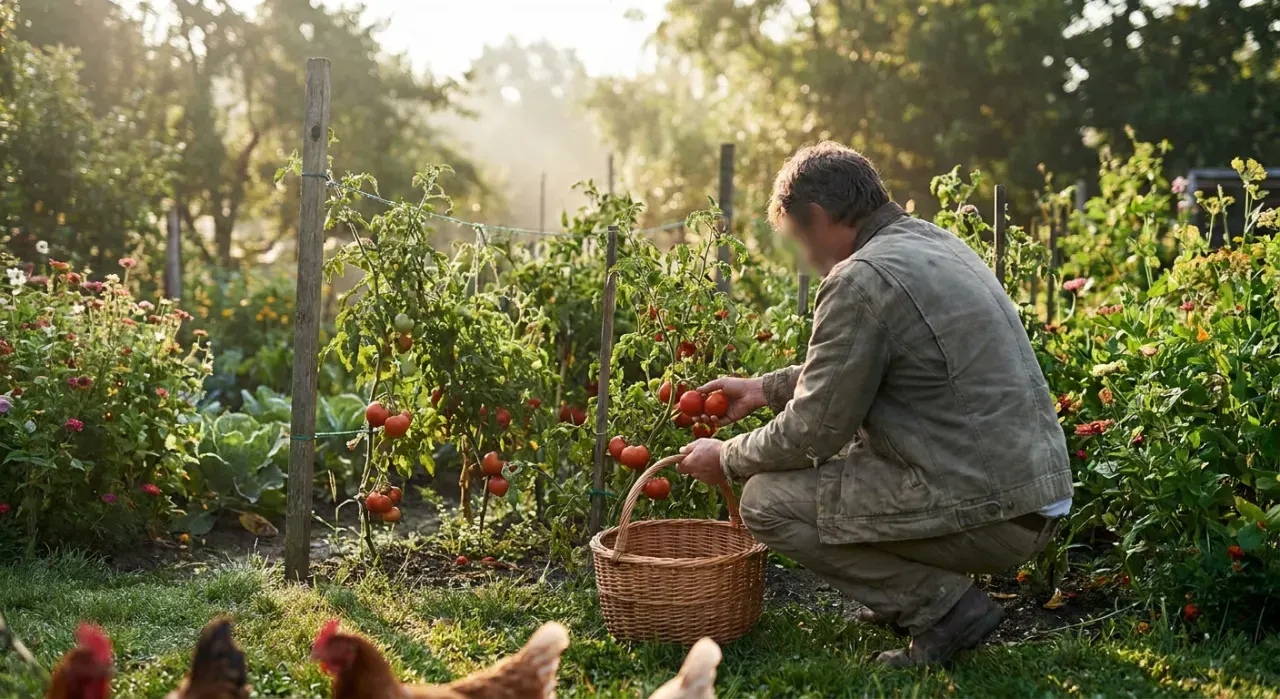
An indoor seedling has never met wind, direct sun or a cold night. Moved straight into a bed it will scorch, wilt or simply sit motionless for two weeks. A seven to ten day gradual introduction fixes this completely and is the highest-return half hour a day in the whole process — the day-by-day routine is in hardening off seedlings.
When to Sow — and What Not to Sow Indoors
Count backward from your average last frost date: 8 to 10 weeks for peppers and eggplant, 6 to 8 for tomatoes, 4 to 6 for brassicas and lettuce, and only 2 to 4 for cucumbers, squash and melons. Zone-by-zone dates for every one of those are laid out in when to start seeds by zone.
And some crops should never see a tray. Carrots, radishes, beets, turnips, parsnips, beans, peas and corn either resent root disturbance or germinate so readily outdoors that indoor sowing is wasted effort. Which side of that line each crop falls on is settled in direct sow vs transplant.
Common Failures and Their Causes
| What you see | Most likely cause | Fix |
|---|---|---|
| Nothing comes up at all | Mix too cold, or seed buried too deep | Heat mat to 75–80°F; resow at 1/4 in |
| Tall, pale, floppy stems | Light too far away or too few hours | Light 2–4 in above, 14–16 hrs |
| Seedlings collapse at soil line | Damping off — wet, still, warm air | Dome off, fan on, bottom water only |
| White fuzz on soil surface | Surface staying too wet | Reduce watering, increase airflow |
| Yellowing lower leaves at 3+ weeks | Nutrient depletion | Half-strength liquid feed weekly |
| Tiny black flies around trays | Fungus gnats in wet surface | Bottom water, let surface dry between |
| Purple leaf undersides | Too cold — phosphorus uptake stalls | Warm the room above 65°F |
The Part That Matters Most
If you take one thing from this page, take the light. Warmth decides how fast seed germinates, but light decides whether what comes up is a plant worth transplanting. Everything else here — the depth chart, bottom watering, the fan — is refinement around that single point.
We do not buy, test or physically handle any of the products mentioned on this site. Rankings come from aggregated owner reviews, star ratings and horticultural consensus, and the method is set out in full on how we rank.
More from this hub: Seeds & Vegetable Growing · When to start seeds by zone · Why seedlings get leggy · Hardening off seedlings · Best seed starting kits · How we rank