 Garden

Affiliate Disclosure
Some links on this page are affiliate links. As an Amazon Associate, we earn from qualifying purchases — at no extra cost to you. We do not buy, test, or physically handle the products we cover; our rankings come from aggregated owner reviews, ratings and expert consensus. Commissions never change our verdicts. How we rank · full disclosure.
Change the sediment and carbon pre-filters every 6 to 12 months, the reverse osmosis membrane every 2 to 3 years, and the final carbon post-filter every 12 months. Those are the intervals for typical municipal water. They are not calendar rules — they are gallon and water-quality rules, and sediment-heavy or very hard water can halve every one of them. The single most important habit is changing the cheap pre-filters on time, because they are the only thing protecting the expensive membrane from the chlorine that destroys it.
We never buy, test or physically handle the products we rank; recommendations come from aggregated owner reviews and expert consensus, described in how we rank. More at the DIY plumbing hub.
The schedule, stage by stage
| Stage | What it does | Typical interval | Rough cost |
|---|---|---|---|
| 1. Sediment pre-filter | Catches grit, rust and particles | 6–12 months | $8–$15 |
| 2. Carbon block pre-filter | Removes chlorine and chloramine | 6–12 months | $10–$20 |
| 3. Second carbon block | Insurance for the membrane | 6–12 months | $10–$20 |
| 4. RO membrane | Rejects dissolved solids | 2–3 years | $40–$80 |
| 5. Carbon post-filter | Polishes taste on the way to the faucet | 12 months | $10–$20 |
| 6. Remineralizer (if fitted) | Adds calcium and magnesium back | 12 months | $15–$30 |
Budget roughly $50 to $80 a year for a conventional five-stage system on ordinary city water. That figure is the honest running cost of reverse osmosis and it is the number people forget when comparing an RO system with a carbon filter.
Why the pre-filters matter more than the membrane
A thin-film composite RO membrane — the type in essentially every residential system — is destroyed by chlorine. Not degraded, destroyed, and permanently. The carbon blocks ahead of it exist for one job: to strip chlorine out of the feed water before it reaches the membrane. When those blocks are exhausted, chlorine passes through, and a membrane that should have lasted three years is finished in months.
The sediment filter matters for a different reason. Particles that reach the membrane surface foul it mechanically, reducing both output and rejection. A $10 sediment cartridge protects a $60 membrane, and neglecting it is the most common reason people find themselves replacing membranes annually.
So the discipline is: change the cheap stages on schedule and the expensive stage looks after itself. Owners who report membranes lasting five years are almost always the ones who changed pre-filters religiously.

What shortens the intervals?
| Condition | Effect | Adjust to |
|---|---|---|
| Well water with sediment | Sediment filter blinds quickly | Sediment every 2–3 months; fit a spin-down pre-filter |
| Very hard water (15+ gpg) | Scale fouls the membrane surface | Membrane every 18–24 months; consider softening first |
| Chloraminated municipal supply | Chloramine is harder to remove than chlorine | Carbon every 6 months, catalytic carbon if available |
| High household usage | Gallons, not months, is the real unit | Halve every interval for a large family |
| Low incoming pressure | Rejection falls, output falls | Fix the pressure first — check with a gauge |
| System idle for weeks | Biofilm forms in wet, dark tubing | Sanitize and flush before returning to service |
Pressure deserves particular attention because it is invisible and it degrades performance across the board. Most residential RO systems want 40 to 60 psi; below about 40 psi output drops sharply and rejection suffers. A $12 screw-on gauge at a hose bib answers the question in 30 seconds — see what psi should home water pressure be.
How to tell a filter is due, without guessing
Flow has slowed. The first and most obvious sign. If the tank takes noticeably longer to refill than it did when new, the pre-filters are loading up. Check them before blaming the membrane.
The taste of the tap is back. Chlorine reaching the faucet means the carbon stages are exhausted — and that the membrane has been taking chlorine hits since before you noticed.
TDS rejection has fallen. The only quantitative test, and the one worth doing. Measure feed water TDS and product water TDS, then calculate (feed − product) ÷ feed × 100. A healthy residential membrane sits around 90 to 98 percent. Below 75 to 80 percent it is finished. An inexpensive meter such as the HM Digital TDS-EZ (paid link) makes this a 30-second annual check.
The tank goes flat quickly. If you get a glass or two and then a trickle, suspect the tank's air pre-charge rather than the filters. Empty the tank of water completely and check the Schrader valve at the base with a tire gauge; most manuals specify around 7 to 8 psi. Re-pressurize with a bicycle pump if it is low.
Changing them: the ten-minute version
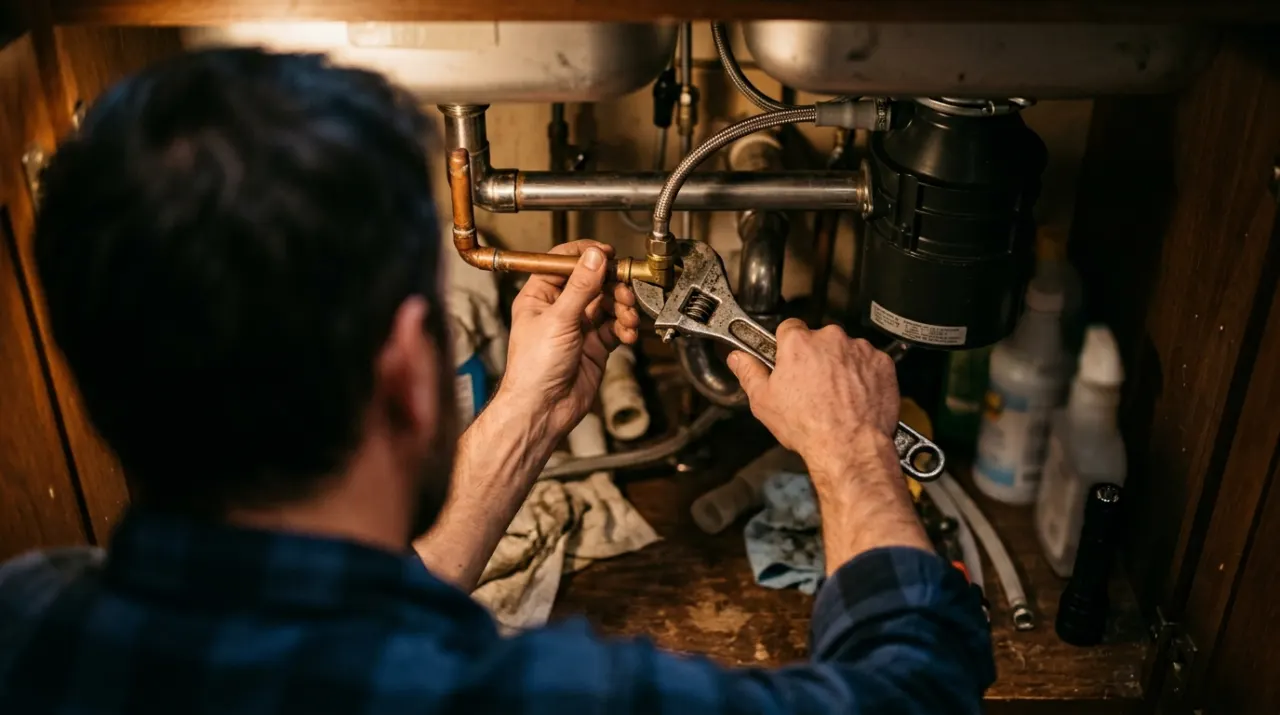
- Shut the feed water valve at the cold angle stop, and close the tank ball valve.
- Open the RO faucet and let it run until it stops — this depressurizes the system so nothing sprays you.
- Put a shallow tray under the housings. Each one holds water, and it always ends up on the cabinet floor.
- Unscrew the housings with the supplied wrench, turning toward you from the front. Note the flow direction arrow before you remove anything.
- Discard the old cartridges, rinse the housings, and wipe the O-rings clean. Lubricate them with food-grade silicone grease — a dry O-ring is the number one cause of a post-change leak.
- Fit the new cartridges in the correct order and orientation, and hand-tighten plus a snug quarter-turn with the wrench. Overtightening splits housings.
- For a membrane change, pull the tube from the membrane housing cap, unscrew the cap, and pull the old membrane out with pliers. Push the new one fully home — the O-ring end goes in first, and it must seat completely or unfiltered water bypasses it.
- Reopen the feed valve slowly, check every joint, and let the system fill.
- Flush the first two tanks to drain. New carbon sheds fine black dust and new membranes carry a preservative. Do not drink the first two fills.
- Leave paper towel under the manifold overnight. A slow weep announces itself on paper long before it soaks the cabinet floor.
Note step 5 in particular: aggregated owner reports across every RO brand point to the same post-service failure, which is a leak at a housing O-ring or a quick-connect fitting that was not pushed fully home. Cut tubing square, push it until it bottoms out, and tug-test every joint.
Keep a record, not a sticker
Write the date and the gallon count, if your system has one, on the housing in permanent marker at every change, and put the next change in your phone calendar. Filter-life indicator lights on RO faucets count days rather than gallons and know nothing about your water quality, so they are a prompt rather than an authority.
If your incoming water is hard, treating it upstream extends everything downstream — see best water softener and how to test water hardness. If you are on a well, a spin-down sediment pre-filter is the cheapest possible extension of cartridge life; best well water filter system covers the full treatment train. And if you are still deciding whether RO is the right technology for your water at all, reverse osmosis vs carbon filter and best reverse osmosis system are the places to start.