 Garden
Affiliate Disclosure
Some links on this page are affiliate links. As an Amazon Associate, we earn from qualifying purchases — at no extra cost to you. We do not buy, test, or physically handle the products we cover; our rankings come from aggregated owner reviews, ratings and expert consensus. Commissions never change our verdicts. How we rank · full disclosure.
Bleeding a radiator is one of the easiest home-heating fixes — plan on about 10 minutes per radiator, a couple of dollars for a bleed key, and no special skill. When a radiator is cold at the top but warm at the bottom, trapped air is blocking the hot water; opening the bleed valve lets that air escape so it heats evenly again. Turn the heating off and let it cool first, and keep a cloth handy for the water that follows. After bleeding, check the boiler pressure. There is no risk here beyond a bit of dribbled water.
We never buy, test or physically handle the products we rank; recommendations come from aggregated owner reviews and expert consensus, described in how we rank. More at the heating and cooling hub.
Tools and materials
- A radiator bleed key (or a flat-head screwdriver on some valves).
- A cloth and a small container to catch the drips.
- Rubber gloves, since the water can be warm and often dirty.
- If a radiator stays cold overall after bleeding, a plug-in space heater can cover a room while you sort out the flow issue.
Step 1: Turn off the heating and let it cool
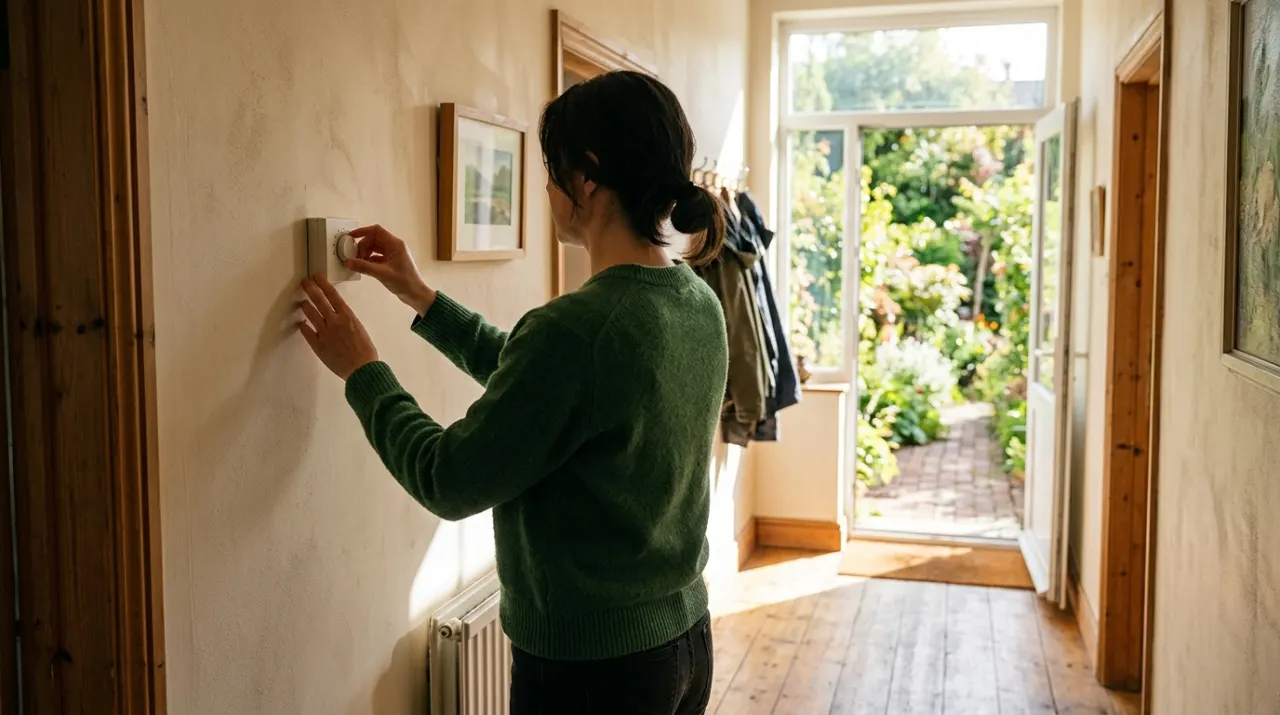
Switch the heating off and give the radiators 20 to 30 minutes to cool. Bleeding a hot, actively pumping system risks scalding water and can draw more air in. You want the system static and the water no more than warm before you open a valve.
Step 2: Find the radiators that need it
Feel each radiator top and bottom. The ones cold at the top with a warm bottom have trapped air. Note them, and plan your order: downstairs-furthest first in a multi-radiator home, finishing with the upstairs units.
Step 3: Open the bleed valve
The bleed valve is the small square nipple at the top corner of the radiator. Hold your cloth and container under it, fit the bleed key, and turn it slowly counterclockwise — a quarter to half turn is plenty. You will hear air hiss out. Do not open it fully; you only need to crack it enough to release the air.
Step 4: Close it when water appears
Let the air hiss until a steady dribble of water comes out instead — that means the air is gone and the radiator is full. Immediately close the valve by turning the key clockwise until snug (do not overtighten and strip it). Wipe up the drips. Move to the next radiator in your order and repeat.
Step 5: Check the boiler pressure and test
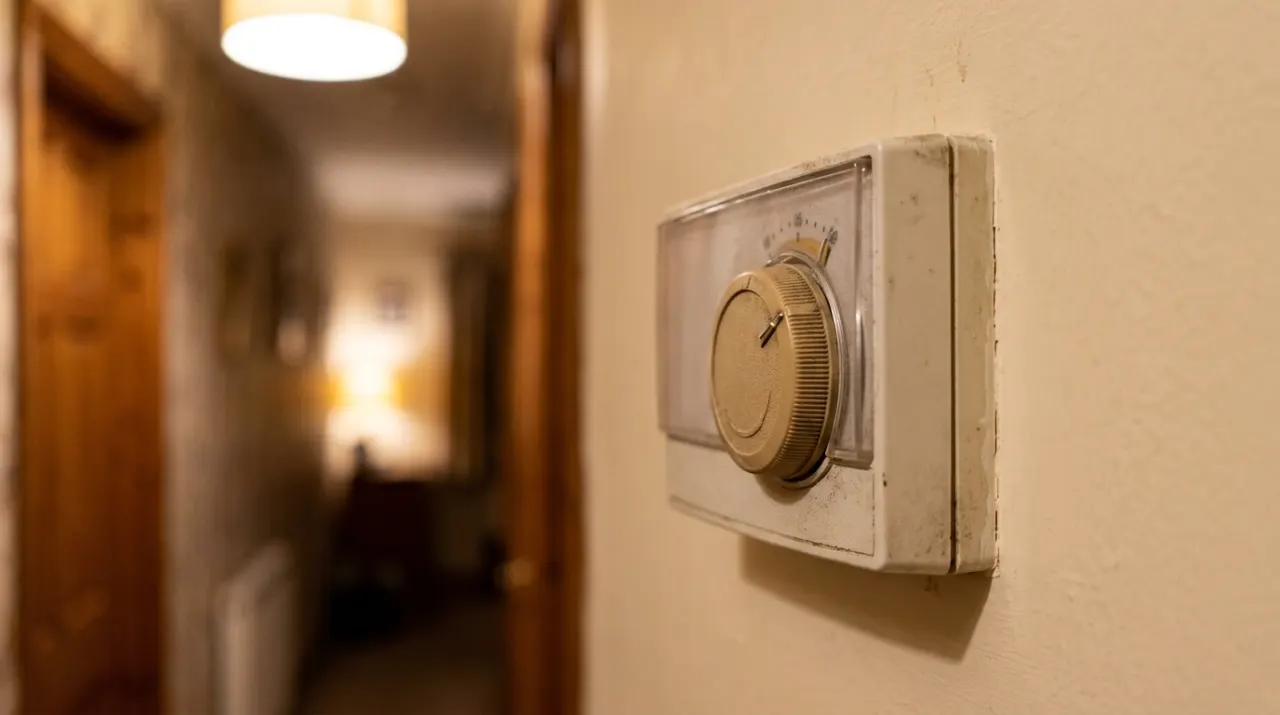
After bleeding, check the boiler's pressure gauge. If it has dropped below the normal 1 to 1.5 bar on a sealed system, top it up with the filling loop per the manual. Turn the heating back on and, once warm, feel the radiators again — they should now be evenly hot top to bottom, with no cold cap and no gurgling.
Common mistakes
- Bleeding with the heating on and hot. Turn it off and let it cool first.
- Opening the valve too far. A quarter to half turn is enough; more sprays water.
- Forgetting the cloth and container. Water always follows the air.
- Not checking boiler pressure after. It can drop too low on sealed systems.
- Overtightening the valve closed. Snug, not cranked, or you strip the brass.
When to call a heating engineer
Bleeding is fully DIY. Call a professional if a radiator stays cold after bleeding and repressurizing (a flow, valve, or sludge problem), if you have to bleed the same radiator repeatedly (a leak or corrosion issue), if the boiler pressure will not hold, or if you find a leak at a valve. Work on the boiler itself, any gas component, or a persistent system fault is a job for a qualified heating engineer.
Related reading: how to clean a furnace flame sensor, how to weatherstrip a door, and how to replace a thermostat.