 Garden
Affiliate Disclosure
Some links on this page are affiliate links. As an Amazon Associate, we earn from qualifying purchases — at no extra cost to you. We do not buy, test, or physically handle the products we cover; our rankings come from aggregated owner reviews, ratings and expert consensus. Commissions never change our verdicts. How we rank · full disclosure.
Water sits in a sealed reservoir below the soil and travels upward by capillary action. A wick, or a column of potting mix reaching down through an opening, contacts the water and draws it up through fine pore spaces the same way a paper towel pulls liquid up its edge. A perforated platform holds the soil above the water so an air gap remains, and an overflow hole at the top of the reservoir dumps anything beyond the fill line. The plant then takes what it needs at its own rate, and the roots stay in moist but aerated mix rather than standing water.
We do not buy or physically handle the products we rank; our picks come from aggregated owner reviews and expert consensus, explained in how we rank. Model shortlists are in best self-watering pots, inside the vertical and small-space gardening hub.
What are the parts of a self-watering pot?
Four components do all the work, and every design on the market is a variation on them. Understanding what each one is for makes the failure modes obvious, because almost every problem people report is one of these being blocked, missing or misused.
| Part | What it does | What goes wrong |
|---|---|---|
| Reservoir | Holds water below the root zone | Runs dry unnoticed without a gauge |
| Wick or soil column | Carries water up by capillary action | Packed too loosely, or filled with the wrong mix |
| Perforated platform or false floor | Separates soil from water, preserves the air gap | Collapses or gets bypassed by settling soil |
| Overflow hole | Caps the water level, drains excess rain | Blocked by a saucer, a deck or a plug |
| Fill tube | Lets you refill without disturbing roots | Too narrow, or used to overfill past the overflow |
| Sight gauge or dipstick | Shows the water level | Absent on cheaper pots, so people guess |
Why does the water climb upward at all?
Because water molecules are more attracted to the surfaces around them than to each other, at the scale of a soil pore. Adhesion pulls water along the walls of a narrow channel while cohesion drags the rest of the column behind it, and the narrower the channel, the higher the water rises. This is the same phenomenon that lifts water into a paper towel, up a wick in an oil lamp, and through the pore network of undisturbed field soil, which is why extension horticulture literature refers to sub-irrigated planters rather than self-watering ones. Nothing about the pot is self-watering; it is passively distributing water you supplied.
Capillary rise has a practical ceiling of roughly 4 to 8 inches in typical potting mix, which is exactly why reservoirs sit directly beneath the root zone rather than at the base of a tall planter. It is also why mix choice is not optional: a coarse, gritty or chunky medium has pores too wide to sustain the column and the water simply will not climb. A standard peat or coir-based potting mix with perlite is what these pots are designed around.
How do I set one up so it works?
Six steps, and the ones people skip are the third and the fifth. First, confirm the overflow hole is open and will stay open where the pot is going to sit. Second, pack the wicking chamber or soil column firmly with damp potting mix so there is a continuous path, not loose dry crumbs. Third, moisten the entire batch of mix before filling the pot, because dry peat is hydrophobic and repels water, which is the single most common reason a new self-watering pot never starts wicking. Fourth, fill and plant without compacting the upper mix. Fifth, water thoroughly from the top and keep top watering for two to three weeks until roots reach down. Sixth, then start filling the reservoir and check it with the gauge rather than by instinct.
Fertilizer needs a different approach in these pots. Because water moves up and rarely flushes down, salts accumulate near the surface, so use a diluted liquid feed at half strength more often rather than a heavy dose, or mix a controlled-release granular fertilizer into the top third of the mix at planting. Flush from the top every four to six weeks to carry salts out through the overflow. The general container feeding schedule is in how often should you fertilize plants in containers.
Which plants suit them and which do not?
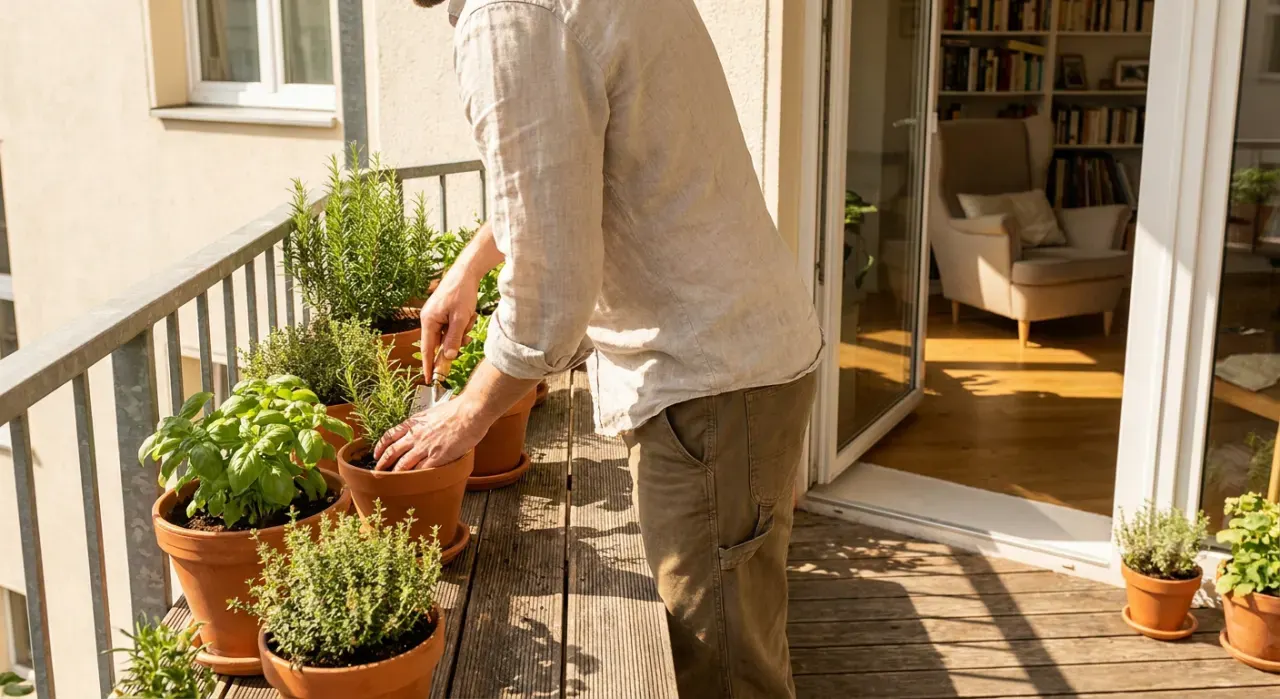
They suit anything that likes consistent, even moisture and hates drying out between waterings. Tomatoes are the classic case, because irregular watering is what causes blossom end rot, and a reservoir smooths out the swings that a hot balcony produces. Peppers, cucumbers, lettuce and most leafy greens do well. Basil, parsley, mint and chives thrive. What does not suit them is anything adapted to dry cycles: rosemary, thyme, oregano, sage, lavender, succulents and cacti all want the mix to dry out, and constant moisture at the root plate is how they die. Which plants pair with which is covered in best plants for self-watering pots and best herbs for self-watering pots.
Size the pot to the plant, not to the shelf. A tomato needs a genuinely large container regardless of how it is watered, as set out in how big a pot does a tomato plant need, and the crop-by-crop volumes are in container size by crop. If you are worried the constant moisture will rot roots, the mechanics of when that actually happens are in do self-watering planters cause root rot, and the broader drainage question in do all pots need drainage holes.