 Garden
Affiliate Disclosure
Some links on this page are affiliate links. As an Amazon Associate, we earn from qualifying purchases — at no extra cost to you. We do not buy, test, or physically handle the products we cover; our rankings come from aggregated owner reviews, ratings and expert consensus. Commissions never change our verdicts. How we rank · full disclosure.
Adding smart control to an existing garage door opener is a 30-to-45-minute DIY job with a screwdriver and a phone. A retrofit controller ($30 to $60) mounts near the motor, connects to the same low-voltage terminals as your wall button, and plugs into an outlet. The control wiring is low-voltage and safe. What you must not touch is the torsion spring or the motor internals — those carry injury risk. There is no permit and no electrician for the controller itself. The one common hurdle is weak garage Wi-Fi.
Check compatibility first
Note your opener's brand and roughly its age, then confirm it appears on the controller's compatibility list. The key distinction is whether your opener uses older fixed-code control or newer Security+ 2.0 rolling code, because the latter sometimes needs a specific adapter or a different wiring point. Also confirm you have a 2.4 GHz Wi-Fi signal that actually reaches the garage; if not, plan a Wi-Fi extender.
Step-by-step installation
- Unplug the opener. Pull the opener's plug before touching any wiring, so the motor cannot cycle while you work.
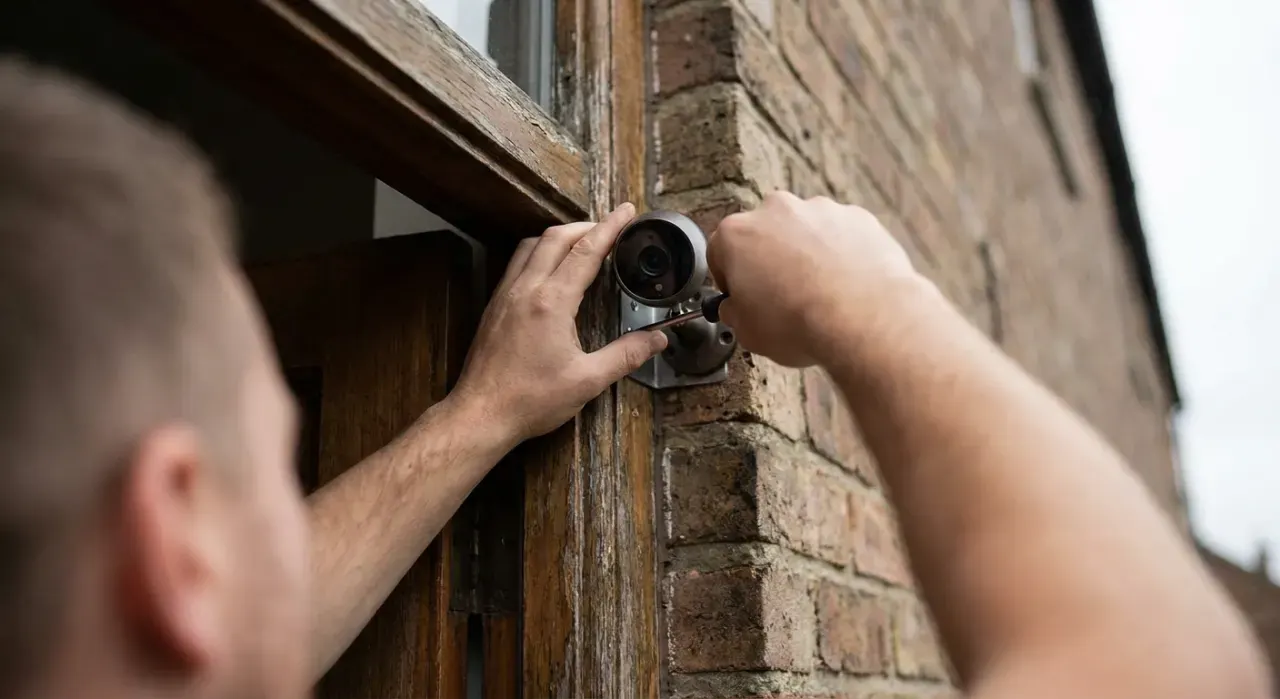
- Mount the controller. Fix the Wi-Fi module to the ceiling or wall near the motor unit with the included screws or adhesive, within reach of an outlet.
- Wire the control terminals. Run the two thin control wires from the controller to the same low-voltage terminals your wall button uses. These are low-voltage; polarity usually does not matter, but follow the diagram.
- Install the door-position sensor. Mount the tilt or contact sensor on the top door panel (or door and frame) so it reliably reads open versus closed.
- Power up. Plug the controller into the outlet and plug the opener back in.
- Connect to Wi-Fi. In the app, add the controller over 2.4 GHz Wi-Fi. If it will not hold a connection, the garage signal is too weak — add an extender.
- Pair the sensor and calibrate. Link the door-position sensor and run the app's calibration so open and closed read correctly.
- Test safely. From the app, open and close the door while watching it. Confirm the auto-reverse safety (the door reverses if the photo-eye beam at the base is blocked) still works — never disable it.
Tools and materials
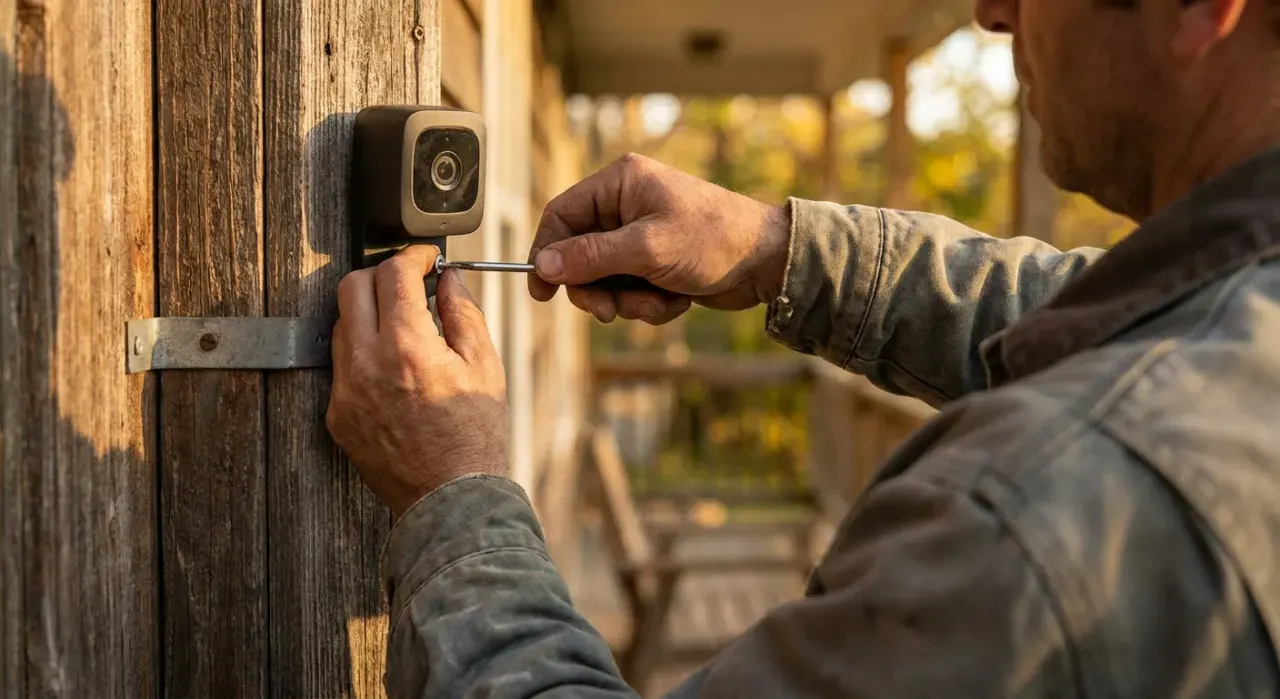
You need a screwdriver, a small wire stripper if you cut the control wires to length, and a drill for the mounting screws. The big variable is Wi-Fi: garages are often at the edge of coverage, so our Wi-Fi extender guide is worth reading first. A smart garage door is one entry point among several; tie it into the app and automations covered in our smart home hub guide, and pair it with a camera aimed at the driveway from our security camera picks, or the broader DIY security system roundup.
Mistakes to avoid
- Touching the torsion spring. It stores dangerous energy. Never adjust or remove it — that is pro-only work.
- Wrong terminals. Landing the control wires on the wrong lugs means the door will not respond. Match the wall-button terminals.
- Weak garage Wi-Fi. The controller drops offline. Add an extender before blaming the module.
- Disabling the photo-eye safety. The auto-reverse beam is a legal safety feature. Keep it working.
When to call a pro
The smart controller is DIY, but call a garage door professional for anything involving the springs, cables, or the door's balance, and an electrician if the garage has no usable outlet and needs a new 120-volt circuit run. If your opener is failing, misaligned, or the door does not auto-reverse properly, fix that with a pro before adding smart control — automating a faulty door is a safety problem. Spring and cable work in particular causes serious injuries every year and is never a DIY task.
We never buy, test or physically handle the products we rank. Recommendations come from aggregated owner reviews, star ratings, review volume and expert consensus — see how we rank.
More from this hub: Smart Home & Security · Installing a Wi-Fi extender · Setting up a smart home hub · Installing a smart thermostat · Best DIY security systems · How we rank