 Garden
Affiliate Disclosure
Some links on this page are affiliate links. As an Amazon Associate, we earn from qualifying purchases — at no extra cost to you. We do not buy, test, or physically handle the products we cover; our rankings come from aggregated owner reviews, ratings and expert consensus. Commissions never change our verdicts. How we rank · full disclosure.
To start composting, choose a spot or bin, then build a mix of "browns" and "greens" at roughly 2 to 3 parts brown to 1 part green by volume. Browns are dry, carbon-rich materials like dead leaves, cardboard, and straw; greens are moist, nitrogen-rich materials like food scraps and fresh grass clippings. Keep the pile as damp as a wrung-out sponge, turn it occasionally for air, and in a few months to a year it becomes dark, crumbly finished compost. That is the whole system — the rest is just balance and patience.
Composting turns yard and kitchen waste into free soil conditioner and keeps that waste out of the landfill, where the EPA notes food scraps make up a large share of what Americans throw away. Our product rankings draw on aggregated owner reviews and expert consensus rather than first-hand testing; see how we rank.
Step 1: Pick a Composting Method
There is no single right setup — match it to your space, budget, and how tidy it needs to look. All four methods make the same compost; they differ in speed, cost, and containment.
| Method | Best for | Speed |
|---|---|---|
| Open pile | Large yards, free setup | 6 to 12 months |
| Enclosed bin | Small yards, neat appearance | 3 to 6 months |
| Tumbler | Easy turning, fewer pests | 1 to 2 months |
| Worm bin (vermicompost) | Apartments, indoors, kitchen scraps | 2 to 3 months |
Beginners with a yard often start with a simple enclosed bin for the balance of neatness and cost. If turning a pile with a fork sounds like too much, a tumbler makes the aeration effortless — compare the two in tumbler vs compost bin, and see the ranked options in best compost bins and best compost tumblers.
Step 2: Choose a Composting Location
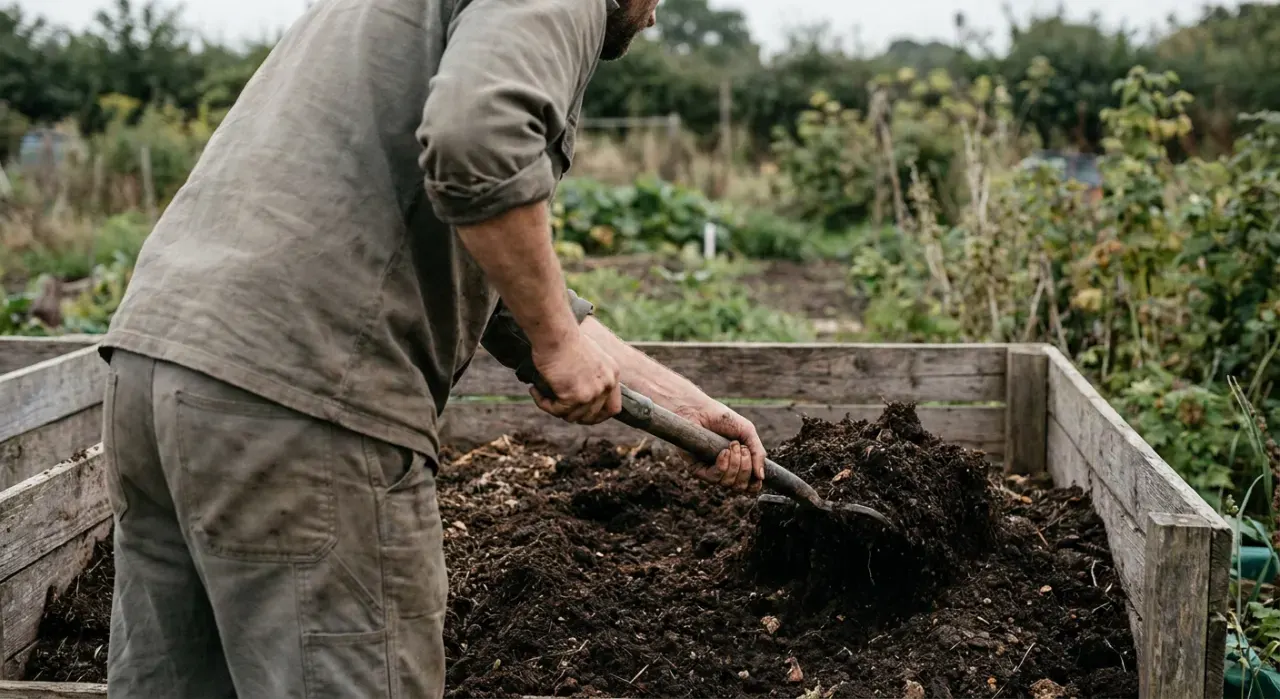
Where the pile lives affects how fast it works and how pleasant it is to use. A few placement rules cover most yards.
- Partial sun. Some warmth speeds decomposition, but full afternoon sun in hot climates dries the pile out too fast.
- Level, well-drained ground. Sitting on bare soil lets worms and microbes move up into the pile and lets excess water drain away.
- Convenient but not underfoot. Close enough to the kitchen that you will actually walk out to it, far enough that it is not against the patio.
- Some shelter. A spot protected from drying wind and driving rain holds moisture more evenly.
For the full rundown of siting trade-offs, see where to put a compost bin.
Step 3: understand browns and greens
Successful composting comes down to one ratio: carbon to nitrogen, which gardeners track as browns to greens. Browns feed the pile carbon and structure; greens feed it nitrogen and moisture. Too many greens and the pile turns to smelly sludge; too many browns and it barely breaks down.
| Browns (carbon) | Greens (nitrogen) |
|---|---|
| Dry leaves | Fruit and vegetable scraps |
| Shredded cardboard and paper | Fresh grass clippings |
| Straw and hay | Coffee grounds and tea |
| Wood chips and sawdust (untreated) | Plant trimmings and spent flowers |
| Paper towel and toilet rolls | Crushed eggshells |
Aim for roughly 2 to 3 parts brown to 1 part green by volume. The exact ratio is forgiving; use your senses to fine-tune it, as described below. A fuller list is in browns and greens explained.
Step 4: Build and Balance the Compost Pile
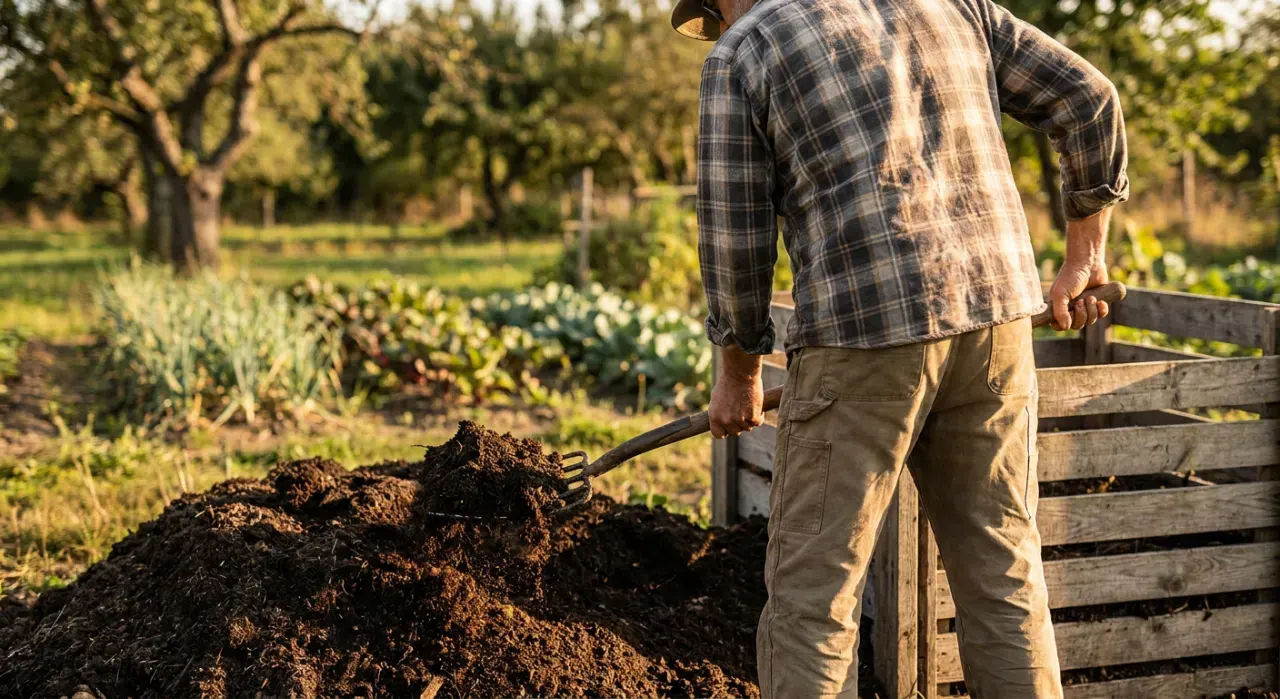
Start the pile and keep it in balance from day one, and it will do most of the work itself.
- Lay a base of coarse browns — twigs, straw, or shredded cardboard — a few inches deep for airflow and drainage.
- Add greens and browns in layers, roughly one part green to two or three parts brown, or just mix them as you go.
- Chop or shred large pieces. Smaller bits break down faster because microbes have more surface to work on.
- Bury fresh food scraps in the center under a layer of browns to discourage flies and odor.
- Keep it moist, not soggy. The pile should feel like a wrung-out sponge. Add water in dry spells; add dry browns if it is dripping.
Know what to keep out, too: no meat, dairy, bones, oily food, pet waste, or diseased plants — the full list is in what not to put in a compost bin.
Step 5: turn it (or do not)
Oxygen is what keeps a compost pile sweet-smelling and fast. Turning the pile with a fork or spinning a tumbler mixes in air and moves the outer material into the hot center.
- Hot, fast composting: turn every one to two weeks. A well-managed pile heats up noticeably in the middle and can finish in one to three months.
- Cold, slow composting: turn rarely or never, just keep adding material. It still works, taking six months to a year.
If your pile is not heating up despite good balance, it is usually too small, too dry, or short on greens — the causes and fixes are covered in compost not heating up.
Troubleshooting common problems
Almost every compost problem is a moisture or ratio issue, and each has a clear signal and fix.
| Problem | Cause | Fix |
|---|---|---|
| Rotten-egg smell | Too wet, no air | Add browns, turn to aerate |
| Ammonia smell | Too many greens | Add browns, reduce green input |
| Pile not breaking down | Too dry or too many browns | Add water and greens, turn |
| Attracting animals | Exposed food or wrong items | Bury scraps; use an enclosed bin |
| Fruit flies | Exposed fresh scraps | Cover with a layer of browns |
Concerned about rodents specifically? See do compost bins attract rats for the practical controls.
Step 6: know when it is done and how to use it
Finished compost is dark brown, crumbly, and smells like fresh forest soil. Food scraps and most plant material are no longer recognizable — though a few tough bits like eggshells or twigs may remain and can go back into the next batch.
Use it generously:
- Mix into garden beds at an inch or two worked into the top few inches of soil.
- Top-dress lawns and around plants as a slow-release feed and mulch.
- Blend into potting mixes and raised beds to add fertility and structure.
Compost is a soil conditioner more than a fertilizer, so it improves structure, drainage, and microbial life as much as it feeds plants. How to tell it is truly ready is detailed in how to know when compost is finished.
The bottom line
Composting is far simpler than it looks: contain it, balance browns and greens at about 2 to 3 to 1, keep it as damp as a wrung sponge, add air now and then, and wait. Start with whatever setup fits your space, learn to read the pile by smell and feel, and within a season you will have free, dark, crumbly compost for the garden.
Go deeper on soil and composting at the composting and soil hub, and see how we evaluate the bins and tumblers we recommend in how we rank.