 Garden
Affiliate Disclosure
Some links on this page are affiliate links. As an Amazon Associate, we earn from qualifying purchases — at no extra cost to you. We do not buy, test, or physically handle the products we cover; our rankings come from aggregated owner reviews, ratings and expert consensus. Commissions never change our verdicts. How we rank · full disclosure.
The short version: prep walls for painting in this order, clear and protect the room, clean the walls, patch holes and cracks, sand smooth, remove all dust, then prime where needed. Wash off grease and grime so paint can bond, fill and sand every defect flush, dull any glossy or repaired areas, and let each step dry fully before the next. Prep is where a paint job is won or lost: it decides whether the finish looks smooth and lasts years, or shows every flaw and starts peeling within one.
We do not test paints or tools first-hand; our product picks come from aggregated owner reviews and expert consensus, described in how we rank. The prep sequence below is universal.
Step 1: clear and protect the room
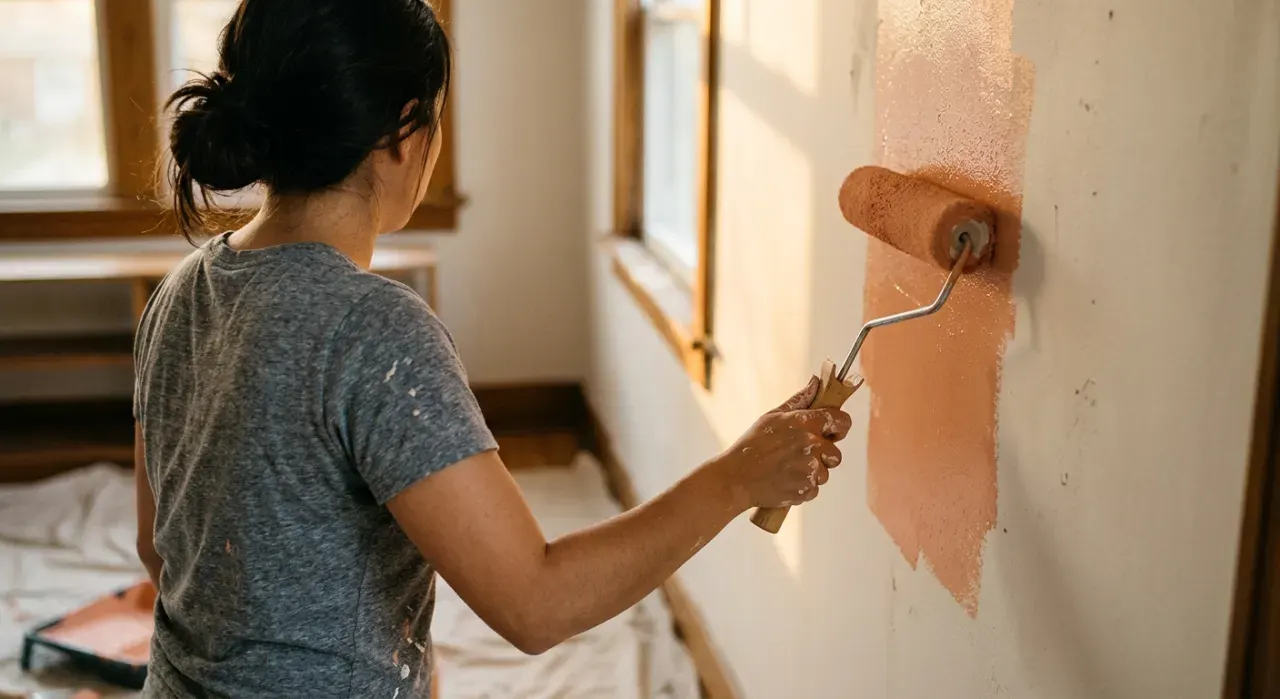
Before touching the walls, make the room paintable. This first step saves cleanup and lets you work without dodging obstacles.
- Move furniture to the center and cover it, or remove it entirely.
- Take down wall art, curtains, switch plates, and outlet covers. Painting around switch plates always looks amateur.
- Drop cloth the floor, canvas grips better than plastic and is not slippery.
- Tape off baseboards, window frames, and the ceiling line if you are not painting them.
Loosen, do not remove, outlet and switch screws so you can tuck the tape edge behind the plate area for a clean line.
Step 2: clean the walls
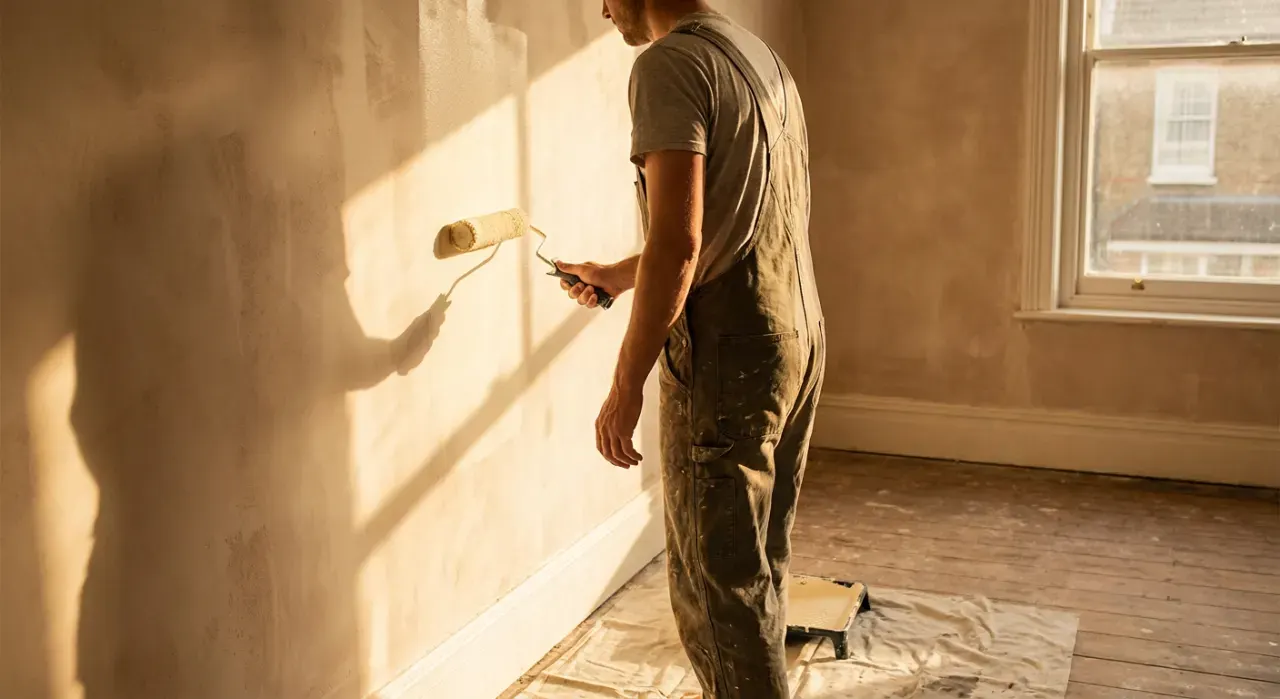
Paint bonds to clean surfaces, and grease or grime is an invisible adhesion killer. This step matters most in kitchens, bathrooms, and around light switches and doorframes where hands leave oils.
- General rooms: wipe with warm water plus a little dish soap or a diluted all-purpose cleaner, then rinse with clean water.
- Kitchens and greasy areas: use a degreaser or a TSP substitute to cut cooking oil film, then rinse thoroughly.
- Bathrooms: treat any mildew with a diluted bleach solution or a mold-specific cleaner and let it kill the spores before painting, or it grows back through the paint.
- Dry fully: give the walls hours to a full day to dry before moving on.
Skipping the wash is one of the top reasons paint peels. Even walls that look clean carry a dust film that weakens the bond.
Step 3: patch holes, cracks, and dents
Every flaw you leave is a flaw the paint highlights, especially under raking light. Fix them all now.
| Defect | Fix | Product |
|---|---|---|
| Nail holes, small dents | Fill, let dry, sand flush | Lightweight spackle |
| Nail pops | Reset with a screw, patch over | Joint compound |
| Cracks | Widen slightly, fill, tape if recurring | Flexible filler or mesh tape |
| Holes up to a few inches | Patch kit or self-adhesive patch, mud over | Drywall patch |
| Large holes | Cut in a new drywall piece | Drywall + compound |
Let all filler cure fully before sanding; soft compound tears instead of sanding smooth. For specifics see how to patch a hole in drywall, how to fix nail pops in drywall, and for small blemishes, how to fix nail holes in a wall.
Step 4: sand the walls smooth
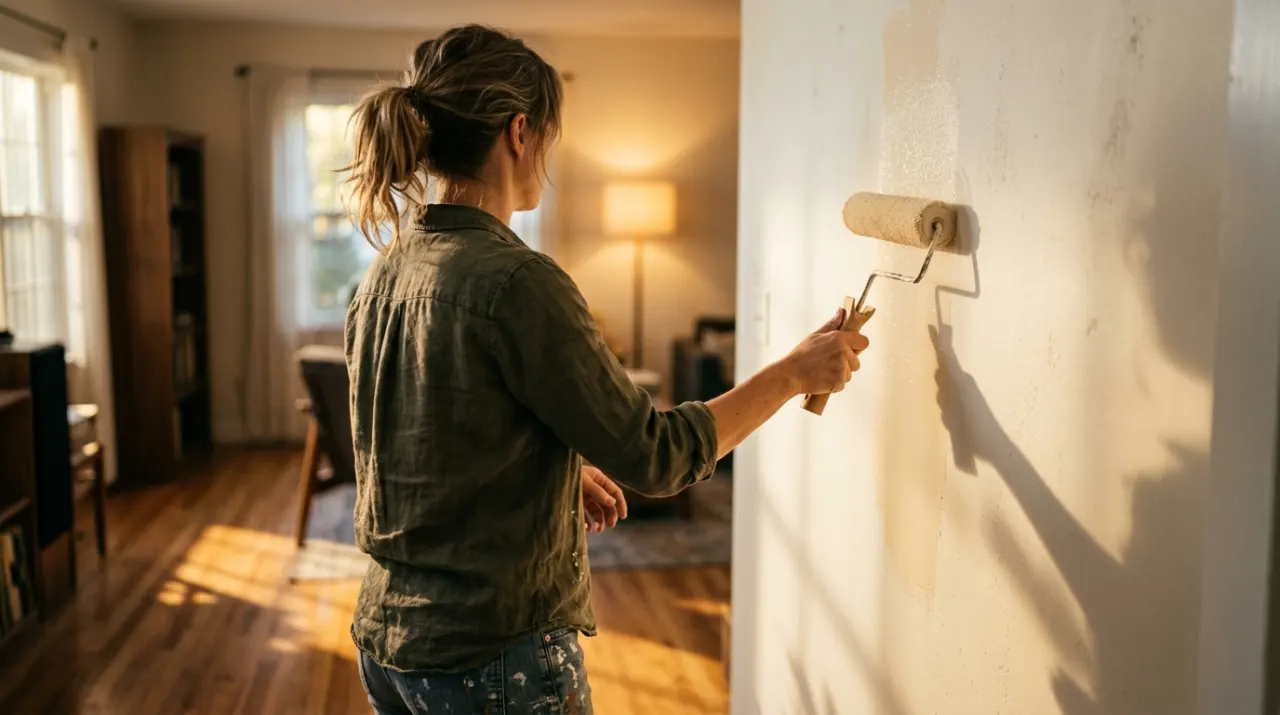
You are not sanding to bare drywall. The goals are to level patches flush, knock down old drips and ridges, and dull any glossy sheen so paint grips.
- Sand patches with 120 to 150-grit until they blend seamlessly into the surrounding wall. Run your hand over them; your fingertips catch ridges your eyes miss.
- Scuff glossy walls overall with 220-grit, or use a liquid deglosser, so semi-gloss and satin surfaces are no longer slick.
- Feather the edges of every repair so no ridge shows through the paint.
A sanding pole with a screen makes whole-wall scuffing quick. If you skip dulling a glossy surface, fresh paint slides right off it. More detail is in how to sand a wall before painting.
Step 5: remove every trace of dust
This step is short, easy, and skipped constantly, and skipping it undoes the sanding. Dust trapped under paint prevents adhesion and leaves a gritty texture.
- Vacuum the walls with a brush attachment, top to bottom.
- Wipe down with a slightly damp microfiber cloth or a tack cloth.
- Let it dry if you used a damp cloth, then prime.
Do this right before priming so no new dust settles in between. Clean walls are the last requirement before paint or primer touches the surface.
Step 6: prime where it is needed
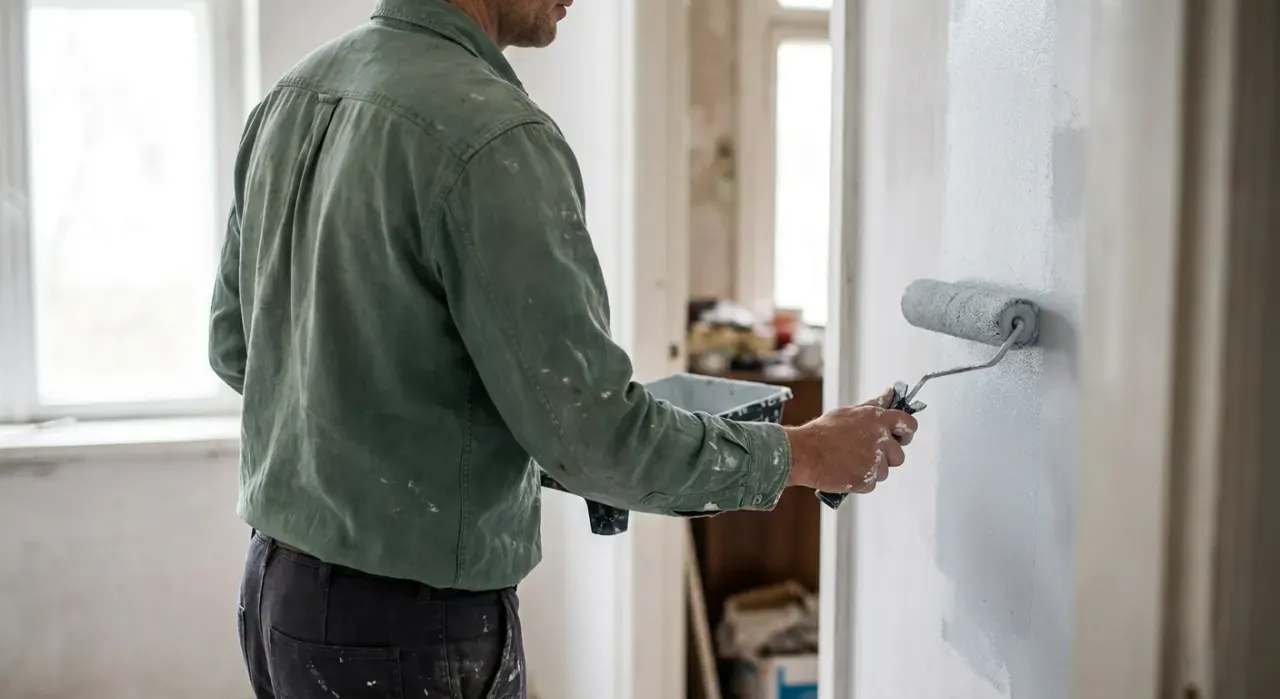
Primer is not always required, but it is required more often than people think. Prime when you have:
- Bare drywall or new joint compound, which is porous and drinks up topcoat unevenly.
- Patched or repaired spots, which "flash" as dull patches through the finish paint if not sealed.
- Stains from water, smoke, or crayon, which need a stain-blocking primer or they bleed through.
- A big color change, especially going lighter over a dark wall.
- Glossy old paint, where a bonding primer improves grip.
If the wall is clean, sound, and being repainted a similar color, a quality paint-and-primer product usually lets you skip the separate primer. Spot-priming just the repairs and stains is a common shortcut when the rest of the wall is fine. Full guidance is in how to prime a wall before painting.
The tools and paint that make prep pay off
Good prep deserves good paint on top of it, or you undo the effort. A quality interior paint covers in fewer coats and levels smoother; the ranked field is in best interior paint. A quality roller with the right nap for your wall texture lays paint evenly over your prepped surface, covered in best paint rollers.
Once the prep is done and dry, you are ready for the fun part. The full painting sequence follows in how to paint a room, and the pro-level refinements in how to paint a room like a pro. Everything else lives at the paint and walls hub.
A realistic prep timeline
Prep is not glamorous, but budgeting time for it prevents the rushed shortcuts that ruin finishes.
| Room condition | Prep time | Notes |
|---|---|---|
| Clean, sound walls, same color | 1 to 2 hours | Clean, light dust, tape |
| Average room, minor repairs | Half a day | Add patch drying time |
| Damaged or greasy walls | Full day plus drying | Repairs and primer must cure |
| Bare or new drywall | Day one prep, day two paint | Prime and let dry overnight |
The pattern is always the same: clean, repair, sand, dust, prime, and let each stage dry. Rush it and the finish shows it; respect it and even a first-time job looks professional.