 Garden
Affiliate Disclosure
Some links on this page are affiliate links. As an Amazon Associate, we earn from qualifying purchases — at no extra cost to you. We do not buy, test, or physically handle the products we cover; our rankings come from aggregated owner reviews, ratings and expert consensus. Commissions never change our verdicts. How we rank · full disclosure.
The short answer: to replace a faucet, shut off the two supply valves under the sink, disconnect the supply lines and unscrew the old faucet's mounting nuts, lift it out, set the new faucet in place with its gasket or a bead of plumber's putty, tighten the mounting nuts, reconnect the supply lines with plumber's tape on the threads, and turn the water back on slowly to check for leaks. It is a one-to-two-hour DIY job needing no soldering. The single tool that makes it easy is a basin wrench, which reaches the mounting nuts in the tight space behind the sink.
Modern faucets connect with compression fittings and flexible supply lines, so there is no torch or solder involved. The real challenges are the cramped space under the sink and any corroded old hardware — both manageable with the right approach.
Step 1: Choose the right replacement
Before buying, match the new faucet to your sink so it actually fits.
- Count the mounting holes: one, three, or four in the sink or countertop.
- Measure the hole spacing: commonly 4 inches center-to-center for a centerset, or 8 inches or more for a widespread configuration.
- Use a deck plate if the new faucet has fewer connection points than your sink has holes, to cover the extras.
- Check the reach and height clear your sink and any window behind it.
For choosing well, see how to choose a kitchen faucet, plus our best kitchen faucet and best bathroom faucet picks. What hole size a kitchen faucet needs is covered in what size hole for a kitchen faucet.
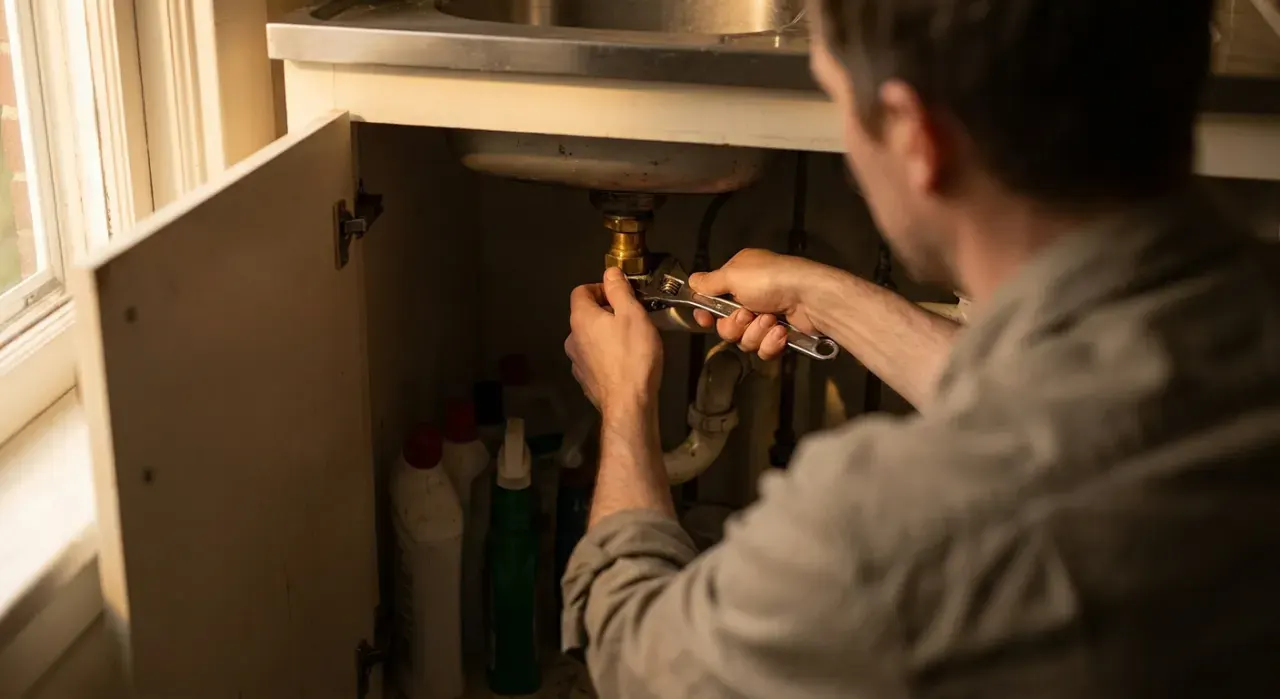
Step 2: Gather your tools
| Tool | Used for |
|---|---|
| Basin wrench | Reaching mounting nuts in the tight space under the sink — the key tool |
| Adjustable wrench | Supply-line connections |
| Channel-lock pliers | Stubborn nuts and fittings |
| Plumber's tape | Sealing threaded connections |
| Plumber's putty or silicone | Sealing the faucet base (if no gasket included) |
| Bucket, towels, flashlight | Catching drips and seeing under the sink |
New flexible supply lines are inexpensive — buy fresh ones rather than reusing old, brittle lines. See what tools do you need to replace a faucet and our plumbing tools picks.
Step 3: Shut off the water and remove the old faucet
- Close both shutoff valves under the sink (clockwise), then open the faucet to release pressure and confirm the water is off. If the valves are seized, shut off the main water supply to the house.
- Place a bucket under the connections — water in the lines will drain out.
- Disconnect the supply lines from the faucet tailpieces with a wrench.
- Disconnect the sprayer hose and any pull-down weight if present.
- Unscrew the mounting nuts holding the faucet to the sink, using the basin wrench for the ones you cannot reach by hand. Corroded nuts may need penetrating oil and patience.
- Lift out the old faucet and scrape off any old putty or sealant, then clean the mounting surface.
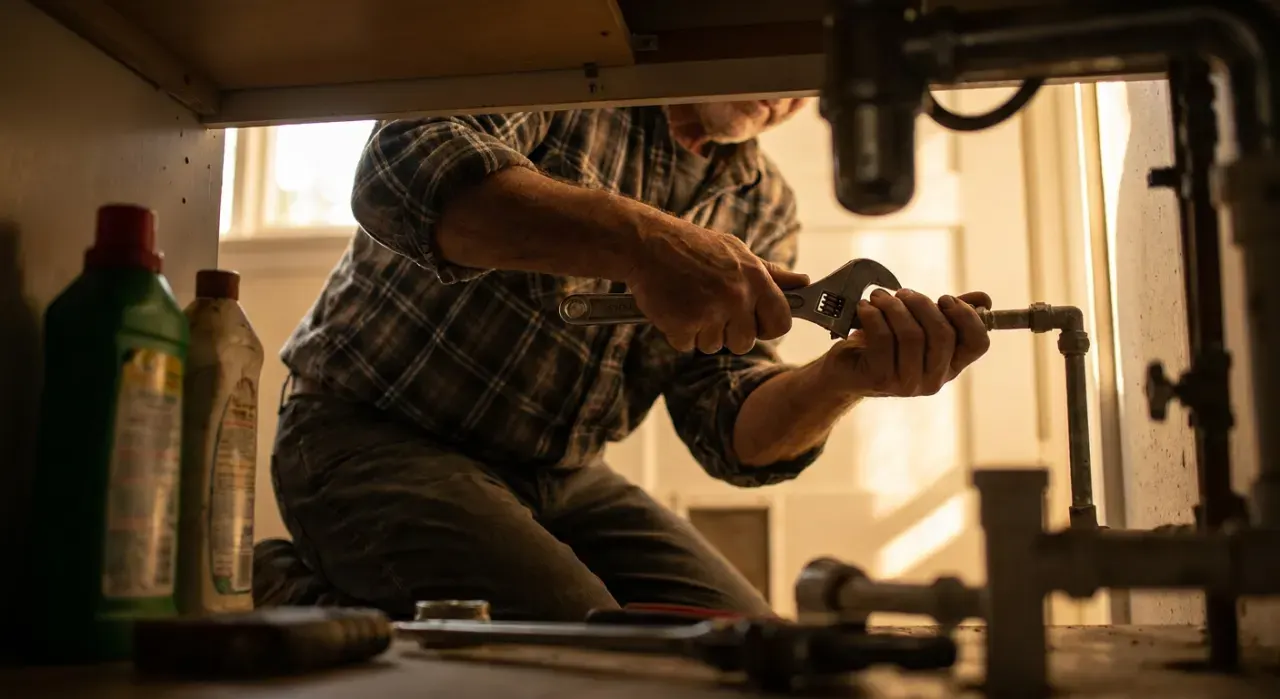
Step 4: Install the new faucet
- Feed the new faucet's lines and tailpieces down through the mounting holes, seating its base gasket. If no gasket is supplied, lay a bead of plumber's putty or silicone under the base.
- From below, thread on the mounting nuts and hand-tighten, then snug with the basin wrench. Keep the faucet aligned straight as you tighten.
- Wrap plumber's tape clockwise around the threaded connections (a few wraps) before attaching lines.
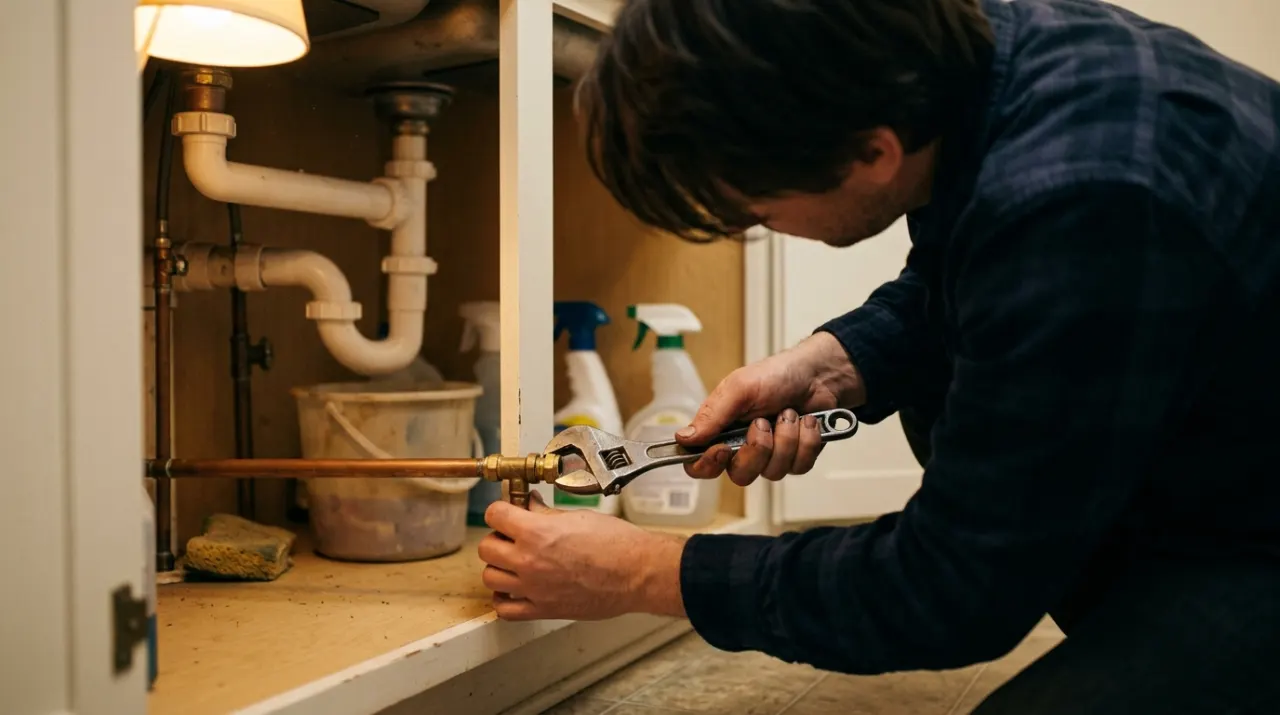
- Connect the supply lines — hot to hot, cold to cold — hand-tight plus a gentle quarter to half turn with a wrench. Do not over-tighten.
- Attach the sprayer hose and weight if the faucet has a pull-down or side sprayer.
Step 5: Turn on and test
- Remove the aerator from the spout so debris can flush out.
- Open the shutoff valves slowly to avoid a pressure surge.
- Run hot and cold and let the water clear for a minute, then reinstall the aerator.
- Check every connection with a dry paper towel — it shows even a slow leak instantly. Tighten any joint that weeps.
Troubleshooting leaks
| Leak location | Likely fix |
|---|---|
| Supply-line connection | Re-seat and tighten gently; add plumber's tape |
| Base of the faucet | Re-seal with gasket or plumber's putty |
| Sprayer hose | Check the quick-connect or fitting seated fully |
| Under the handle | Cartridge or O-ring not seated; re-seat per instructions |
Over-tightening cracks fittings and crushes washers, so if a joint leaks, re-seat it rather than forcing it tighter. If the old faucet was just dripping and you would rather repair than replace, see how to fix a leaky faucet.
Dealing with corroded, stuck hardware
The single thing most likely to turn a one-hour job into an afternoon is corroded old hardware. Old mounting nuts and supply connections seize with mineral buildup and rust, especially on a faucet that has been in place for a decade or more.
- Apply penetrating oil to the stuck nut and give it 10 to 15 minutes to work before trying again. Reapply if needed.
- Get better leverage with a basin wrench that has a longer handle, or a pair of channel-locks on nuts you can reach.
- Cut it as a last resort. A rusted mounting nut that will not budge can be cut off with a mini hacksaw or an oscillating tool — the old faucet is being discarded anyway, so damaging it does not matter.
- Watch the shutoff valves. If a shutoff valve itself is seized or weeps when you operate it, replace it while the water is off rather than fighting it — see the guide below.
Budget extra time if your plumbing is old. Patience with penetrating oil beats brute force, which can crack the sink or snap a pipe.
When to call a plumber
Do it yourself unless you hit one of these: shutoff valves that are seized and will not close (you will need the main shut off and possibly valve replacement — see how to replace a water shut-off valve), badly corroded connections that snap, or no existing shutoffs at all. For a bathroom-specific walkthrough, see how to replace a bathroom faucet; for the kitchen, how to replace a kitchen faucet.
How we evaluate faucets and tools — from aggregated owner reviews and expert consensus rather than first-hand testing — is set out in how we rank. For every fixture and plumbing task, the DIY plumbing hub has the complete library.