 Garden

Affiliate Disclosure
Some links on this page are affiliate links. As an Amazon Associate, we earn from qualifying purchases — at no extra cost to you. We do not buy, test, or physically handle the products we cover; our rankings come from aggregated owner reviews, ratings and expert consensus. Commissions never change our verdicts. How we rank · full disclosure.
The cheapest workable cold frame is four straw bales in a rectangle with a salvaged window on top — under $30, twenty minutes, no tools. A hoop-and-plastic frame over a raised bed runs about $25, and a clear storage tote over a small planting costs $15. All of them buy the same 5 to 10°F of overnight protection as a $200 ready-made frame, because the protection comes from trapping solar gain and blocking wind rather than from the price of the walls. What money buys is looks, longevity and an automatic vent opener.
We never buy, test or physically handle the products we rank; recommendations come from aggregated owner reviews and expert consensus, described in how we rank. More at the greenhouses and season extension hub.
Five cheap options compared
| Build | Cost | Time | Lasts | Best for |
|---|---|---|---|---|
| Straw bales + salvaged sash | $0–$30 | 20 min | 1–2 seasons | Best insulation, zero skill |
| Hoops + 6 mil plastic over a bed | $20–$35 | 45 min | 2–3 seasons | Covering an existing raised bed |
| Clear storage tote cloche | $10–$20 | 5 min | 1–2 seasons | Seedlings, tiny plantings |
| Pallet wood box + salvaged sash | $0–$25 | 3 hr | 3–5 seasons | A permanent frame for nothing |
| Rigid foam board box + old sash | $25–$45 | 1 hr | 3–4 seasons | Coldest zones, best heat retention |
1. Straw bales and a window — the best cheap frame
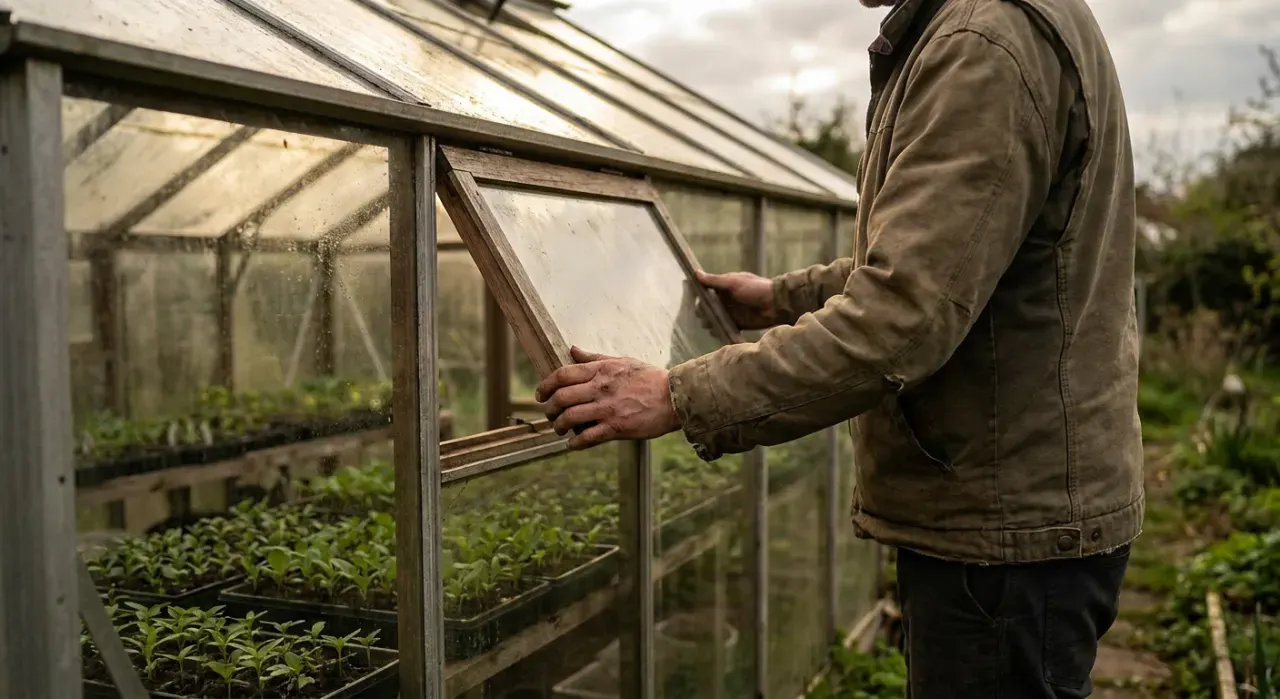
Lay four straw bales on edge in a rectangle roughly matching your salvaged sash, with the north side stacked one bale higher than the south to create slope. Set the sash on top. Done.
This is not a compromise version of a wooden frame — in one respect it is better. Straw is a genuine insulator, so the walls lose far less heat overnight than a 3/4-inch cedar board does. Gardeners in cold zones consistently report bale frames holding warmth longer than built ones.
- Cost: bales run $8 to $15 each in most of the US, and salvaged sash is free to $20. Fewer bales if you build against an existing wall.
- Buy straw, not hay. Hay is full of seed and you will be weeding grass out of that bed all spring.
- Downsides: bulky, decomposes over one or two seasons, and needs a spot where it will not sit in standing water.
- Bonus: at the end of winter the bales become mulch or compost, so nothing is wasted.
2. Hoops and plastic over a raised bed
If you already have a raised bed, you are two-thirds of the way to a cold frame. Bend 1/2-inch PVC conduit or 9-gauge wire into hoops, set them into the bed sides every 3 to 4 feet, and drape 6 mil clear greenhouse plastic over the top, clipped with spring clamps or snap clips.
- Cost: about $2 to $4 per hoop and $15 to $20 for enough 6 mil plastic to cover a 4 by 8 foot bed.
- Hoop height: 18 to 30 inches at the peak. Lower is warmer and more wind-stable; higher fits taller crops.
- Anchor the plastic edges with boards, sandbags or clips. Wind is what destroys these, not cold.
- Venting is easy: roll one side up and clamp it.
Use greenhouse-grade UV-stabilized film if you can. Hardware-store painter plastic is cheaper and turns brittle in one season of sun.
3. The storage tote cloche
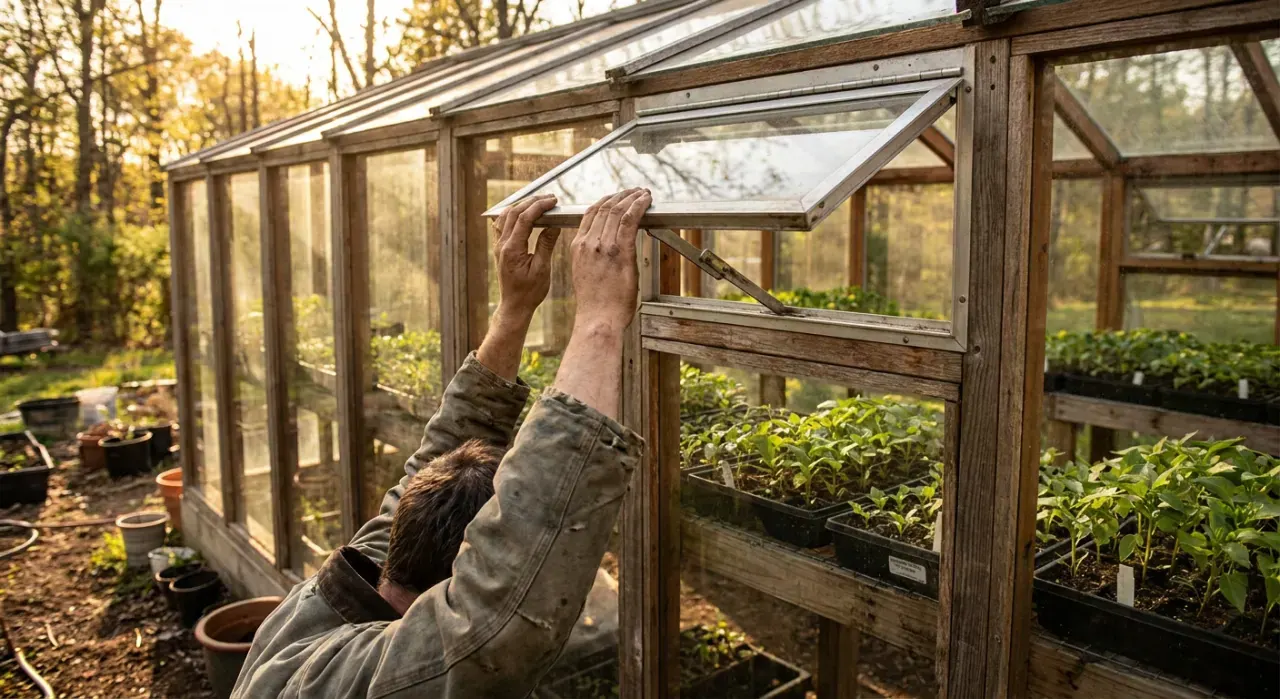
A clear plastic storage tote, inverted over a small planting, is a functioning mini cold frame for $10 to $20 and five minutes. Cut the bottom out with a utility knife and you can push the rim into the soil for a better seal. Weight it with a brick so it does not blow away.
Realistic expectations: about 5 to 8°F of protection, room for a single small planting or a flat of seedlings hardening off, and one to two seasons before the untreated plastic hazes and cracks in UV. As a way to protect a few plants through a cold snap it is genuinely useful.
4. The pallet wood box
Dismantled pallets give you free lumber for a proper wooden box. Budget three hours including the tedium of pulling nails, and check the stamp: HT means heat-treated and is fine; MB means methyl bromide fumigation and should not go near food crops. Pallets that are stained, greasy or of unknown origin are not worth the risk in a vegetable garden.
Build to the same proportions as any cold frame — 18 inches at the back, 12 at the front, 2 to 3 feet deep, low side south. Full dimensions and the cut list are in how to build a cold frame.
5. Rigid foam board — best heat retention for the money
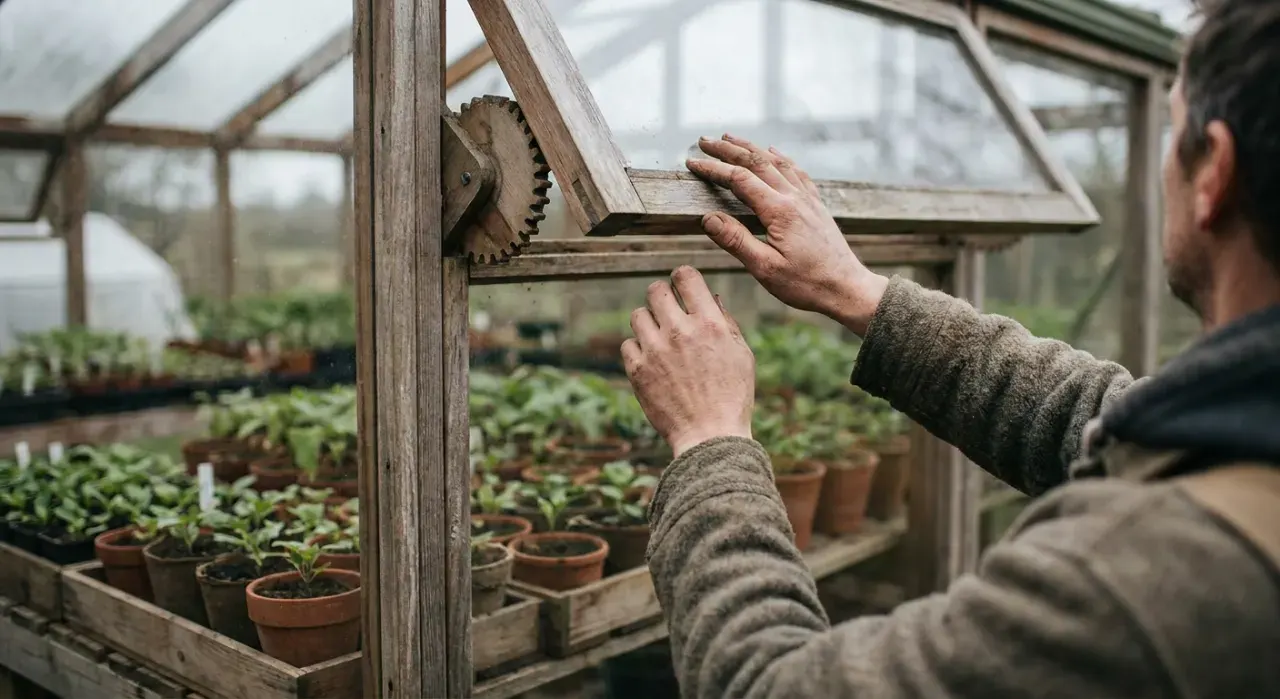
A box made from 2-inch rigid foam insulation board, taped and screwed at the corners with a salvaged sash on top, gives you dramatically better overnight heat retention than any thin wooden frame. A sheet costs about $25 to $40 and makes one frame with material left over.
It is not attractive and the foam degrades in sunlight, so face it with scrap plywood or paint it with a compatible exterior paint if you want it to last. For the coldest zones, or for anyone trying to hold greens through a hard winter, this is the highest-performance cheap option.
The rules that apply to all of them
- Low side faces south, with a 10 to 15 degree slope so the glazing meets low winter sun and rain runs off.
- Vent whenever outside air passes about 40°F in sun. Prop the lid 2 to 6 inches; close it by mid-afternoon. This is the step that decides whether the plants live.
- Add thermal mass. Two black-painted gallon jugs of water inside are worth several degrees on a clear night, and they cost nothing.
- Cover on hard nights. An old blanket or a bag of leaves over the lid when a hard freeze is forecast; remove it in the morning.
- Keep the depth under 3 feet so you can reach the back row without stepping in.
Safety and materials to avoid
No permit is needed for a cold frame anywhere in the US — it is a garden structure, not a building. Three material cautions matter for a cheap build, because cheap usually means salvaged:
- Pre-1978 painted window sash may carry lead paint, and the EPA identifies windows as a high-risk component. Test or encapsulate; never dry-sand. Details in building a cold frame from old windows.
- Reclaimed lumber of unknown origin — railroad ties, creosote-treated timber, old painted boards — does not belong beside food crops.
- Single-pane glass shatters. Keep the frame out of traffic paths, and think carefully if children or dogs use the garden.
If you would rather buy than build, the ranked options and what owners complain about are in best cold frames. To decide whether a frame or a full structure suits you, see cold frame vs greenhouse.
Related reading: how a cold frame works, unheated greenhouse winter crops, best row covers and frost cloth.