 Garden

Affiliate Disclosure
Some links on this page are affiliate links. As an Amazon Associate, we earn from qualifying purchases — at no extra cost to you. We do not buy, test, or physically handle the products we cover; our rankings come from aggregated owner reviews, ratings and expert consensus. Commissions never change our verdicts. How we rank · full disclosure.
Without electricity, hold a greenhouse 10 to 20°F above outside air overnight using three things: thermal mass, insulation on the glazing, and an inner cover over the plants. Water is the cheapest thermal mass — about 2 to 3 gallons per square foot of floor, in dark-painted drums along the north wall. Line the glazing with large-bubble horticultural insulation, which cuts heat loss roughly 30 to 40 percent. Then add a floating row cover inside, which alone buys 4 to 8°F at plant level. Total cost $80 to $300, and it is enough to crop hardy greens through most US winters.
We never buy, test or physically handle the products we rank; recommendations come from aggregated owner reviews and expert consensus, described in how we rank. More at the greenhouses and season extension hub.
What is realistically achievable
| Measure | Typical gain overnight | Cost |
|---|---|---|
| Nothing — bare greenhouse | 3–5°F | $0 |
| Water thermal mass (2–3 gal/sq ft) | +5–10°F | $40–$150 |
| Bubble insulation on glazing | +3–6°F | $40–$120 |
| Inner floating row cover over plants | +4–8°F at plant level | $15–$40 |
| South wall siting and north wall insulation | +3–6°F | $0–$80 |
| Active compost pile inside | +2–5°F | $0 |
These do not simply add up — the gains overlap — but a house with all of them commonly holds 15 to 20°F above ambient, and the layered approach is what makes an unheated winter greenhouse work. Be honest about the ceiling: none of this keeps tomatoes alive through a USDA Zone 5 January. It keeps hardy crops cropping.
Thermal mass: water is the cheap answer
Water has a very high specific heat capacity, meaning it absorbs a lot of energy for a small temperature rise and releases it slowly. That makes it the ideal daytime heat sponge.
- Quantity: aim for 2 to 3 gallons per square foot of floor. A 96 square foot house wants roughly 200 to 290 gallons — four to six 55-gallon drums, or a wall of gallon jugs.
- Color: paint containers black or dark blue. A clear or white container reflects rather than absorbs, and does much less work.
- Placement: along the north wall, in direct sun, not shading your plants. A stacked wall of black jugs on the north side is both mass and a reflective backstop.
- Containers: food-grade drums cost $20 to $40 used; recycled gallon jugs cost nothing and are easier to move but have more surface area to lose heat from.
Masonry works too — a paved floor, a brick north wall, stacked concrete blocks — with roughly a quarter the heat capacity of water by volume but no leak risk. If your greenhouse sits against the house or a stone wall, that wall is already doing this job.
Insulation: stop the loss you cannot replace
Thermal mass is pointless if the heat escapes through the glazing by 10pm. Two measures matter:
Bubble insulation on the inside of the glazing. Large-bubble horticultural film, UV-stabilized, clipped to the frame. It typically cuts heat loss by 30 to 40 percent at the cost of 10 to 20 percent of light transmission. That light penalty is real in December when days are short, so a common compromise is to line the north half and the roof, leaving the south glazing clear. Use horticultural grade, not packing wrap — packing wrap yellows and collapses in one season.
Insulate the north wall properly. The north face receives almost no useful winter sun. Rigid foam board or even a stack of straw bales against it costs you nothing in light and cuts a significant portion of your loss area. Painting the inside of that insulation white bounces light back onto the plants.
Also seal the leaks: gaps around doors, vents and glazing laps let warm air out all night. Weatherstrip and foam-tape everything before buying anything else. It is free and it is the highest-return hour you will spend.
The inner cover — the highest gain per dollar
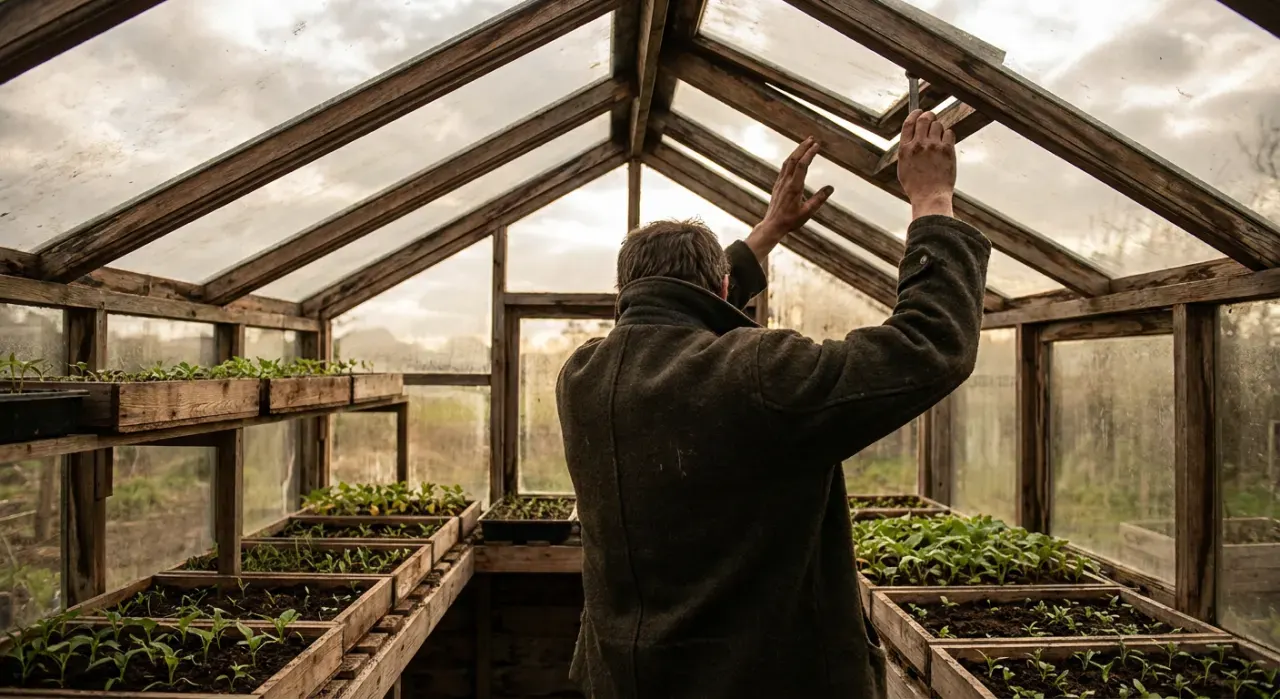
A floating row cover or a low tunnel inside the greenhouse creates a second envelope directly over the crop, the same stacking of cold frames, cloches and row covers that UW-Madison Extension recommends for season extension, and it is the single most cost-effective measure here. Frost cloth at 0.9 to 1.5 ounces per square yard adds roughly 4 to 8°F at plant level for $15 to $40.
This is the classic double-layer approach behind winter market growing: the greenhouse holds off the wind and buys some degrees, and the inner cover holds a warmer microclimate right over the leaves. Extension guidance on season extension consistently identifies this stacking as worth roughly two hardiness zones. Options are ranked in best row covers and frost cloth.
Remove or vent it on sunny days. A double-covered crop cooks as readily as any other — see keeping a greenhouse cool for why venting matters even in cold weather.
Compost heat and other supplements
An actively decomposing hot compost pile runs 130 to 160°F in its core and gives off heat continuously. Sited inside or immediately against the greenhouse, at least a cubic yard of well-balanced material, it adds a few degrees and releases carbon dioxide the plants use. It needs turning to stay hot and it will cool over weeks, so treat it as a supplement.
The traditional French hotbed goes further: a pit filled with 18 to 24 inches of fresh manure and straw, topped with 6 inches of soil, warms the root zone from below for six to eight weeks. Penn State Extension publishes low-cost hot bed designs that use the same bottom heat to keep transplants above freezing on cold nights. It is genuine, it works, and it is a lot of manure.
Get the siting right if you are still planning
The cheapest heat is the heat you never lose. The University of Minnesota Extension deep winter greenhouse design runs east to west with a steeply sloped south-facing glazing wall for exactly this reason — to capture as much solar energy as possible on the coldest days. A greenhouse placed against a south-facing house wall gains a windbreak, a thermal mass wall that re-radiates all night, and a shorter run for any future utilities. A freestanding house on open ground in a wind exposure is fighting a much harder problem. Orientation and site guidance is in greenhouse sizing and siting, and wind loading in anchoring a greenhouse against wind.
Safety: what not to do
The tempting shortcut here is an unvented propane or kerosene heater, and it is the one thing to avoid. Any unvented combustion appliance produces carbon monoxide, and the CPSC has long warned against operating unvented fuel-burning heaters in enclosed spaces. A greenhouse you have just sealed against heat loss is exactly the wrong place for one. Combustion also releases water vapor, which drives condensation and fungal disease. If you use a fuel heater at all, use a model listed for greenhouse use, provide permanent ventilation, and fit a carbon monoxide alarm.
Candle and terracotta pot heaters circulate widely online. They produce a trivial amount of heat relative to the volume of a greenhouse and they are an open flame near plastic film. Skip them.
If you decide you need real heat, that means electricity, and greenhouse electrical work is a licensed-electrician job: it is a wet location with a metal frame, GFCI protection applies, and outdoor circuits are permitted work in essentially every US jurisdiction with rules set at state and local level. Check with your building department. Powered options are covered in how to heat a greenhouse in winter.
Related reading: unheated greenhouse winter crops, how a cold frame works, best backyard greenhouse.