 Garden

Affiliate Disclosure
Some links on this page are affiliate links. As an Amazon Associate, we earn from qualifying purchases — at no extra cost to you. We do not buy, test, or physically handle the products we cover; our rankings come from aggregated owner reviews, ratings and expert consensus. Commissions never change our verdicts. How we rank · full disclosure.
To paint a room like a pro: the difference is almost entirely prep and technique, not skill or costly paint. Prep the walls thoroughly, box your paint so color is uniform, cut in crisp edges with a quality angled brush, then roll each wall while the cut-in is still wet, keeping a wet edge and rolling in a consistent pattern with thin, even coats. Apply two coats, let each cure, and take your time. Master those disciplined steps and a first-time job looks professional; rush them and even good paint looks amateur.
We do not test paints or tools ourselves; our product picks come from aggregated owner reviews and expert consensus, described in how we rank. The techniques below are standard professional practice.
The secret is prep, not paint
The uncomfortable truth about professional-looking results is that most of the work happens before the finish paint goes on. Pros spend a large share of a job cleaning, patching, sanding, and priming, because the final coat can only look as good as the surface beneath it. A wall with unfilled dents, a glossy old sheen, or a dusty surface will show every flaw no matter how carefully you paint.
Clean the walls, fill and sand every defect flush, dull glossy areas, remove all dust, and prime where needed. This groundwork is covered in full in how to prep walls for painting. If you take one thing from a pro, it is that they earn the finish before they apply it.
Use pro tools, not just any tools
You do not need a truck full of gear, but a few quality items change the result dramatically.
- A quality angled sash brush, 2 to 2.5 inches, for cutting in. A cheap brush leaves marks and a ragged edge.
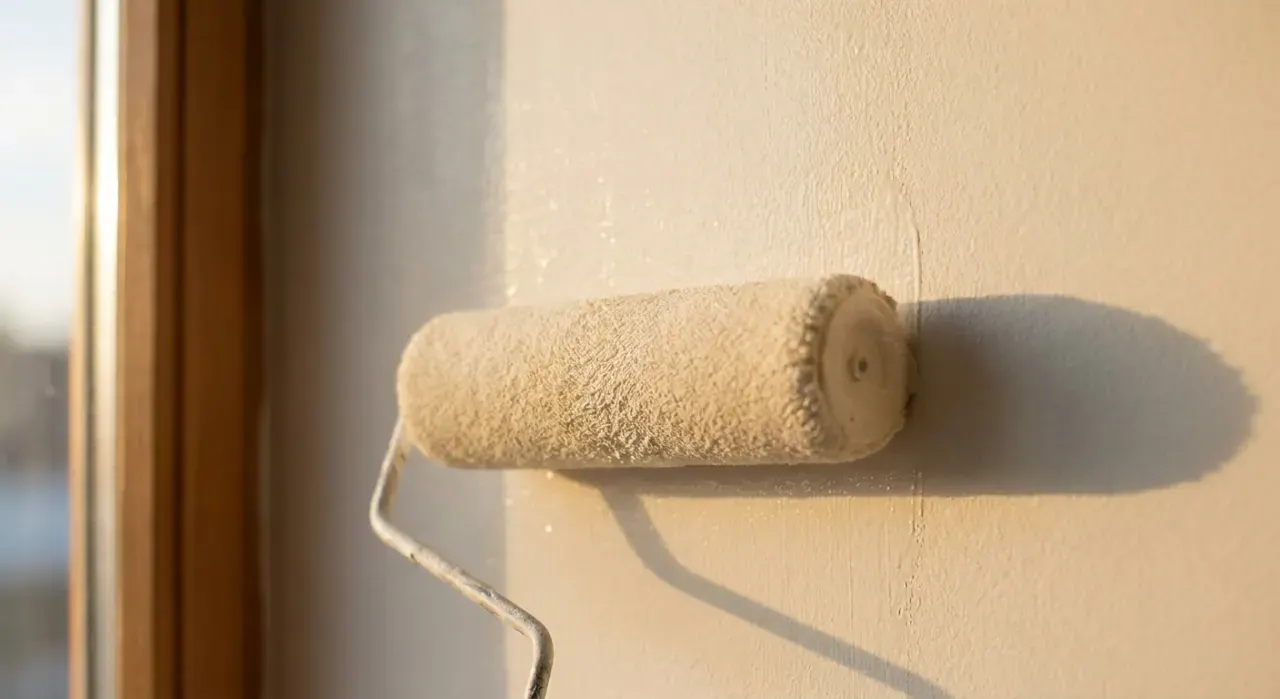
- A good roller frame and cover with the right nap for your wall texture. See what nap roller for smooth walls and pick from best paint rollers.
- An extension pole for the roller, which gives even pressure and saves your back and a ladder.
- A five-gallon bucket with a roller grid, which pros use instead of a tray for cleaner, more efficient loading.
- Quality painter's tape, at least as a safety net, from best painters tape.
Good paint matters too. A quality interior paint covers in fewer coats and levels smoother, ranked in best interior paint.
Box your paint for uniform color
Here is a pro move most homeowners never hear about: boxing. Even the same color tinted in different cans can vary slightly, so before starting a job that uses two or more gallons, pros pour all of it into one large bucket and stir it together. Now the entire room comes from one perfectly uniform supply, with no can-to-can color line to appear halfway across a wall.
For a single gallon it matters little, but for any larger room, boxing is a two-minute step that guarantees consistent color. Stir thoroughly, because pigment settles.
Cutting in a crisp edge
Cutting in, brushing a clean band along ceilings, corners, trim, and outlets where a roller cannot reach, is the technique that most separates a pro finish from a DIY one.
- Load the brush about a third up the bristles and tap off the excess, so it carries paint without dripping.
- Start a short distance from the edge, then work back into it, which controls the paint before you reach the line.
- Draw a steady band two to three inches wide along the edge, using the angled tip to steer a straight line. Long, smooth strokes beat short, choppy ones.
- Cut in only one wall at a time, so the band stays wet for rolling.
Many pros cut in freehand once they have the skill, but taping is a perfectly good safety net; see how to cut in paint edges without tape and best paint brush for cutting in.
Rolling technique and the wet edge
Rolling is where big areas come to life, and two ideas make it look flawless: a consistent pattern and a wet edge.
- Load the roller evenly on the grid so it is coated but not dripping.
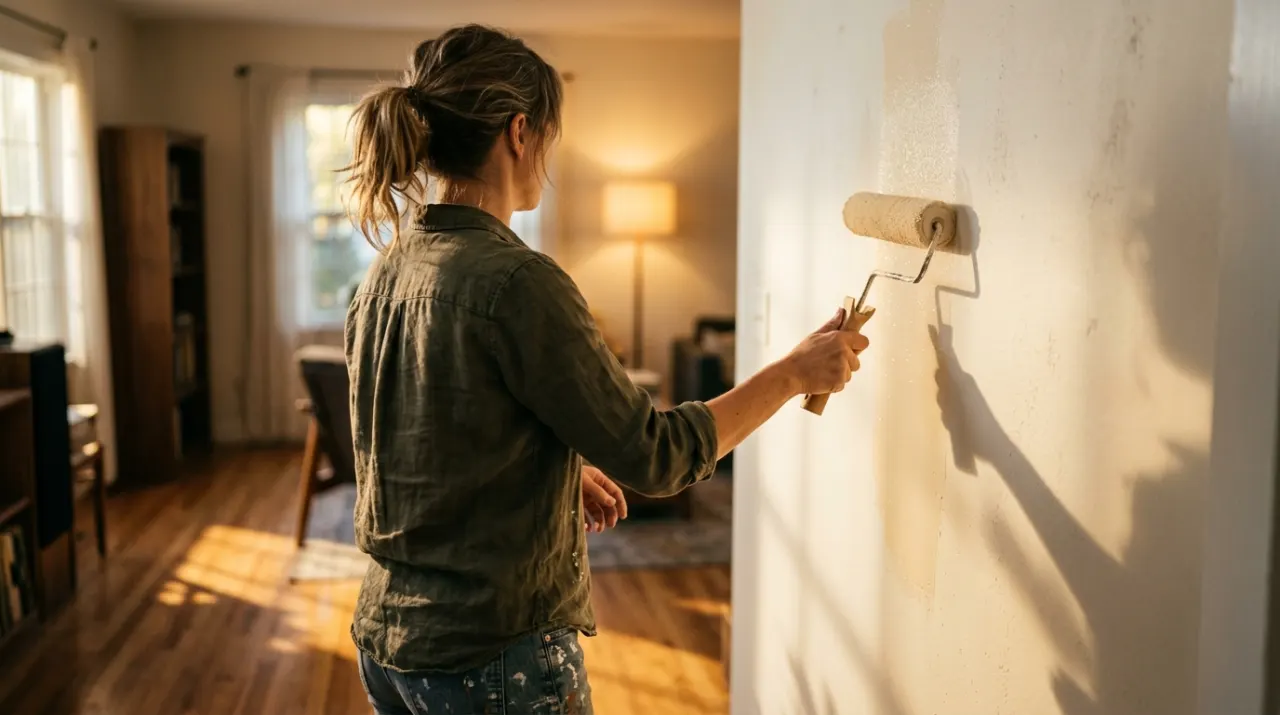
- Roll a large W or M about three feet wide, then fill it in without lifting the roller, distributing paint before smoothing.
- Finish with light, top-to-bottom passes in one direction to even the texture.
- Keep a wet edge: always roll into the area you just painted while it is still wet, and roll up to your still-wet cut-in band, so brush and roller blend invisibly.
- Work one wall at a time, cut-in then rolled, before moving on.
Letting the cut-in dry before rolling causes hatbanding, a visible frame of different texture around the wall. Keeping everything wet is what prevents it.
Thin coats, twice
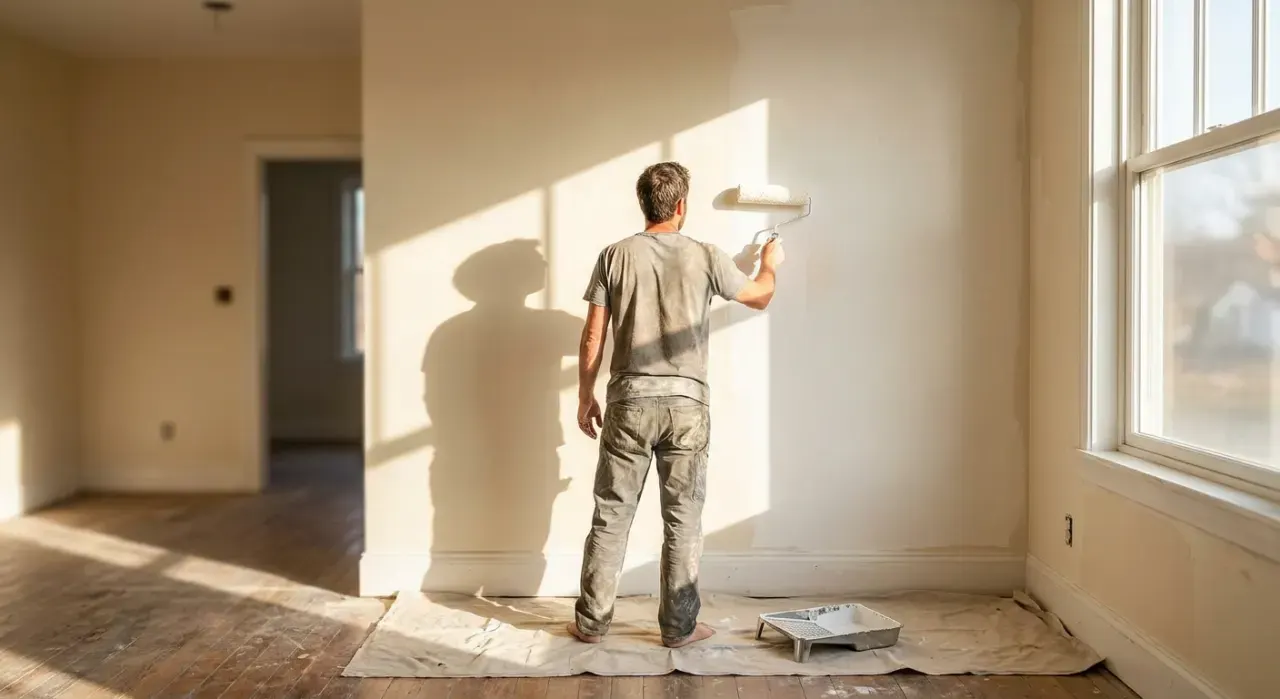
Pros apply two thin coats, not one thick one. A thick coat sags, drips, dries unevenly, and takes far longer to cure. Two thin coats give even color, full hiding, and a smooth, durable film.
| Step | What pros do |
|---|---|
| First coat | Apply thin and even; do not chase full color yet |
| Between coats | Let it dry fully; lightly sand nibs if needed, wipe dust |
| Second coat | Same technique; this coat evens color and sheen |
| Deep colors / bare drywall | Tinted primer first, then two finish coats |
Respect the recoat time on the can. Rushing the second coat over paint that has not dried drags the first coat and ruins the finish. See how long to wait between coats of paint.
Work in the right order
Sequence keeps a job clean and efficient. The professional order for a full room is: ceiling first, then walls, then trim last, so any drips fall onto surfaces you have not yet finished. (Some pros paint trim before walls to cut the wall to it; both are valid, the point is a deliberate order.)
Within the walls, cut in and roll one wall at a time. Do not paint yourself into a corner, and plan your exit toward the door. The full baseline sequence is in how to paint a room, and trim technique in how to paint trim.
The finishing touches
A few final habits earn the pro label.
- Pull tape at the right time, while the paint is still slightly wet or within an hour, so it does not tear a dried edge. See how to remove tape without peeling paint.
- Inspect in raking light, shining a lamp across the wall to catch thin spots and misses while you can still fix them.
- Do not overwork drying paint. Going back over a section that has started to set leaves marks. Lay it on and leave it.
- Save labeled leftover paint for invisible future touch-ups.
None of these techniques is difficult. Together, method plus patience, they turn an ordinary paint job into one that looks professionally done. Everything else lives at the paint and walls hub.