 Garden

Affiliate Disclosure
Some links on this page are affiliate links. As an Amazon Associate, we earn from qualifying purchases — at no extra cost to you. We do not buy, test, or physically handle the products we cover; our rankings come from aggregated owner reviews, ratings and expert consensus. Commissions never change our verdicts. How we rank · full disclosure.
Start with four numbers, in this order: sun hours, weight, drainage and wind. Count how many hours of direct sun the space really gets, keep wet containers under roughly 40 pounds per square foot and against the wall, put a saucer under every pot so runoff never reaches the neighbor below, and assume it is windier up there than you think. Plants come fifth — and they are the easy part.
Almost every failed balcony garden fails on one of those four, not on horticulture. The tomato that never set fruit was in four hours of sun. The deck that stained was hosting bare terra cotta. The pepper that dried out twice a week was in a 2-gallon pot on a windy sixth floor. Get the structure of the space right and ordinary plants do well without much skill.
Step 1: Count Your Sun Before You Buy Anything
Direct sun on the floor of the balcony is the ceiling on everything you can grow, and almost everyone overestimates it. Pick a clear day, then check the space every hour from about 8 a.m. to 6 p.m. and note whether the sun is actually landing on the floor, on the rail, or nowhere. Add up only the hours of direct sun.
The result sorts your plant list honestly:
- 8 or more hours — anything: tomatoes, peppers, eggplant, bush squash, melons in big containers.
- 6 to 8 hours — tomatoes, peppers, bush cucumbers, beans, strawberries and every common herb.
- 4 to 6 hours — leafy greens, chard, kale, scallions, radishes, beets, bush peas, parsley and cilantro. A genuinely productive garden, just not a fruiting one.
- 2 to 4 hours — lettuce, spinach, arugula, mint, chives and shade-tolerant ornamentals.
- Under 2 hours — foliage plants. No edibles worth the effort.
The shortcut most people remember is leaves 4, roots 6, fruits 8. It is roughly right, and it will save you a whole season of disappointment. The full method, including how an overhead balcony above you changes things through the year, is in how much sun a balcony really gets.
Step 2: Do the Weight Math Once
This is the part nobody does and the part that occasionally matters a great deal. Wet potting mix weighs roughly 6 to 9 pounds per gallon depending on how much compost is in it; anything with real topsoil or sand in it weighs considerably more. Add the container and the plant and you get numbers like these:
| Container | Approx. soil volume | Weight when watered |
|---|---|---|
| 10 in. round pot | ~3 gal | 25–35 lb |
| 12 in. round pot | ~5 gal | 40–55 lb |
| 16 in. round pot | ~10 gal | 75–100 lb |
| 18 in. round pot | ~15 gal | 110–150 lb |
| 24 × 8 in. railing trough | ~3 gal | 25–35 lb |
| 5-tier stacking tower | ~10 gal | 80–110 lb |
| 2 × 4 ft raised planter, 12 in. deep | ~60 gal | 450–600 lb |
Three rules follow from that table. Put weight near the building, not out at the rail — the wall edge sits over structure, the outer edge is cantilevered. Spread it out rather than clustering four heavy pots in one corner. And skip the balcony raised bed: a 2 ft × 4 ft box at 12 inches deep is a quarter-ton of wet soil in 8 square feet, which is roughly 60 pounds per square foot and past what many older balconies were designed for. Containers, grow bags and towers get you the same growing volume spread over a much larger footprint.
Step 3: Decide Where the Water Goes
Every container must have drainage holes, and every container on a shared structure must have something to catch what comes out. Runoff dripping onto the balcony below is the fastest way to turn a hobby into a lease conversation, and on a wooden deck, standing water under a pot causes stains and rot within a season.
Three things solve it permanently. Saucers under everything — cheap plastic ones are fine, but empty them after heavy rain so pots do not sit in water. Pot feet or a slatted trolley to lift containers off the deck surface so air can dry underneath. And self-watering containers, which hold their reservoir internally and drain far less; our ranked self-watering container pots covers which reservoir designs actually wick and which just hold stagnant water.
Railing planters need particular attention because they hang over open air by design. Mount them on the inside of the rail where the runoff lands on your floor, not the sidewalk, and check your lease and local code first — plenty of buildings prohibit anything hanging outside the rail line as a falling hazard. Fit and drainage are the two things that separate good railing boxes from bad ones, which is what our railing planter rankings are built around.
Step 4: Take Wind Seriously
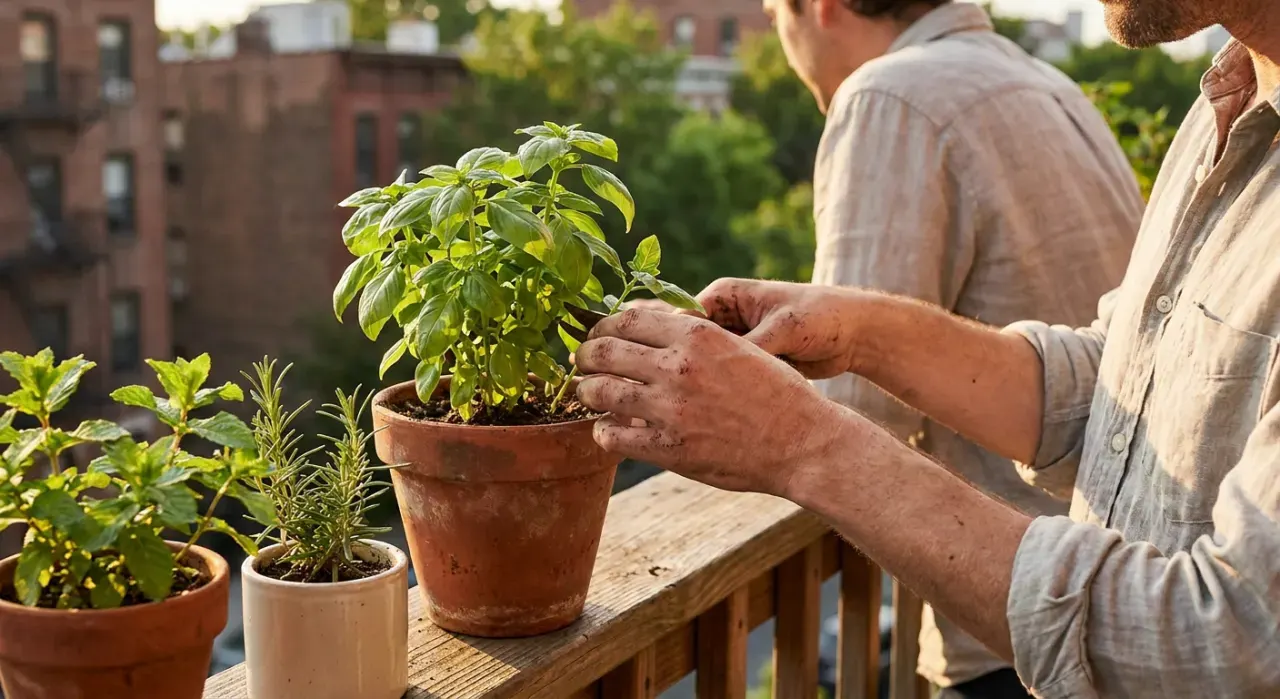
Wind speed rises with height and accelerates around building corners, so a tenth-floor balcony can be a genuinely hostile place for a plant that would be fine in a yard. It causes three separate problems. It dries containers faster than heat does, sometimes doubling how often you water. It shreds large soft leaves — squash, basil and young cucumber take the worst of it. And it topples tall plants in narrow pots, usually the night before you would have harvested something.
Practical answers, in order of how much they help: keep the tall stuff against the wall, choose wide-based containers over tall tapered ones, stake tomatoes and peppers at planting rather than after they lean, group containers so they shelter each other, and use a solid railing panel or a permitted mesh windbreak as a screen. Avoid lightweight plastic pots and unweighted fabric grow bags anywhere exposed — those are the ones that go over the rail.
Step 5: Understand Your Microclimate
A balcony is not a small yard; it is a hard-surfaced heat trap with a view. Concrete, brick and metal railings absorb sun all day and radiate it back at night, and a dark plastic pot sitting on a west-facing slab can reach well over 110°F at the root zone on a July afternoon — hot enough to cook fine feeder roots even while the leaves look fine.
Counter it cheaply. Use light-colored containers on any surface that bakes. Raise pots an inch off the slab on feet so air can move underneath. Group containers together so they shade each other's sides. Add an inch of mulch on the soil surface even in pots — it is as effective there as it is in a bed. And on a west-facing space, plan for afternoon shade in midsummer rather than fighting it; that same reflected heat is a real advantage in spring and fall, when a balcony often runs a couple of weeks ahead of the ground-level garden nearby.
The Starter Kit: What to Actually Buy
Six containers, one bag of mix, and three tools will start almost any balcony.
- Two 5-gallon containers (about 12 inches across) for peppers, a compact cucumber, or bush beans.
- One 10-gallon container for a determinate patio tomato — the most common beginner mistake is putting it in 5.
- Two shallow troughs or railing boxes, 6 to 8 inches deep, for salad, radishes and scallions.
- One or two 1 to 2 gallon pots for herbs, and mint gets its own pot, always.
- Potting mix, not garden soil. Two cubic feet is about 15 gallons of mix — enough for roughly one 10-gallon and one 5-gallon container.
- A trowel, a pair of bypass pruners and a watering can. That is the whole tool list; see our eight tools a beginner needs before buying a kit.
Every container needs drainage holes and a saucer. If floor space is what you are short of rather than money, a stacking tower or wall system converts dead vertical area into planting pockets — the field is ranked in best vertical garden planters, and vertical vs grow bag vs raised bed compares the three formats on yield, cost and watering load.
A Realistic First Season
Weeks 1–2: count sun hours, check the lease, buy containers and mix. Plant herbs and a first sowing of salad. Nothing else.
Weeks 3–4: once night temperatures stay above 50°F, add the tomato and peppers as transplants — starting them from seed on a balcony rarely goes well. Stake at planting.
Weeks 5–10: water is now the whole job. Check daily; in real heat, check twice. Sow salad again every two to three weeks so you are not harvesting it all at once. Start liquid feed at half strength every week or two, because every drop that drains carries nutrients out with it.
Weeks 10+: harvest, and note honestly what struggled. Almost every balcony has one corner that is better than the rest, and knowing which one is worth more than any product you can buy. The summer watering routine — including how to leave for a weekend without losing everything — is in watering containers in summer heat.
The Five Mistakes That Cost People a Season
Pots that are too small. The most common failure by a distance. Root volume is what buffers a plant against a missed watering and what feeds a fruit crop; crop-by-crop minimums are in container sizes by crop.
Garden soil in containers. It compacts into an airless brick within weeks. Bagged potting mix only.
Growing the wrong crops for the light. A pepper in four hours of sun will make leaves and never fruit. Match the list to the count.
No saucers. Stained decks, annoyed neighbors, and pots sitting in their own runoff.
Nothing to hold the water for you. One forgotten afternoon in July can abort a pepper's flowers. Bigger containers, mulch, grouping and a reservoir pot all buy you margin, and margin is what makes a small garden survive a real life. Which crops genuinely reward the effort is covered in vegetables that grow well in containers.
Where to Go Next
Nail the sun count first, then size the containers properly and get water containment sorted before you spend anything on plants. If you rent, renter-friendly garden setups covers doing all of this without a single drilled hole. The wider picture — layout, vertical growing, feeding — sits in our vertical and small-space gardening hub, and our product rankings come from aggregated owner reviews rather than first-hand handling, a method we set out on how we rank.