 Garden
Affiliate Disclosure
Some links on this page are affiliate links. As an Amazon Associate, we earn from qualifying purchases — at no extra cost to you. We do not buy, test, or physically handle the products we cover; our rankings come from aggregated owner reviews, ratings and expert consensus. Commissions never change our verdicts. How we rank · full disclosure.
Short version: a yard reads as finished when its edges are crisp, its paths go somewhere, and water runs off it instead of sitting in it. That is really what landscaping and hardscaping are about. This hub covers how to plan a layout before you spend money, how to build the hard elements — edging, paths, patios, walls — so they survive freeze and thaw, and which specific products the owner reviews actually back up.
We are a research desk, not a test lab: we never buy or physically handle the products we rank. Every recommendation on this site is built from aggregated owner reviews, star ratings, review volume and expert consensus. That is set out in full on how we rank.
Start With the Plan, Not the Catalog
Almost every disappointing yard has the same root cause: someone bought materials before deciding what the space was for. A yard is not one thing — it is a handful of zones that need to connect. Somewhere to sit. Somewhere to walk. Somewhere to grow. Somewhere ugly but necessary for trash cans, the AC unit and the hose reel. Sketching those zones on paper, even badly, is the highest-value hour in the whole project.
Three rules do most of the work. First, follow the desire lines — put the path where people already walk, not where the drawing looks symmetrical, or you will be reseeding a worn strip of lawn every spring. Second, curves need a reason; a bed that bends around a tree or a slope looks intentional, while a bend in open lawn looks like a mistake. Third, make beds deeper than feels right. A 24-inch strip against a house looks like trim; a 5-foot bed looks like landscaping and gives shrubs room to reach mature size without being hacked back every year. Our yard layout guide walks through the sketching process with real dimensions.
Water First, Everything Else Second
The most expensive landscaping mistakes in the US are water mistakes. Grade should fall away from the house at roughly 6 inches over the first 10 feet. Patios need about a quarter inch of fall per foot so rain sheds instead of pooling. Downspouts that dump against a foundation should be extended out into a bed or a dry well. If you have a corner that stays soggy for two days after rain, fix that before you plant anything into it, because you will otherwise spend years replacing drowned shrubs and blaming the plants. Fixing yard drainage covers grading, French drains and dry creek beds.
Edging: The Cheapest Upgrade in the Yard
If you only do one hardscape job, edge the beds. A clean, defined edge between lawn and mulch does more for how a yard looks than another $300 of plants, and it stops grass creeping into beds and mulch washing onto the lawn. Edging comes in four broad families:
- No-dig plastic with anchoring spikes — the popular choice, cheap per foot, bends easily into curves, and installs in an afternoon with a rubber mallet. The trade-off is a low profile and a hard limit on how much soil pressure it can hold back.
- Aluminum and steel — thin, nearly invisible once installed, and holds a line for decades. Aluminum will not rust; steel is stiffer and cheaper but eventually weathers. Both want a trench.
- Rubber — recycled, forgiving over uneven ground, comfortable to mow against, and heavy enough to stay put. Bulkier looking than metal.
- Brick, block and paver edging — the most decorative and the most work, but it also doubles as a mowing strip you can run a wheel along.
Which family suits you depends on your mower more than your taste: if you edge with a string trimmer, a low plastic profile is fine; if you like running a mower wheel along the border, you want something rigid. Our ranked field is in best landscape edging, the head-to-head is in steel vs plastic edging, and the install method — including the angled-spike trick that stops heaving — is in how to install landscape edging.
Paths, Patios and Base Prep
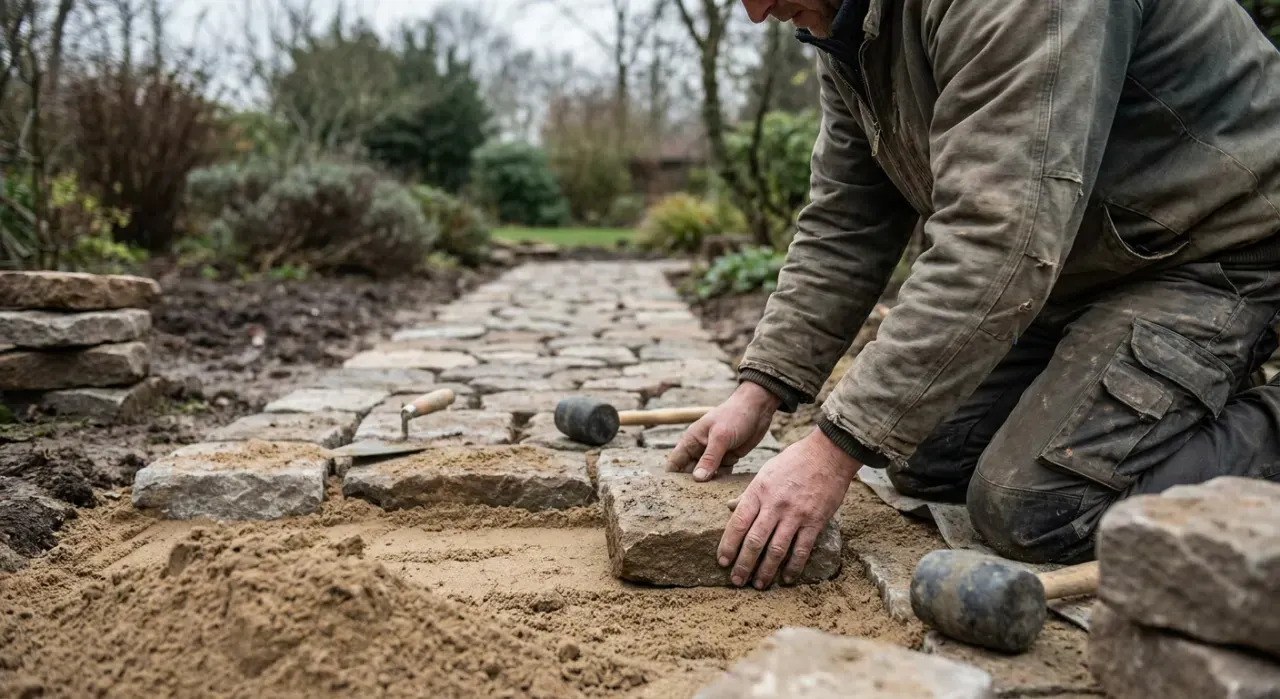
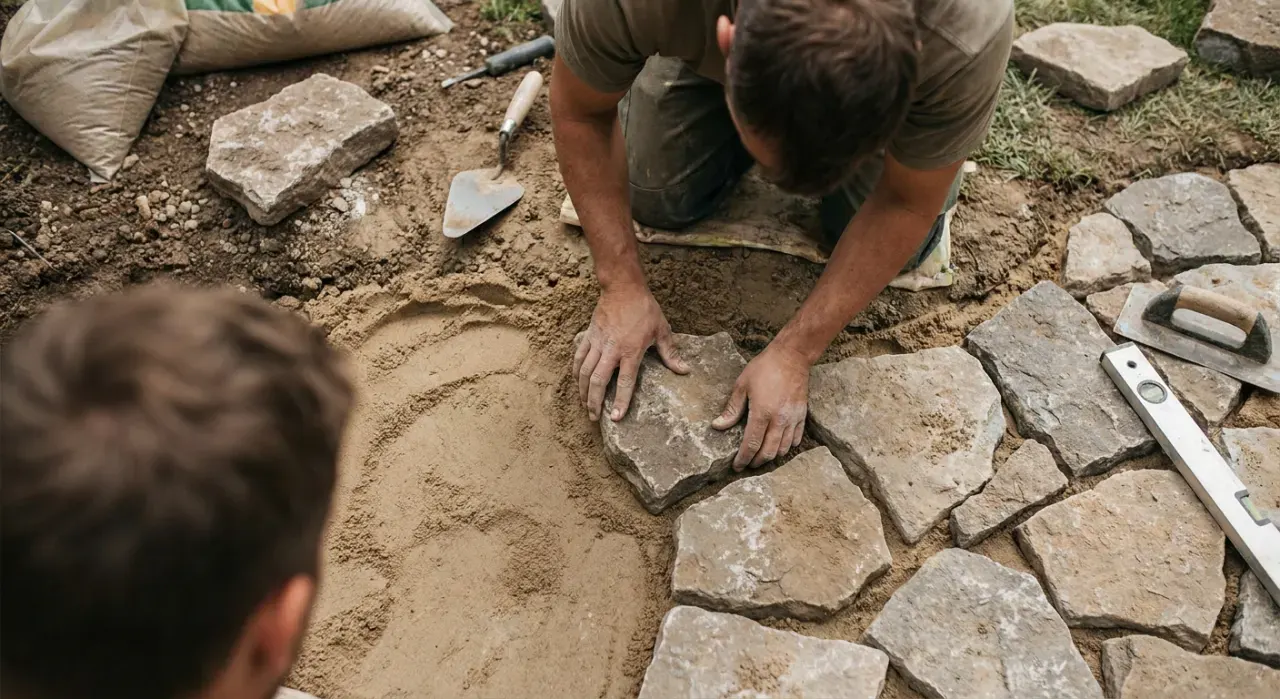
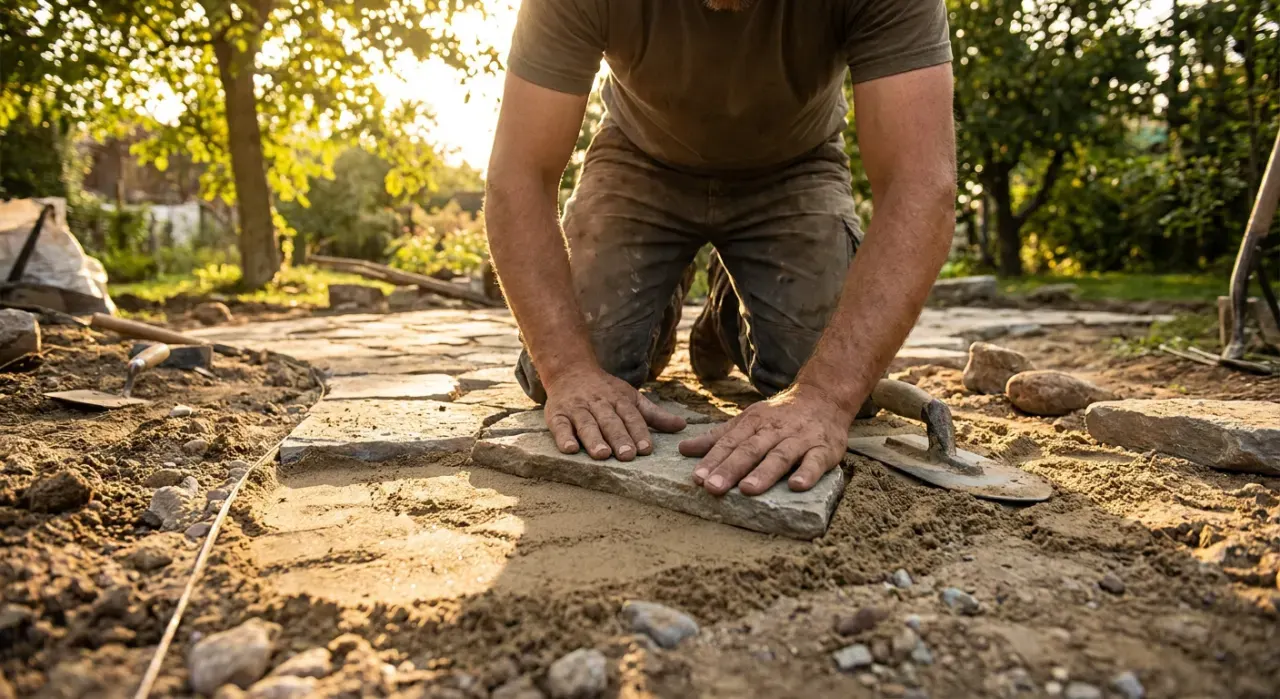
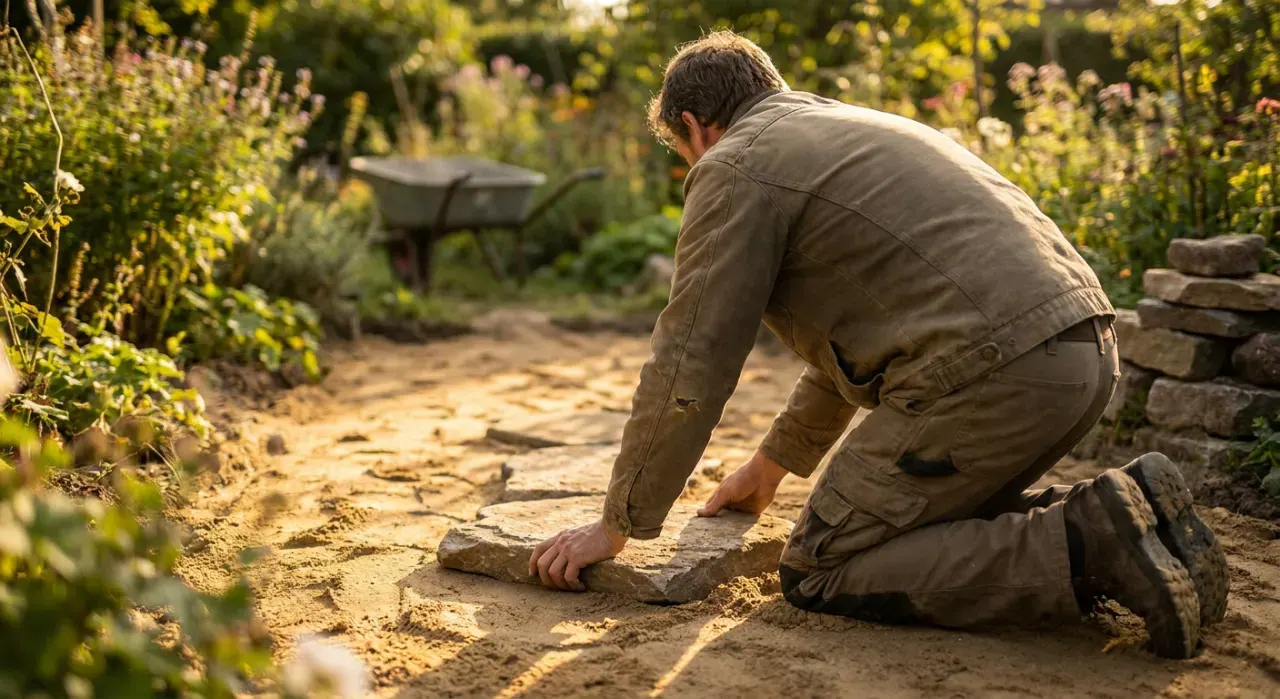
Everything you walk on lives or dies on what is underneath it. The visible pavers are the easy part; the base is the job. For a walkway in a mild climate, 4 inches of compacted crushed stone under an inch of bedding sand is a reasonable minimum. For a patio that will hold furniture, or anywhere with real freeze and thaw, 6 to 8 inches of base is the honest number. Compact in lifts of a few inches rather than dumping it all at once, and check slope as you go rather than at the end.
Loose materials are the shortcut, and a good one. A gravel path costs a fraction of pavers, drains beautifully, and can be laid in a weekend — as long as you contain it with edging and put woven fabric underneath so the stone does not migrate into the soil. Mulch paths are cheaper still and kinder underfoot, but they decompose and need topping up annually. The trade-offs are laid out in gravel vs mulch for paths, and the full patio method is in how to lay a paver patio.
Where Landscape Fabric Helps and Where It Hurts
Landscape fabric has a reputation problem because it gets used in the one place it does not work. Under gravel, it is genuinely useful: a woven fabric keeps stone and soil separated so a path stays firm rather than sinking into mud. Under mulch in a planting bed, it is a false friend. Weed seed lands on top of the mulch and germinates in the decomposing layer above the fabric, roots straight through it, and three years later you are cutting X shapes in brittle plastic every time you want to add a perennial. Beds want depth of mulch — 2 to 3 inches, refreshed — and a clean edge, not a membrane. Best landscape fabric covers which weights are worth buying and for what.
Setting a Realistic Budget
Landscaping costs scatter widely, but a few anchors help. DIY bed edging typically runs $3 to $8 per linear foot depending on material. A DIY gravel path is often under $4 per square foot in materials. A DIY paver patio lands somewhere between $8 and $20 per square foot; the same patio installed by a contractor commonly runs $15 to $40. Retaining walls escalate fastest because base prep, drainage stone and backfill are most of the cost, and anything over about 3 to 4 feet may need engineering and a permit — check your local code, because requirements vary by municipality.
The best value split for most homeowners is to do the planning, edging, mulching and planting yourself and to hire out the heavy hardscape where compaction equipment and a strong back matter. What landscaping costs breaks the numbers down job by job.
Fast Wins if You Are Short on Time
Not every project needs to be a season-long build. If you have one weekend, the highest-impact moves are consistent: cut a crisp edge on every bed and install edging to hold it, top up mulch to an even depth, remove or hard-prune anything overgrown against the house, and add light along the walkway so the front reads well after dark. Those four jobs cost a few hundred dollars and change the whole impression of a property. Front yard curb appeal covers the sequence, and if lighting is the missing piece, our garden lighting hub ranks what holds up outdoors.
Where to Start
New to this? Sketch the yard first with how to plan a yard layout, then buy edging from the ranked field in best landscape edging and install it properly using our install guide. The topical map below links every part of the landscaping process.