 Garden
Affiliate Disclosure
Some links on this page are affiliate links. As an Amazon Associate, we earn from qualifying purchases — at no extra cost to you. We do not buy, test, or physically handle the products we cover; our rankings come from aggregated owner reviews, ratings and expert consensus. Commissions never change our verdicts. How we rank · full disclosure.
Short version: paint is the cheapest way to change a room and the easiest job to do badly. Almost every disappointing result traces back to prep that was skipped, a sheen that was wrong for the room, or the wrong applicator for the surface — not to the paint itself. This hub covers the order of operations, how to choose paint and sheen, when a sprayer beats a roller, how to fix walls before you coat them, and which specific tools the owner-review consensus supports.
We do not test products. Every ranking here is built from aggregated owner ratings, review volume and expert consensus — the method is set out on how we rank.
Prep Is 70% of the Job
Professionals spend more time preparing a room than painting it, and the finish difference is almost entirely down to that ratio. The sequence that matters: clear and cover everything, wash the walls, repair, sand, prime where needed, tape, and only then open the paint.
Washing is the step most often skipped and most often responsible for peeling. Kitchen walls carry cooking grease, bathroom walls carry soap film, and hallways carry hand oils; paint does not bond to any of them. A bucket of warm water with a little dish soap, or a degreaser for kitchens, is enough. Repair means filling nail holes, anchor holes and dents with lightweight spackle, and taping any cracked seams properly rather than smearing filler over them — the methods are in how to patch drywall. Sanding is what makes a patch invisible: a 120- to 150-grit pass feathering the edge of every repair, then a wipe with a damp cloth. Skip it and the patch will telegraph through two coats forever.
When You Actually Need Primer
Primer is not a tax on every paint job. You need it over bare drywall, bare wood, patched areas, glossy surfaces you have scuffed, water or smoke stains, and whenever you are going dramatically lighter than the existing color. You do not need it when repainting a sound, similar-colored wall with a quality self-priming paint. The one place people get burned is stains: nothing in a water-based paint will permanently block a water stain or nicotine, and it will bleed through however many coats you apply. That job needs a stain-blocking shellac or oil-based primer. Do you need to prime? walks through each case.
Choosing a Sheen (the Decision People Regret)
Sheen changes durability, washability and how much of your drywall’s imperfection you get to see forever. Flat hides everything and cleans up worst. Gloss cleans up beautifully and shows every ripple, roller mark and drywall seam. The practical map: flat or matte on ceilings and adult bedrooms; eggshell as the general-purpose interior wall choice; satin in kitchens, bathrooms, hallways, laundry rooms and children’s rooms; semi-gloss on trim, doors, window casings and cabinets; gloss only where you want a lacquer look and are prepared to prep for it. Older houses with wavy plaster should sit one step lower on the scale than a new build would. Paint sheens explained covers the trade-offs room by room.
Brush, Roller or Sprayer
Each applicator has a job it does better than the other two, and using the wrong one is why finishes disappoint.
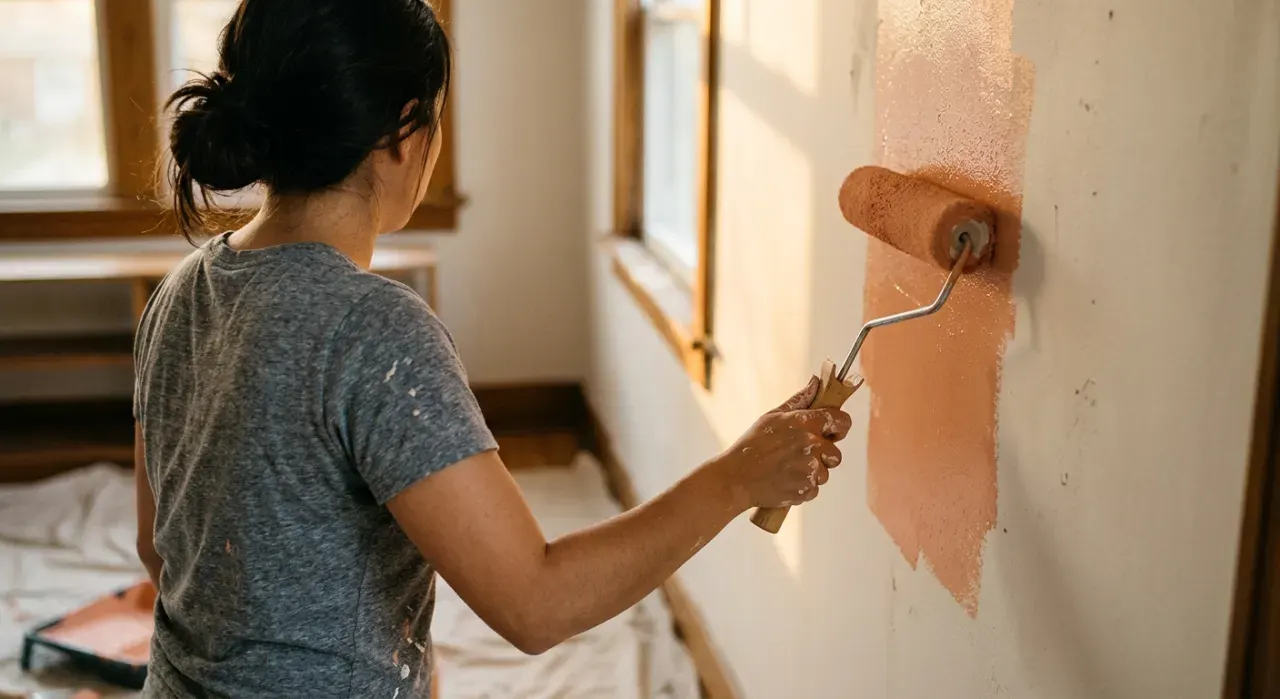
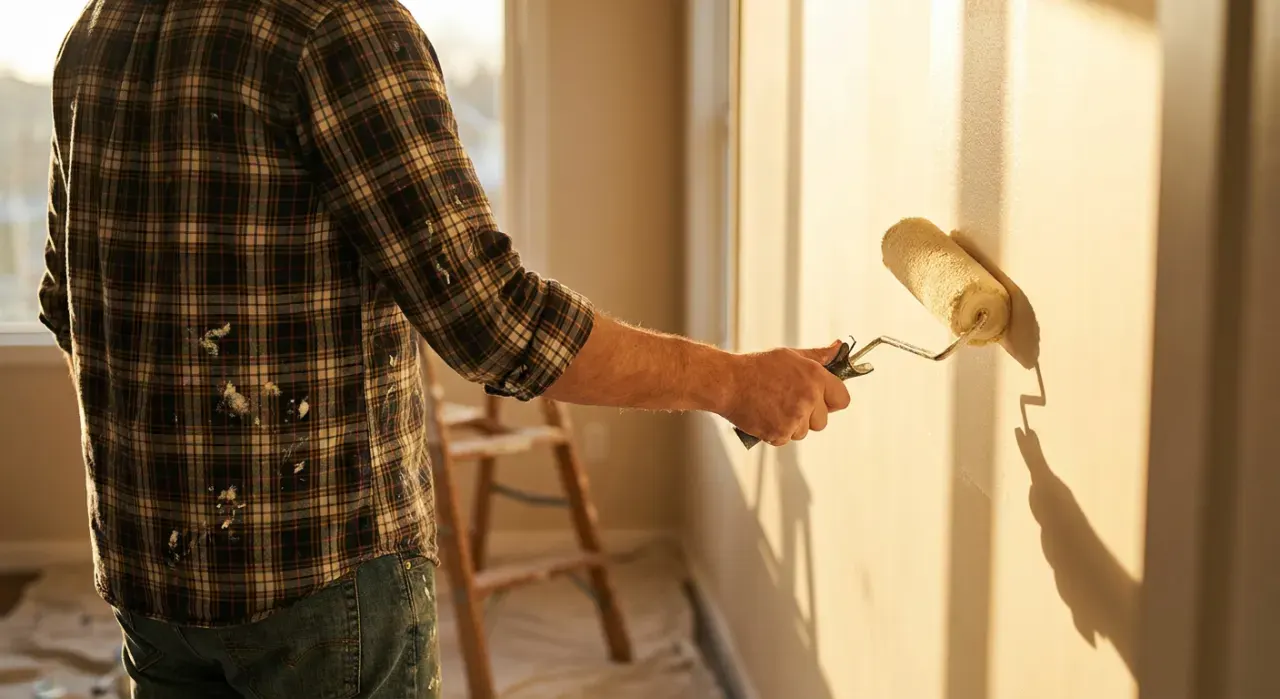
A brush cuts in edges, corners and trim, and nothing replaces it there. Buy an angled 2.5-inch sash brush in a quality synthetic filament for latex paint; a cheap brush sheds bristles into the finish and cannot hold a line. A roller is the fastest way to cover large flat areas with minimal masking, and nap length is the setting people ignore — 3/8-inch for smooth drywall, 1/2-inch for light texture, 3/4-inch and up for stucco, brick and heavy knockdown. A sprayer lays down the smoothest possible film with no roller stipple and no brush marks, which is why cabinets, doors, trim, furniture and fences are transformed by one — but everything not being painted has to be masked, and cleanup is a real chore. Our best paint sprayer rankings cover both airless and HVLP options, and sprayer vs roller puts numbers on the break-even.
Buying the Right Amount
A gallon of interior paint covers roughly 350 to 400 square feet in one coat on a smooth, primed surface. Measure the perimeter of the room, multiply by ceiling height, subtract about 20 square feet per door and 15 per average window, then double it for two coats. Textured walls, porous drywall and deep colors all reduce coverage — assume 300 square feet per gallon on knockdown texture. Buying all of a color at once, from the same batch, avoids the subtle shade mismatch that shows up when you top up mid-project. The arithmetic and a worked example are in how much paint do I need.
Technique That Separates the Result
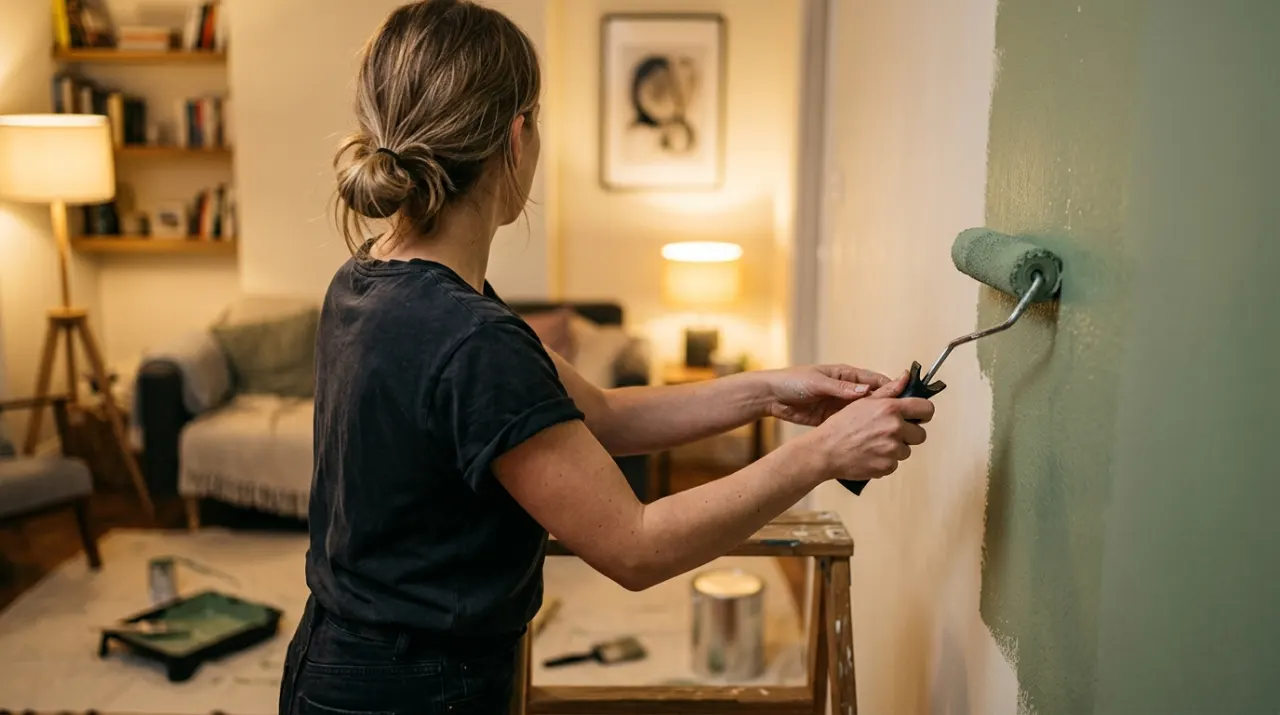
Three habits do most of the work. Keep a wet edge. Roll in three-foot-wide sections, always overlapping into paint that is still wet; lap marks form where fresh paint meets paint that has started to set. Cut in and roll wall by wall rather than cutting the whole room first, so the roller can come within an inch of the brushed edge while it is still wet and blend the two textures. Load the roller properly — a roller starved of paint leaves stipple and pressure marks, and pressing harder makes it worse, not better. Roll with light pressure and reload often.
Light matters too. Paint under the light the room will actually be used in, and check the wall from a low angle with a work light raking across it before you call a coat finished — raking light shows the misses that flat overhead light hides. If the result has visible roller tracks, flashing over patches, or peeling, the causes and fixes are in fixing paint problems.
Cabinets and Trim Are a Different Sport
Painting kitchen cabinets is the highest-value paint project in a house and the least forgiving. The failures are always the same: paint applied over cooking grease, no sanding of the factory finish, a primer that will not bond to laminate, or a topcoat that never fully cures before the doors go back on. The process that works is degrease thoroughly, scuff-sand, use a bonding primer, spray or foam-roll thin coats, and give the doors days rather than hours to harden before handling. A sprayer earns its price here more than anywhere else in the house — see painting kitchen cabinets for the full sequence.
Exterior Work and the Weather Window
Exterior paint has a temperature and humidity window, and ignoring it is why coats fail early. Most latex exterior paints want surface and air temperatures between 50°F and 85°F, with no rain forecast for 24 hours and no direct sun baking the surface you are coating. Paint in the shade, following it around the house through the day. Prep is the same story as inside, only harsher: wash off chalking and mildew, scrape and sand failing paint, spot-prime bare wood, and caulk joints before the first coat. Done properly, a quality exterior coat should give eight to ten years on wood siding and longer on fiber cement. More in exterior painting season.
Low-VOC, Odor and Small Rooms
Volatile organic compounds are the solvents that evaporate as paint dries, and they are what you smell. Most major brands now offer zero- or low-VOC lines, and for a nursery, a small windowless room, or anyone in the household with respiratory sensitivity, they are worth choosing — but note that tinting adds VOCs back, and "low odor" is not the same claim as "low VOC." Ventilate regardless: open windows, run a box fan pointing out, and give a room a day before sleeping in it. Low-VOC and odorless paint covers what the numbers on the can mean.
Where to Start
New to this? Read how to paint a room end to end before you buy anything. Choosing tools? The best paint sprayer rankings and best paint roller picks cover the two decisions that change the finish most. Walls need fixing first? Start with how to patch drywall, and if the repair needs a drill or a sander, the power tools and workshop hub has the buying guides. The topical map below links everything in this hub.